Supposedly, things are working the way they should. I did finish my post on Friday, not without struggles. Things were adjusted again and I will see if they working better. In technical jargon, there was some caching issues and a bunch of sessions on the server, more than were allowed. I have a hard time buying that, but I guess time will tell.
As another side note, I have discovered that it seems like my maximum image size is 2500×2500 pixels without upgrading server resources (paying more). It seems like I am going to have to edit every image in order to get them to post. I guess where I find this frustrating is that this is not the cheapest plan, I don’t know how the cheaper plans would work beside just plain text or a simple static site.
OK, accountability time. I didn’t finish the mantel on November 4 because I didn’t stick to my schedule. And I didn’t stick to my schedule because I wasn’t feeling like it. Part of my excuses were fiddling around with this site more that I should have. Part of it were other things in life going on and a lot of it was I was just not being disciplined.
That doesn’t mean that I haven’t made progress or that I am not close, because I am. I have the final fitting and the finishing to complete. I think that I should be close by the end of the week. But, what I wanted to talk about today is making a template for the proper fit.
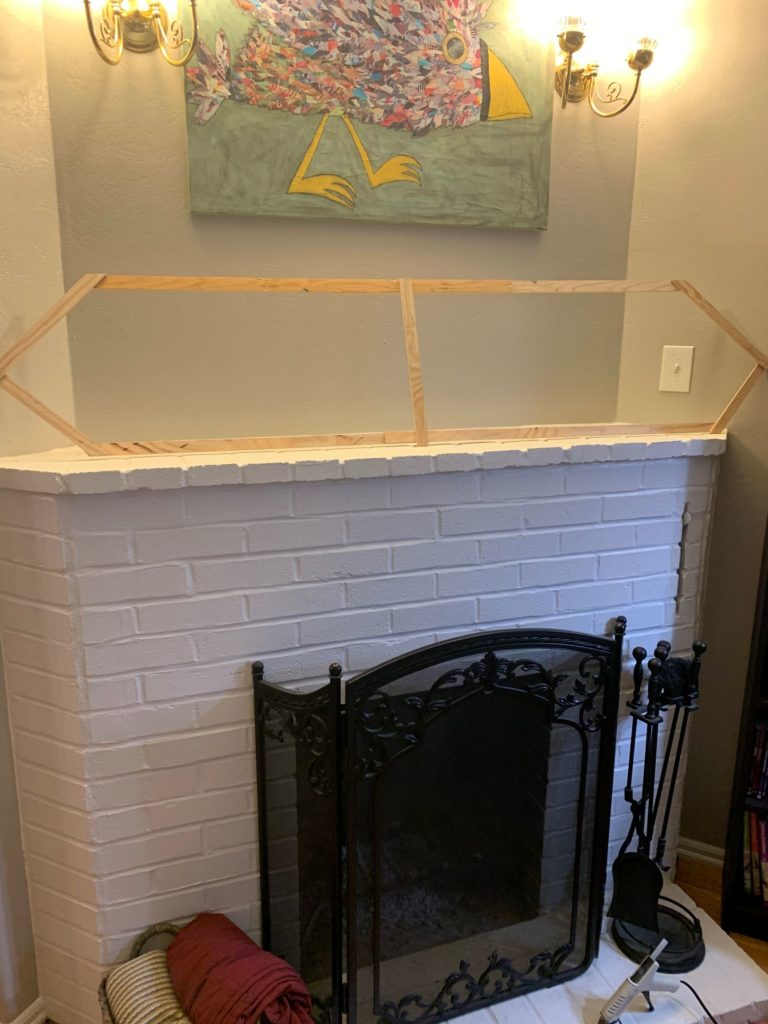
The mantel is not even depth across the width. It is an inch wider on the right side than on the left. I was also concerned about different angles so I built a template of what the top should be so that I could try to get this as close to perfect on the first try. This is a technique that is used by counter makers to try and accommodate for uneven walls.

To build a template, one way to do it is use thin pieces of wood, hot glued together to follow all of the contours and angles. This also helps as a mock-up technique as well to make sure that you have an idea of the proportions of what you are building. This template is then used to trace on your work so that with an accurate cut, you get a perfect fit.
To get the very best fit, the template should be scribed against the wall. Scribing involves using a compass following the wall at a set distance. Once the line is made to fit all of the contours, cut to the line and test the fit, it should fit like a glove. I realize that this is vague and probably warrants a video or separate post. Check this tutorial for a primer.
Templates can also be made with paper or cardboard as well. Use what you have on hand and what is convenient to work with. Take your time and sometimes a template is the right technique to use.
Recent Comments