Most people, don’t install trim properly. I can say that even though I know how to do it, sometimes I have chosen to do it incorrectly, because it can be faster. I already had the saw setup, I didnt want to go fetch the coping saw and making nice fitting joints are difficult, especially when the profile is complicated.
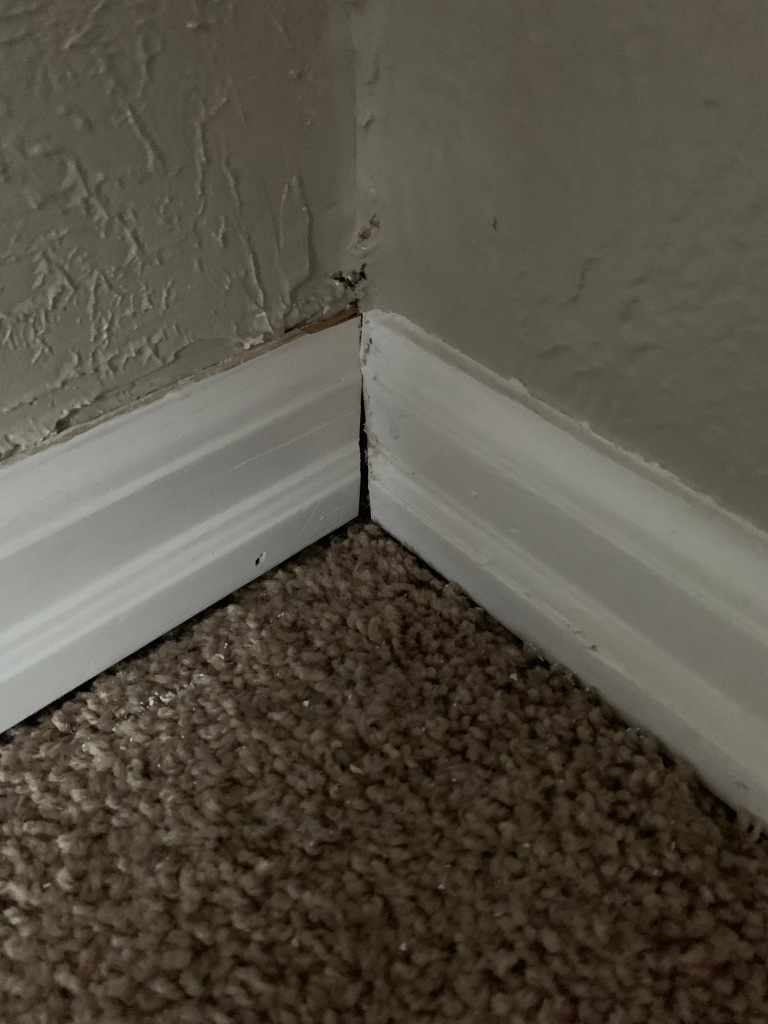
A miter is a joint where two pieces, each cut with 45 degree bevel on the end of a molding profile are put together. When two pieces meet, they should be very close to 90 degrees. Miters should be used when making outside joints, like around the corners, not inside corners like around a room.


A coping cut follows the profile of the molding and has a back bevel so the piece is pressed against the adjacent molding. It requires the same initial 45 degree cut as a miter, but then you use a coping saw to follow the molding profile as you cut all of the material away.
The reason to not use a miter is that walls are rarely square. If one corner is 92 degrees (wider than square) then the corresponding miter should be 46 degree cuts on each piece. In my case, my saw only goes to 45 degrees, so then you are trying to cut backward or shimming the piece to try and get more than the saw is capable of cutting (with some guess work too).
On my project, I already had mitered molding which I did not totally remove. So when putting the molding back up, I started with a mitered corner so I did not have to tear the room apart. It also appears that my molding profile is no longer readily available. I am using molding from other parts of the house so that I can make matches with existing trim. The bathroom will be new and we may redo all or some of the trim in the living space.

This room is nearly finished. I am down to the detail work. I am really happy with the results.
Recent Comments