After yesterday’s heavy self reflection, today we are going back to skills. I had fully intended to get through framing in one shot, but I got a little too wrapped up in pressure treated and the foundation part that I realized this was going to be too much for one post.
In this post, I am going to talk about the little details that will make a huge difference in the outcome of the overall product. So let us get into it. First of all lumber selection and conventional wisdom. Framing an exterior wall would be 2×6 studs and framing that is 16″ on center. This allows for the correct width and thickness of insulation, door openings would fit prehung doors properly and building materials are measured in these types of increments. A 4×8 sheet of drywall will fit perfectly when framed in this convention for instance.
Interior walls are commonly framed using 2×4 walls with 16″ on center. Sixteen inches on center means that the center of one stud is 16″ from the center of the next stud.
With the price of lumber, I examined a lesser used technique of framing 24″ on center. This amount of spacing is often used for sheds, outbuildings and value structures. But my number one goal was comfort. And unfortunately, the cost of 23″ width insulation was five times what it costs of 15″ insulation so the cost proposition was twice as expensive to frame in that manner even though it would have saved about a quarter of the lumber.
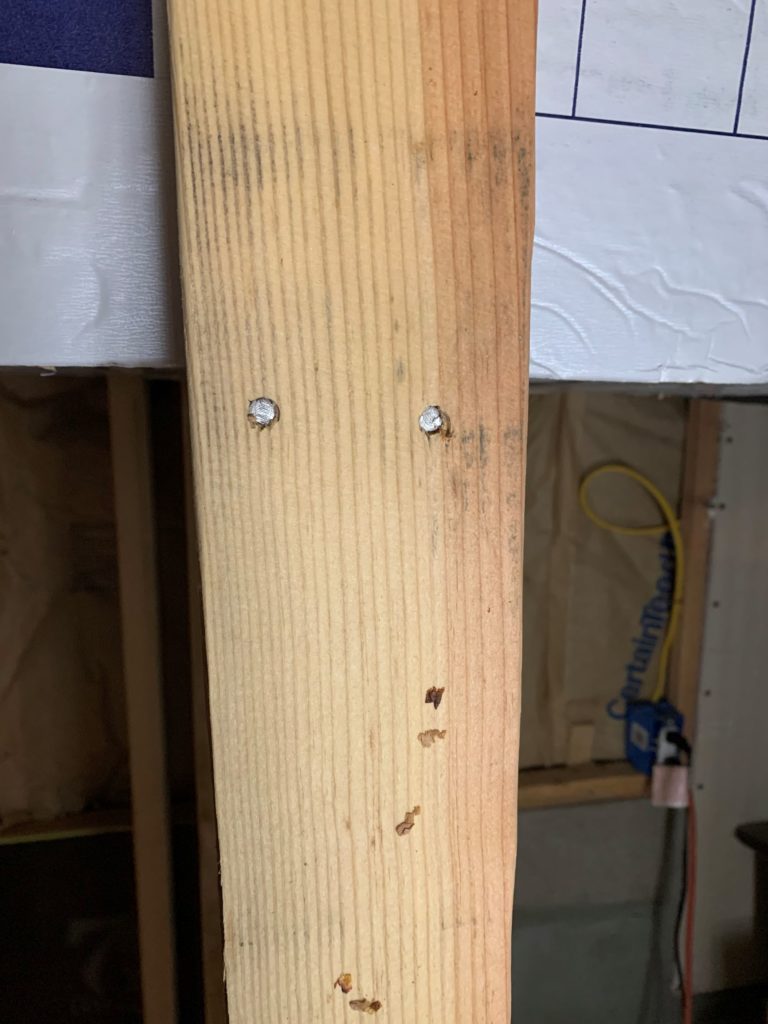
Another cost saving technique I did exploit is to use ‘Utility’ grade 2x4s. I found at a local bargain building materials store, I could buy Utility grade 2x4x8 for $5 a board whereas a stud grade (#2 or better) was $7.43. Now, this is not a load bearing structure and I am only using one face. But If I were needing two faces of the 2×4, I would want to be a little more picky. Below is a typical Utility stud.
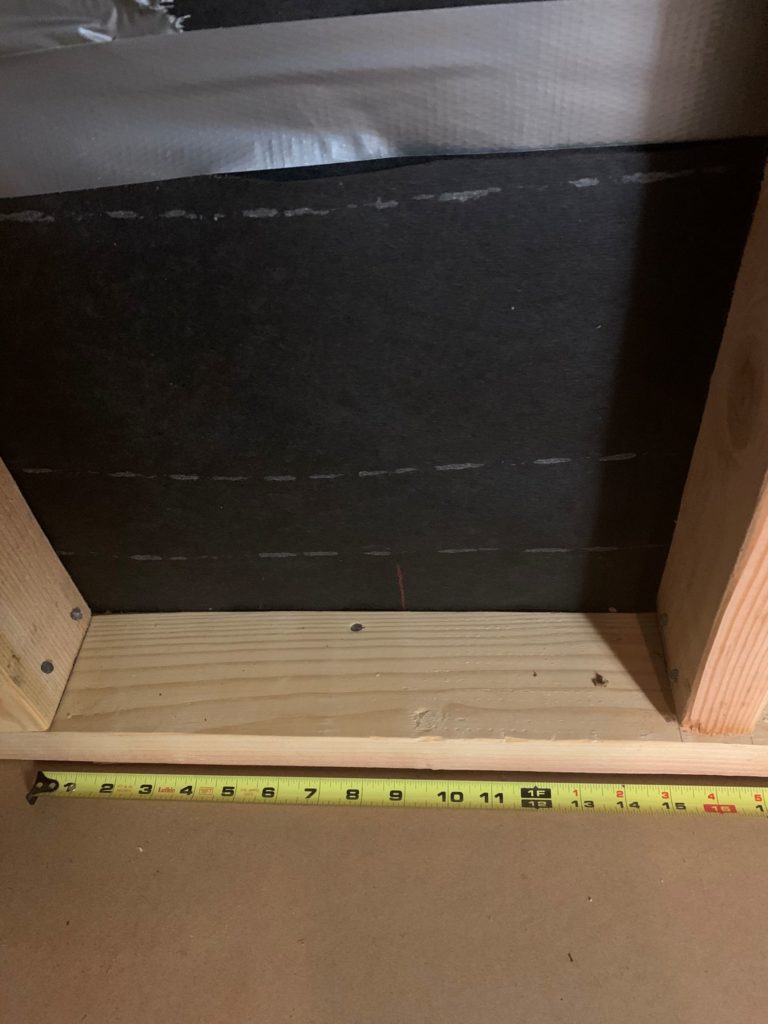
When building new walls in an old structure, you have to account for non level surfaces. That means that each stud is nailed in place with a technique called toe-nailing or nailing at an angle into the bottom plate. In my back wall, there is about 1/2″ slope from the middle of the wall to the corner. The stud length varies across the run of the wall.
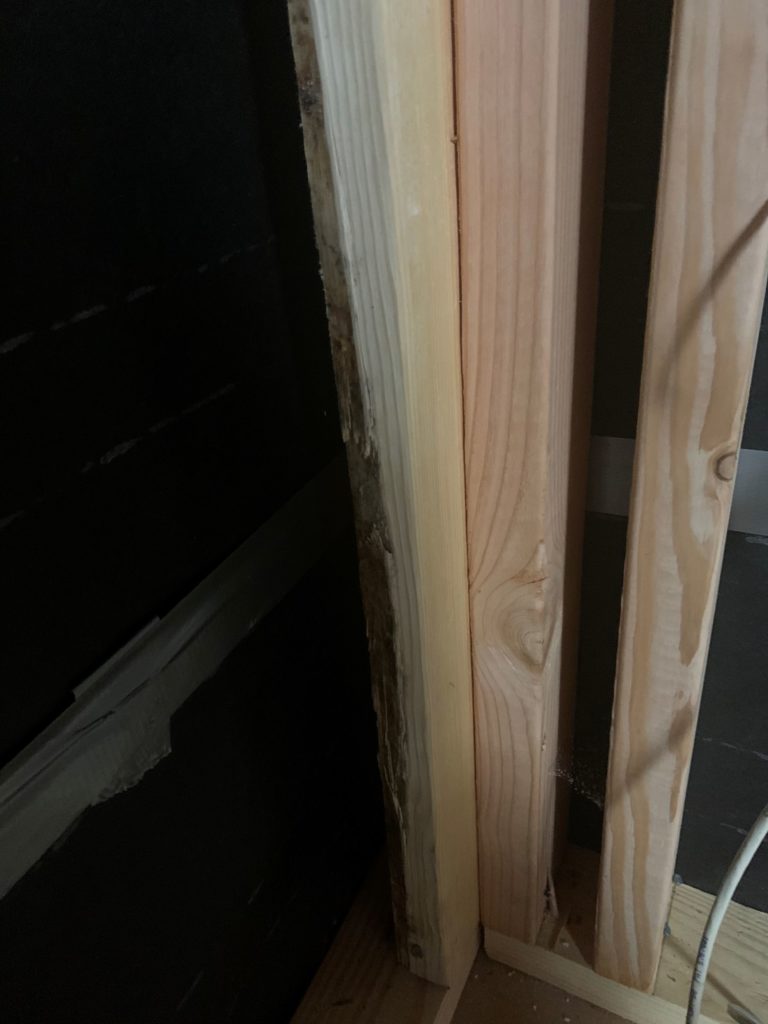
I used both techniques where possible. The traditional nailing through the wood on a flat surface is on the left and toenailing is on the right.
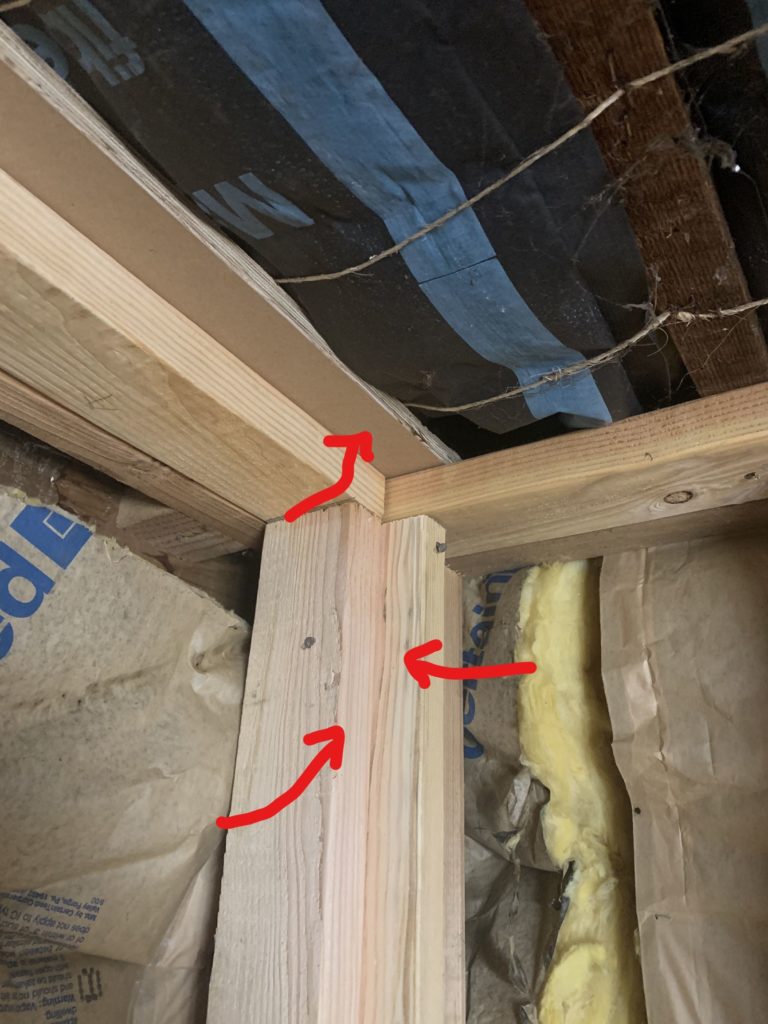
Also, there are some tricks to framing so that you have places to attach the inner surfaces like drywall and sheathing. The picture below shows some extra surfaces to attach drywall.
End Your Programming Routine: Trust me, I have gotten to the point where I am trying to hang drywall in space because I hadn’t learned to think ahead yet. Planning with the end in mind will help tremendously when it comes to cost or efficiency and even the best possible outcome.
Recent Comments