I have run into this problem multiple times where the door jamb does not sit properly into the opening. The generic problem is described as the wall is out of plumb. In my ignorance of the past, I have tried to build up the drywall around the protruding jamb rather than try to deal with it.
I ran into the problem last year when I was working on the apartment as well. Then I did some casework last summer for a relative with the same problem. It all boiled down to the fact that I did not know how to handle a door frame when the opening is not plumb.
First of all what not to do. Do not put in the door out of plumb so it appears to fit properly. That part I knew because it will cause the door to fly open, slam shut or hit on the floor. To operate properly, the jamb needs to be installed close to plumb and square. It doesn’t have to be perfect, but close for nice operation.
Second, I have no one to blame but myself. I should have taken more care when framing so that I didn’t have this problem in the first place. I was so anxious to get things up that I didn’t think through the consequences of a bit of sloppiness. You can read yesterday’s post about minding the small things.
But how to fix it? It comes down to a bunch of extra fiddling (or work) to shave or add material to the jamb so that the trim will sit flush in the end. If the jamb is proud of the wall, then sometimes you can nail the trim on anyway depending on how much it is sticking out. The trick I saw when looking up ideas was to plane the jamb until it was flush with the drywall.
In my case, on one side of the wall it was close enough that I didn’t have to plane. But on the other sided of the wall the jamb was 5/8″ shy of the wall at the bottom. That means the wall was tipped inward. I also had some extra framing errors that kicked the the drywall out more than was necessary.
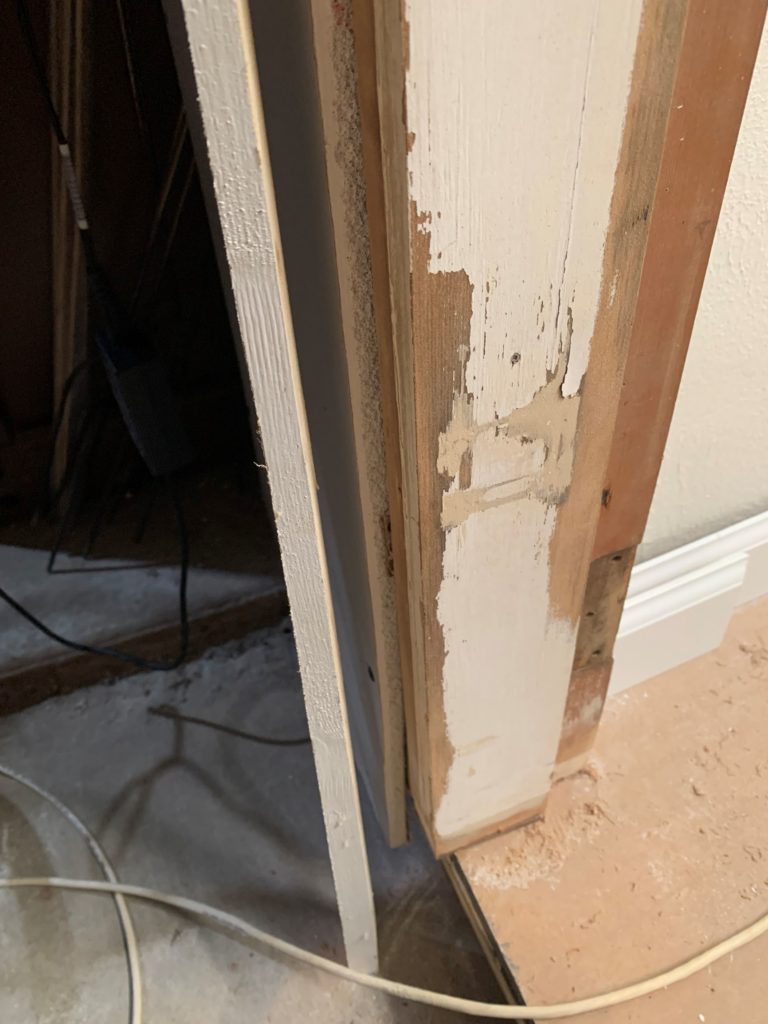
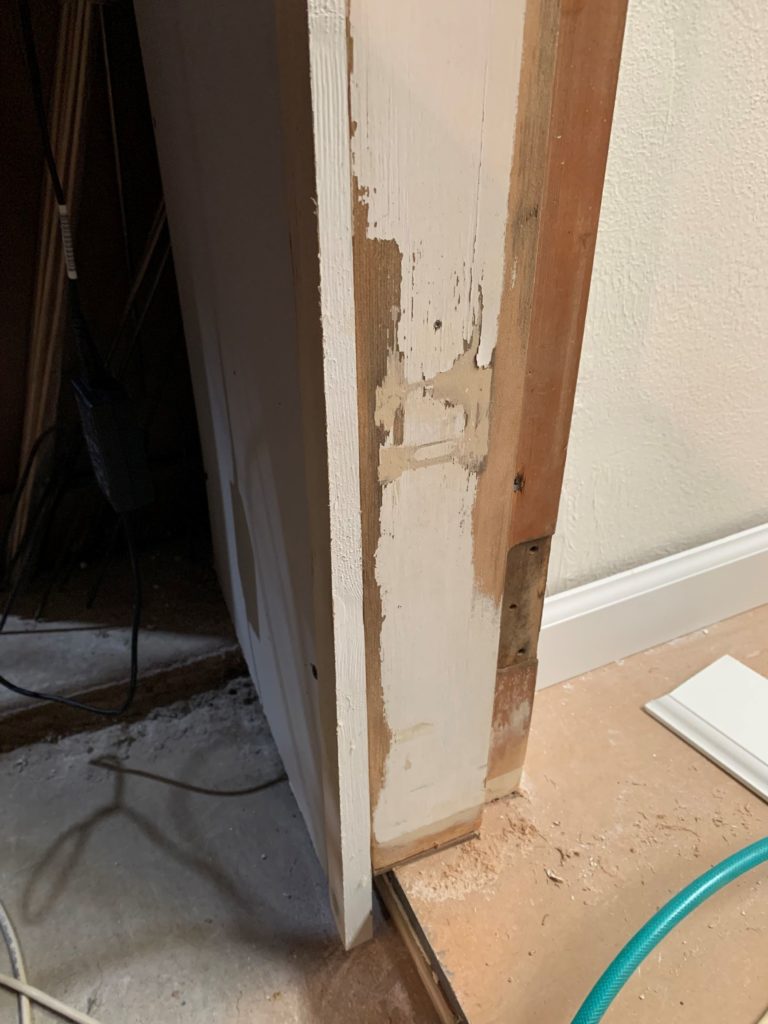
In the end, I had to cut a tapered shim to match the tilt of the wall so that the trim will sit flush. Or said another way, I built up the jamb to match the gap. That took time plus it will require additional filling and sanding. Debating what to do or even if I wanted to deal with trim has impacted my productivity some. I had to figure out how to cut the taper in finish carpentry fashion, plus mill the material, plus test it and attach it.
By the way, I didn’t look too hard but I only found half of the equation on YouTube. I saw a couple of examples of planing off proud jambs. I had to deduce that if you removed material on one half of the problem you must have to add for the other half of the equation. So that is the new technique I learned this week.
End Your Programming Routine: I took this on not because the project required it but as an exercise in learning. This is one of the areas that I have struggled in, trim around doors. The finished product will speak for itself but so far this is a huge improvement in the things that I have tried before.
Recent Comments