Category: Projects

August 17, 2021 – A Time of Transition

Change can be difficult, especially if it has been going a particular way for a long time. I have a lot of changes going on in my life at the moment. One of the biggest one is my office space. This is the first day working in the space.

I received my desk yesterday and got it assembled. But there are new components going into my setup and not everything has made it into the space yet. So, I am half in and half out with everything spread everywhere.

I knew that if I started moving then I would need to keep at it. I still have to work while I am fiddling around with all this stuff. So, last night I got to the point where I could at least be productive during the work day. I will have to tear everything apart and reconfigure a couple of times I assume.

Plus, as of yesterday, I only imagined how it would work. I think that there is going to be some trial and error on how my desk is setup and positioning of everything. I can already see some of the consequences of my decisions but I will save that for another day.

Another transition that has already occurred is that I finished my shed roofing. I can check that off of my list of things to do. That means that I need to start moving into my next project which is cleaning up and organizing the basement and garage.

This is something that I want done, but don’t really want to do it. It is going to involve dump runs, Goodwill, Habitat for Humanity and a lot of decisions. When doing this kind of thing, it is helpful when doing this kind of activity to sequence it properly. For example, going to the dump is last because there are items that Habitat will not accept. I am dragging my feet because it is a big job to tackle.

We have transitioned out of Quarantine. We all got Negative test results last weekend so we are no longer home bound. Unfortunately, we are transitioning into another mask mandate. Honestly, I never believed that this freedom would last. I think that this state has really transitioned into a pseudo Marxist government. What does that actually mean? It means that the government is making decisions for what they think is best and the people are not allowed to proceed as they see fit.

I think by now everyone knows that we are transitioning as a family. I don’t want to say too much more at the moment other than the circumstances are difficult. Not only are we coping with grief but also trying to do it in a manner where part of those most affected are unable to join us.

There is a sociological theory called the ‘Four Turnings‘. The concept goes that there are four types of generations that repeat on a cycle. I’ll try to explain briefly but it might be helpful to read the article (see link above) yourself.

HighHigh societal cohesion, calm from previous strife Baby Boomers
AwakeningLow institutional faith, personal exploration Generation X
UnravellingInstitutions are weak, individuals are strong Millennials
Crisis/HeroEra of destructionWWII generation

If you follow the theory, we are somewhere between the Unravelling and the Crisis stage as a society. It should also be said that it is not quite enough to just be born into a particular era but you need to be able to do something about it. So nearly all of the World War II people are now gone and we haven’t quite had enough of the Generation Y/Z or whatever we are naming it ascend to a place of relevancy yet.

End Your Programming Routine: Be on the lookout for the next crisis event. It very well may be on the horizon or even already has happened. As I am moving through projects and life events, the world is still moving too. You have to get your head up from time to time so that these transitions don’t occur without your knowledge.

August 9, 2021 – Linux Mint, Learning and Relearning Stuff

I don’t have a good grasp on where I am going this week for a lot of reasons that I am not going to get completely into here. A part of it was that was that I have been working late and getting up early (for my job). I also worked all day Saturday and a half day Sunday. And when I wasn’t working I was gone for various social commitments. That always sort of fogs up whatever I want to accomplish here.

A few weeks back, I mentioned that I was experimenting with Linux. I solved my problem with why Unbuntu wasn’t loading. That was because I downloaded a 64 bit version and I was trying to launch it on 32bit hardware. After very little research, I saw that Linux Mint was still a recommended 32bit version and so I downloaded that. Low and behold, it worked. I could launch Linux from a thumb drive on my old (2005) computer.

Part of the reason that I wanted to mess around with this machine and Linux was to see if keeping this currently working computer was worth the space it was taking. Twice, I have pulled this machine out of the Tecnho-Junk (recycling) pile. To carry this experiment a little further, I decided to do a small upgrade. I wanted to spend as little as possible but improve the 2GB of RAM and 7GB of remaining hard drive space to give it the best chance of evaluation. So, I spent $30 for 4GB of Ram and a 320 GB hard-drive. I figured the worst cast scenario is that I could use the hard drive in my other computer as a backup, so I only risked $10 for the RAM which I may not have needed anyway.

Through some research, I learned that the most RAM a 32bit system could utilize was 4GB. I also learned that the difference between XP Home and Professional was that Home was 32bit and Professional was 64bit. Therefore, the hardware that was put in the box when it was built was the limiting factor. Even though I had four slots for RAM, My machine was only utilizing 3GB. It seems like another limitation that I have is that I can’t utilize the max amount anyway.

Next I had to decide what to do with the new hard drive. I wanted the dual boot option to go into XP or Linux. Maybe it was the price or I was just ignorant it had been a long time since I ordered a hard drive. I ordered an IDE hard drive instead of an ATA hard drive. I had to scratch my head with Master/Slave jumpers and cable position conundrum (It has probably been 15 years since I dealt with that stuff).

People newer to this arena have no idea how much easier it is than it used to be. After getting the drive physically configured to work, the drive needs to be formatted so that it can get software installed. In XP, that required putting the operating system CD in. In my case, my disk was SP2 and my computer was running SP3 so of course the CD would not read and home edition didn’t have a built in ‘repair’ option on boot up. Fortunately, my XP was working so I was able to format the drive from XP.

Once the hard-drive was formatted, then I could install Linux from the USB drive. My first problem was trying to figure out how to partition the hard drive in Linux. It supposedly works in NTSB format but it wanted to use EXT4 format. I muddled my way through that and then I was on to installing Mint which went pretty smoothly.

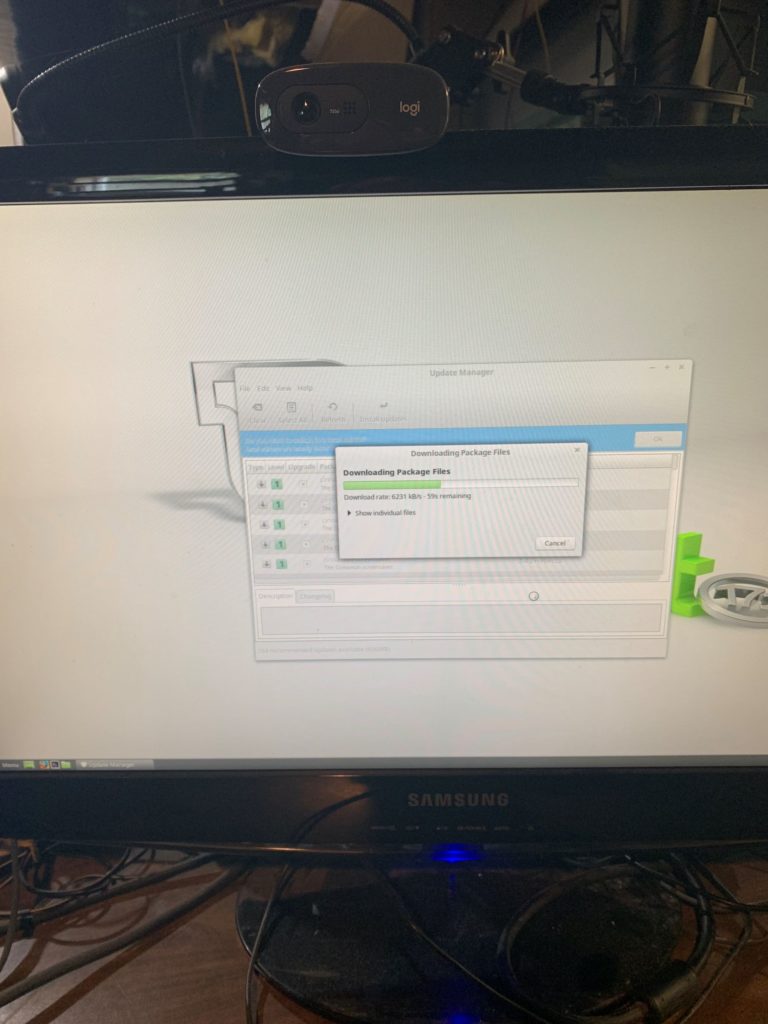
After I got everything installed. There were about 20 operating system updates that I could run, which I did.

So… It works and it is not too slow. So far, what I have noticed is that things are slightly different than Windows. Not a lot, but enough that I don’t know what I am doing. For instance, HP doesn’t directly make any printer drivers and my printer is supposedly compatible. But I can’t (yet) figure out how to find the printer on the network and get it to print even though I have the IP address. It seems like the hardliners are into command based help which is all foreign to me as well so I get lost in all of the vocabulary

End Your Programming Routine: I have also noticed that some of the software I run like Myki password manager is 64 bit only. There may come some limitations with the age of the hardware that it might not make sense to keep this thing around eventually. But I am going to keep messing around with it for the heck of it for now

August 5, 2021 – If I Only Had a Desk

As I was milling around trying to figure out what I wanted to write about today, I was looking at a laser sight that I have had ready to mount for over a year. My next planned range trip was supposed to be in March and now it is August. So what I am saying is that I am going to skip ‘Tacticool’ Thursday.

Today, I am going to wrap up the office project with some numbers. I am deep into re-roofing my shed at the moment. That means that I am slowly moving stuff into the office and tinkering. What I am trying to say is that I am moving on here so it is time to get the results published.

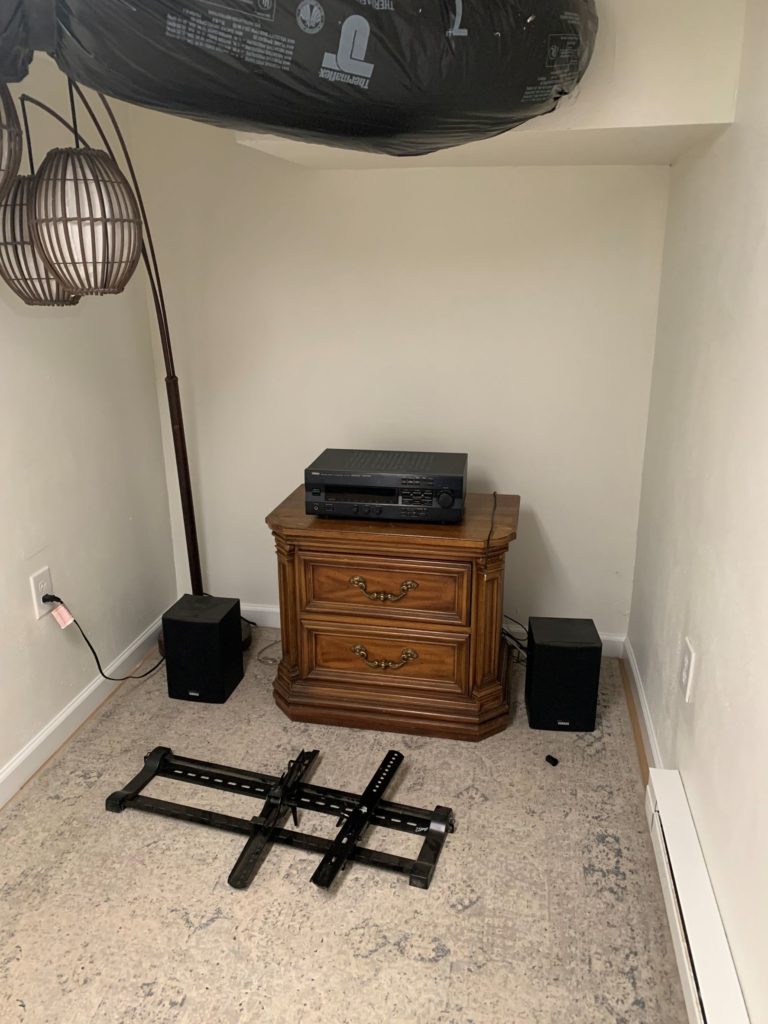
What is currently missing is a desk, which is on order and a couch which is upstairs but we need to get a replacement. If I have all my plans come true, then I will build a table to fit behind the couch where the stereo system will sit. The rear speakers would be mounted. I am on the lookout for a inexpensive flatscreen TV that will sit behind the door and I could also project from the computer onto it. Regardless of all that, as soon as my desk arrives, I can move in.

Below is a breakdown of my hours on the project.

ActualEstimateDescription
24clear out holiday area
22remove west floor system, cleanup
42remove south side drywall
44install sheeting
88build floor
48frame east wall
48frame west wall
3.58frame south wall
48frame north wall
198electrical
9.58insulation
248interior drywall
88paint
3.58exterior drywall
148install door
50finishes/trim
118.5100.00

I talked about my expected overages earlier so that is not a surprise. It shouldn’t be a revelation but I am a little shocked at how much time the finish work took versus the overall build. By that I mean sheetrock, paint, trim. In my first vision, I wasn’t even going to do any of that.

Now, here is the real shocker to me. The little things that add up. What if I put down an finished floor? What if I didn’t have fasteners or a baseboard heater laying around or didn’t buy a used door or common lumber? I suspect that the cost could have been double what it was.

3/6/21$60Door
3/30/21Monmouth Hardware$6.44Electrical boxes
4/4/21Lowes$49.99Wire
4/11/21Home Depot$64.97Lumber, Felt
4/11/21Home Depot$69.03PT lumber
4/17/21Home Depot$156.50Insulation, screws
4/18/21True Value$19.10Lockset, shims
4/23/21Rickreall Bargain Shed$150Plywood
5/3/21Rickreall Bargain Shed$110Framing lumber
5/9/21Home Depot$56.60Lumber, Insulation
5/16/21Home Depot$128.18Insulation
5/21/21Amazon$15.10Coax
5/29/21Home Depot177.96Drywall, Electrical
6/8/21True Value27.4Adhesive, Primer
6/13/21One Stop$17.18Joint tape, snips
6/15/21Home Depot$91.24texture, painting supplies
7/5/21Lowes$2.68Caulk
7/21/15Amazon$19.76Router bit
$1,222.13

Places where I cut corners on the cost were

  1. Reused existing drywall
  2. Reused 12/2 cable, outlets and etc
  3. Recycled door, heater, light fixture
  4. Paint was on hand with the exception of drywall primer
  5. No finished floor

The one place that I splurged at minimal cost. It was largely labor in the electrical category.

  1. Surround sound wiring
  2. Wired Phone, Data, TV and FM signal

Overall, I am happy with the outcome and feel reasonably satisfied with the execution. I can always do better but it takes practice, analysis and a plan. One thing that I wish I did better was drywall finishing. My joints and corners are rough. If I was doing this professionally, I would have to pay someone to feel good about the results without a lot more practice or instruction.

End Your Programming Routine: I think one of the intangibles with how I have been working is that the project is literally right next to me. The number of times things came to mind either fiddling around with something or planning is not factored into the hours estimate. If this were a job, conceivably more time per task may have taken because I wouldn’t have the luxury of seeing it all day long. I am looking forward to moving in within the next few weeks.

August 4, 2021 – Replacing a Rear Derailleur on a Bicycle

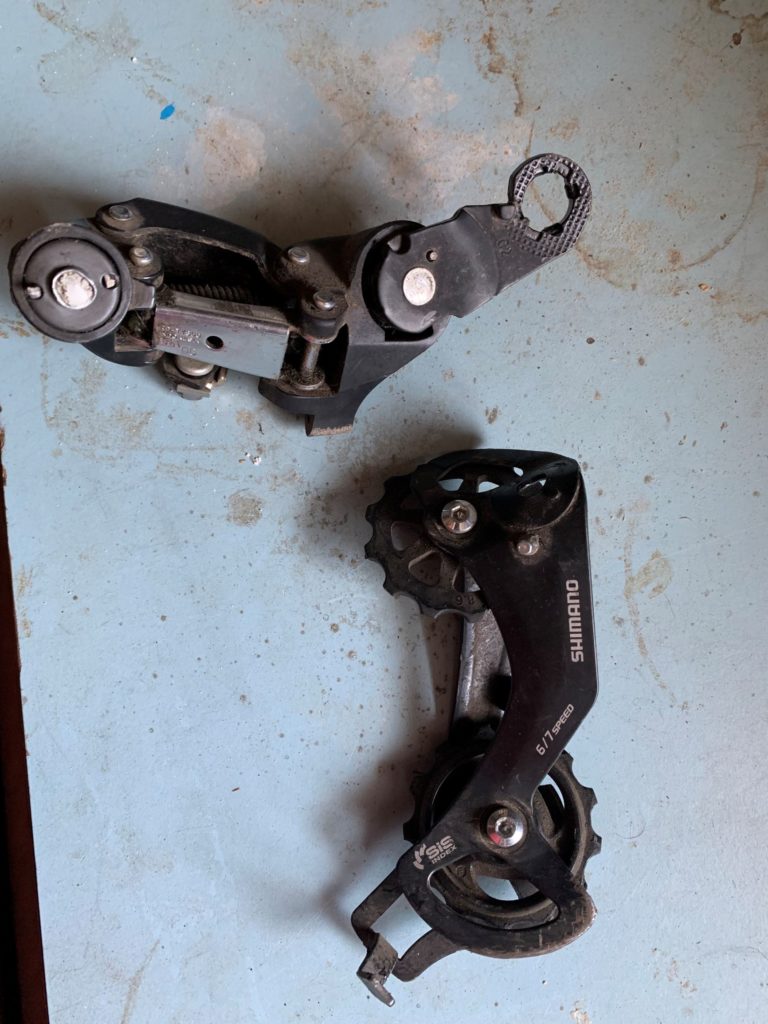
Don’t ask me how this happened. My oldest son got a new bike and so he handed down his old bike to his brother. On the inaugural ride, he came back saying the chain fell off when in reality the chain was bent and the derailleur was broken in half.

What I have learned in this pandemic world is that not only are bike parts scarce, but upgrades are expensive. Sometimes upgrading parts cost more than the entire bike would cost new. Fortunately, this repair only cost about $30 and I could get the parts so I went ahead and did it.

I plan on talking more about bicycles in the future because it is something that I am interested in and I have a old, but very nice bike that I would like to make some changes to. A story for another time but I want to make it more comfortable to ride as it is a very aggressive configuration.

Tools required:

  • Metric Allen keys (3 and 5mm)
  • chain breaker
  • Metric nutdrivers or wrenches or adjustable wrench (8-10mm)
  • cable cutter
  • needlenose pliers
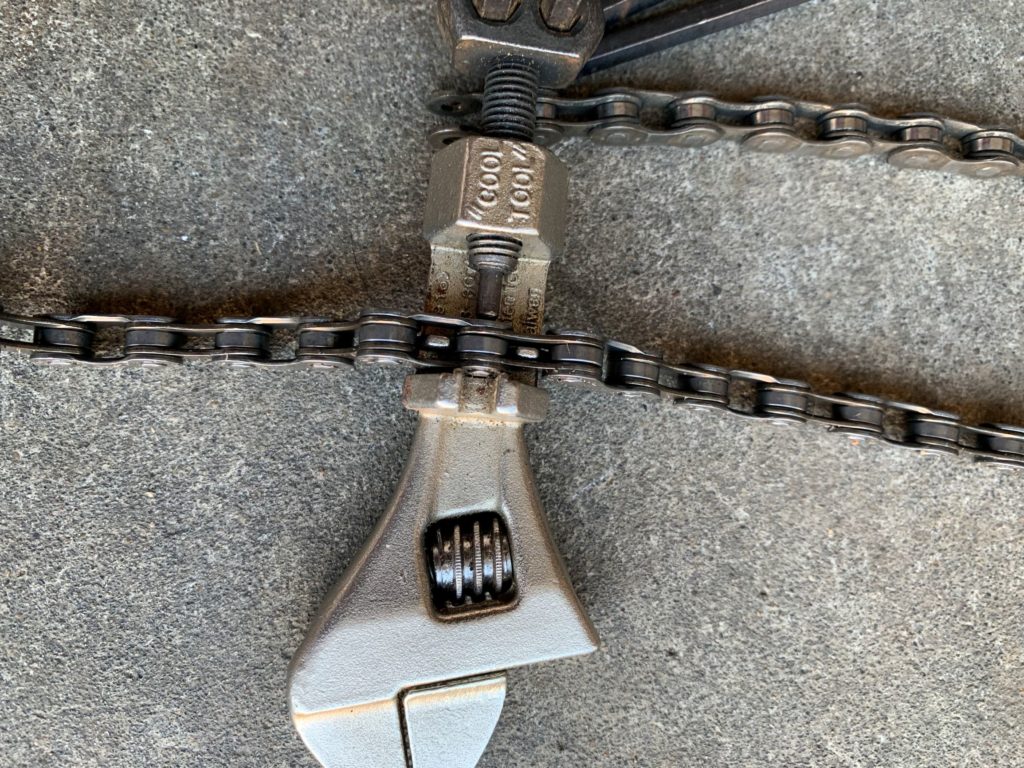
  1. Break the chain. I will have a picture later in the sequence to show what a chain breaker looks like.
  2. Remove the derailleur. First you must disconnect the shifting cable which is one nut. Then, the derailleur can be removed which is also one bolt.
  3. Replace the derailleur by tightening the same bolt as you removed on the old one.
  4. In this case, the new derailleur was a slightly different configuration and the existing shifting cable was too short. I had to re-string a new cable from the shifter

5. Roughly tighten the new shifter cable

6. Check the new chain for length against the old chain. If necessary, cut the new chain to length.

7. Reconnect the chain. In my case, I bought a new one and it comes with a special link to make this process easier. But it can be done by re-inserting the pin that was removed in step one. It is a bit tricky and may require some extra hands.

8. Finally, you will have to tune your shifting. That is beyond the scope of this post today. But this operation is best done with a bike stand. I dont have one personally, but there are several ones throughout my city. There are also a number of Youtube videos that are pretty good on how to do that.

End Your Programming Routine: This took me about an hour to complete. Now that we no longer have any local bike shops, this would have taken days at the shop and hours going back and forth to get it done. Generally speaking having bike work is fairly inexpensive but I like knowing that I can do stuff if I want to.

August 2, 2021 – The Durability of Polycarbonate

Recently, I have started having some obligations at 4AM. It means that I need to be ready to rock and roll, that is talk and lead a meeting first thing in the morning. It is not easy to roll out of bed and be ready to go. To be honest, it kind-of throws off my whole day because even going to bed at 9PM, that is only 6 and a half hours of sleep. I can never get to bed that early.

Last week was a difficult week not only taking the days off but also coming back into this early morning situation. That was partially why I took the week off, I am just a little bit out of sorts. But it was also a transition week where I hung the office door and am ready to move in, just waiting for my new desk to arrive. I need to fix the roof on the garden shed before the weather changes.

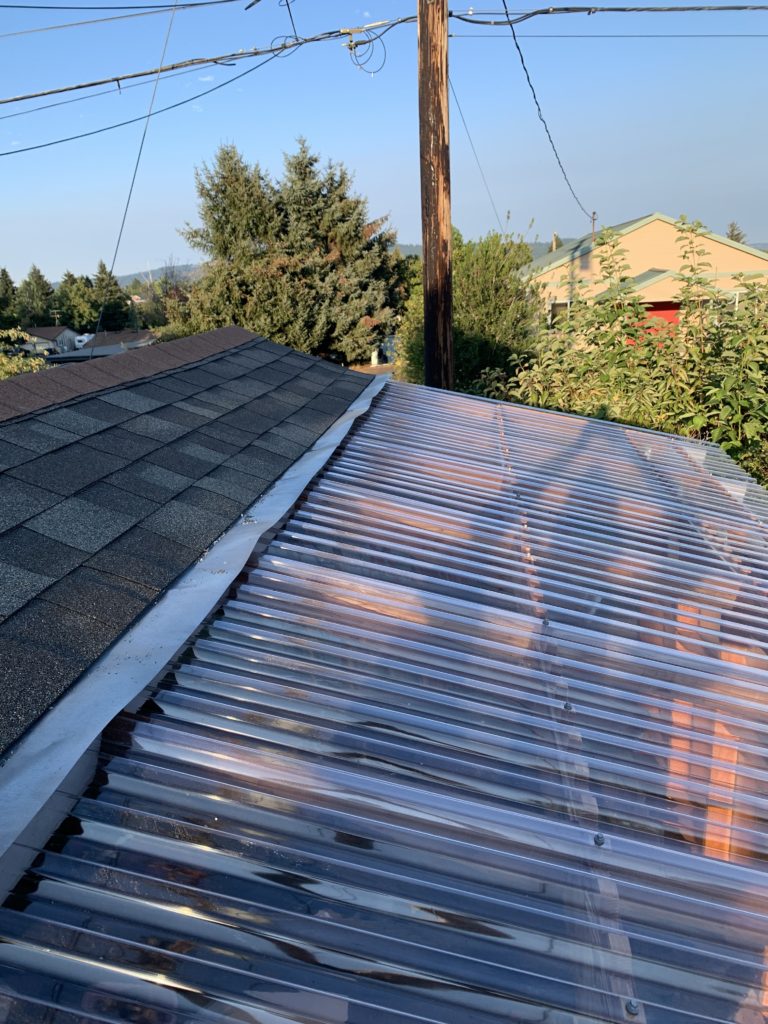
I have all of the data put together for one final post on the office project. That should come soon. But this weekend I started tearing off the roof of the shed. Last October, a blustery wind came in and ripped my flashing at the transition between the composition roof and the clear polycarbonate. I got a tarp on the roof the next day and there it has sat waiting for better weather and more time.

I didn’t get a picture of it, but for some reason, there are two holes in the polycarbonate roofing. So, not only did I need to replace the flashing, which means re-roofing, but also the clear panels. are clearly showing some serious sun damage.

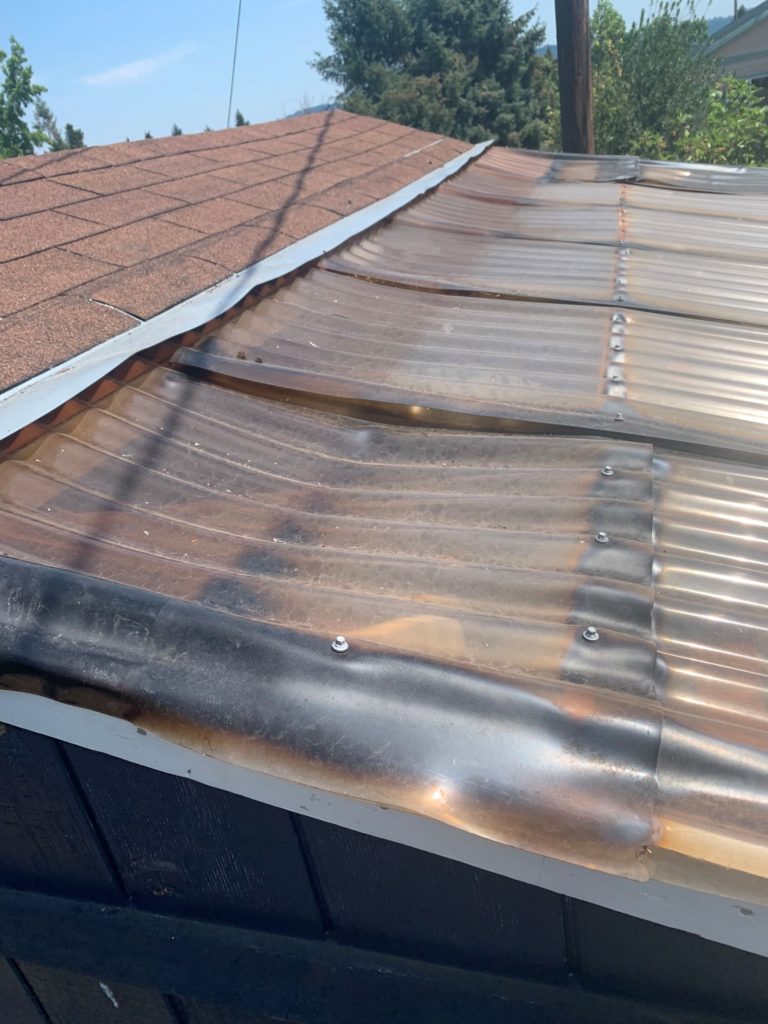
I put this on in 2017. This is five years of wear. It appears that everywhere polycarbonate touches wood, the panel has become black. My speculation is that the tannins in the wood are reacting with the plastic. These clear panels come it two flavors, polycarbonate or PVC. In theory, polycarbonate should be more durable than the PVC, it is also more expensive.

You can also see the tarp line. It looks like that has caused some blackening as well as sagging likely from excessive heat. I also have to change all of the custom fillers because the panel design for both polycarbonate and PVC panels. So far, I am not super impressed by the durability. If I was going to consider changing the panels periodically, it may have been worth going to the cheaper panel but for now, I am am going to go back to polycarbonate.

Another mistake I made the first time was leaning the panels on the side. They sat that way for probably a month and bent out of shape (permanently). You can see this in the picture as well. This time I will take more care in the panel storage so they don’t start our warped.

End Your Programming Routine: I am thinking that this should be a heavy weekend project, so maybe 24 hours or so. I spent three hours tearing off the three tab yesterday. I will probably pick at it when I have time this week. With any luck, I will have this done by the beginning of next week.

July 20, 2021 – Slowly Moving In

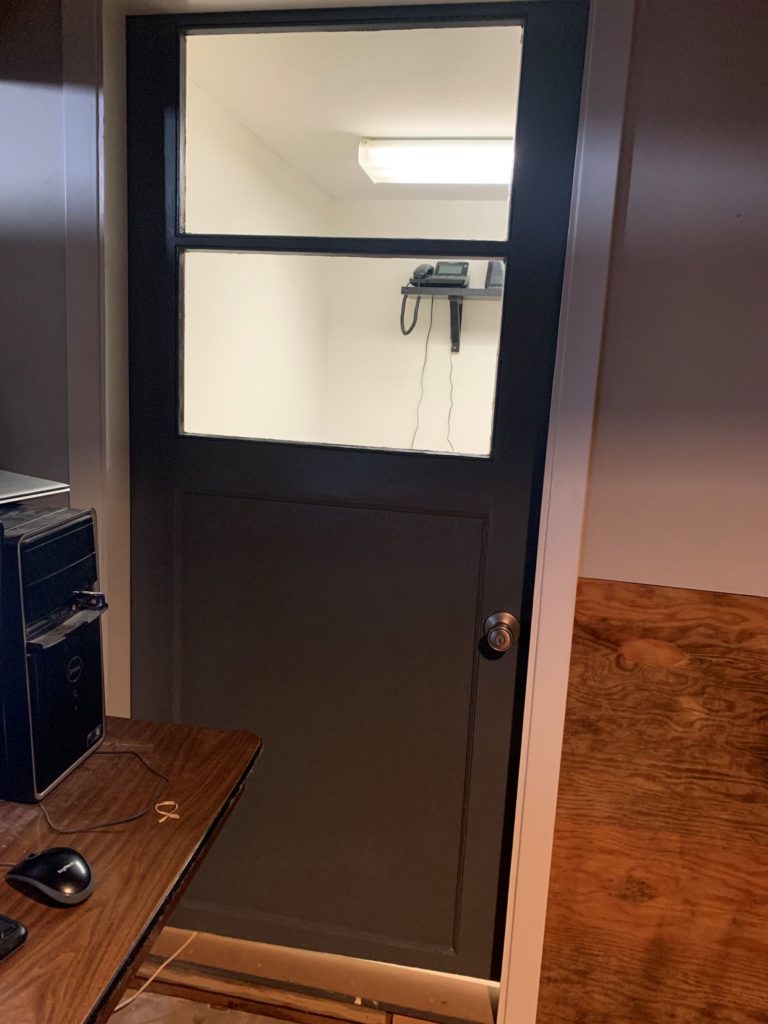
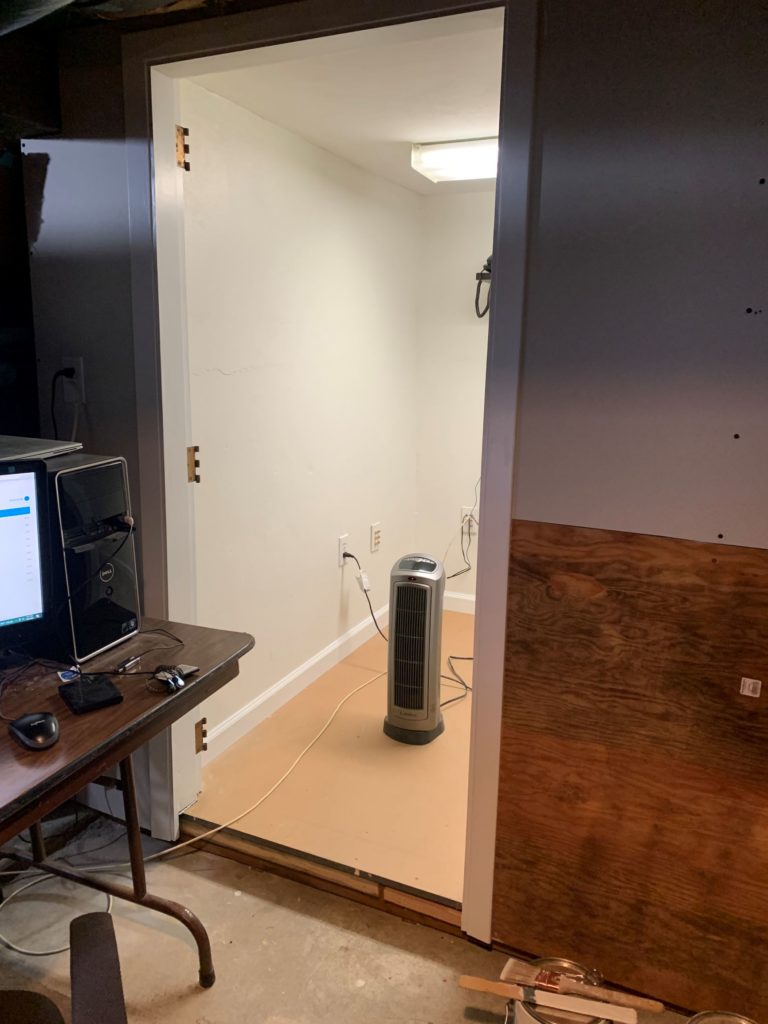
Today is a quick update as time is flying by. I still have door fitting and painting to do but everything else is done. That means that I can start moving in because I don’t need a door for that.

Since I had to cut the door and I know that the floor is out of level I want to do the work on any door fitting before I start painting. Once the door is up, this project is finished!

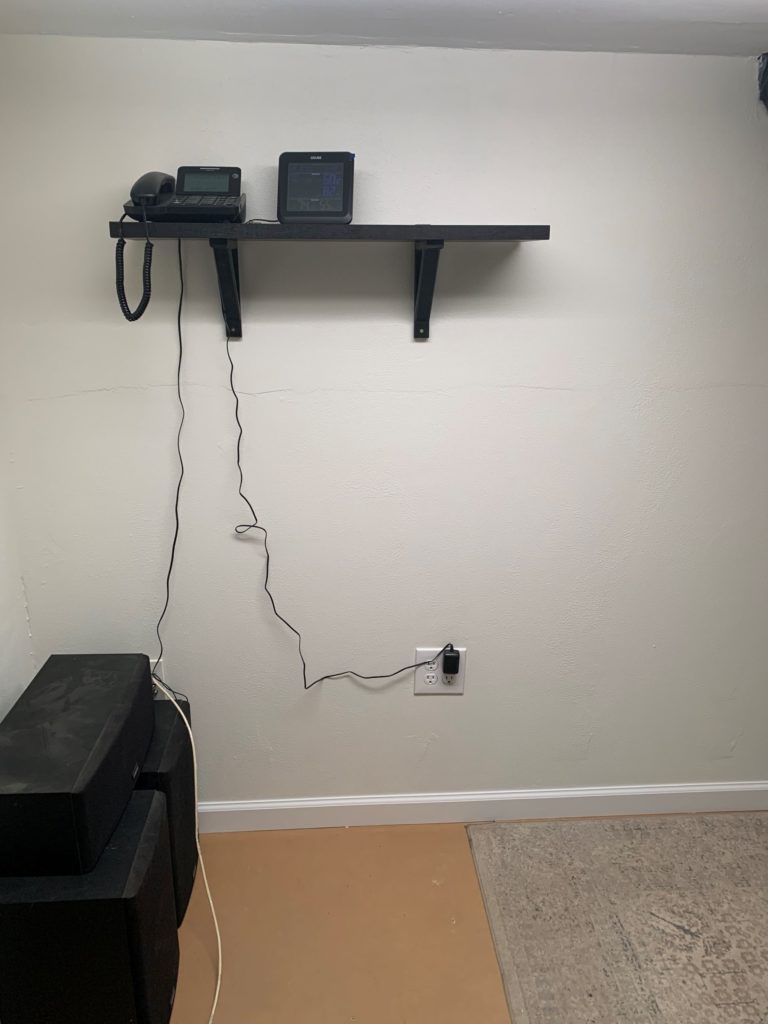
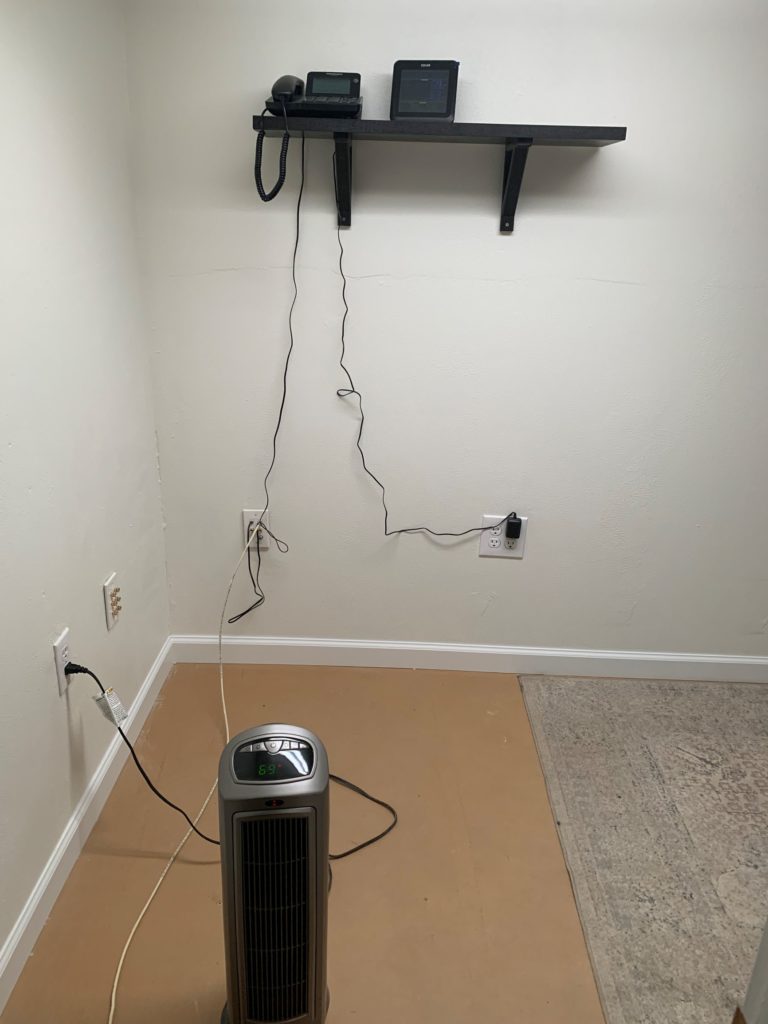
The plan is to put a desk under the black shelf (second picture). I am looking for the right size (nominally 2’x6′) because the room will be tight and every inch counts. I would love to build it so it would be exactly what I want, but I don’t think I will have time to do that now.

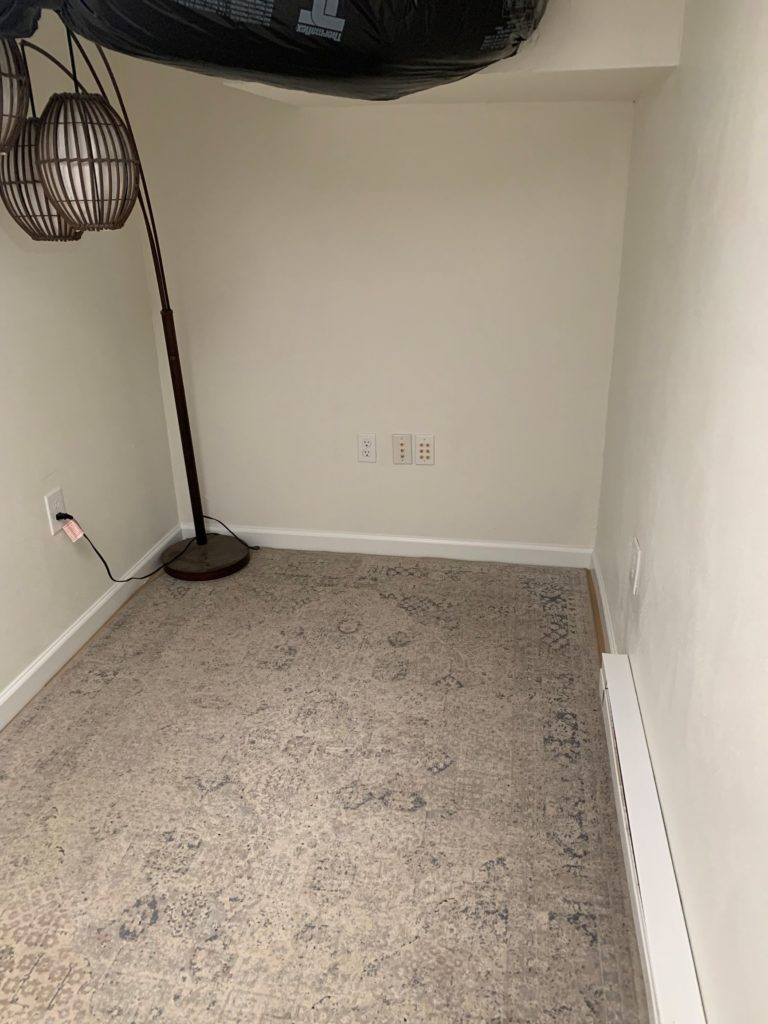
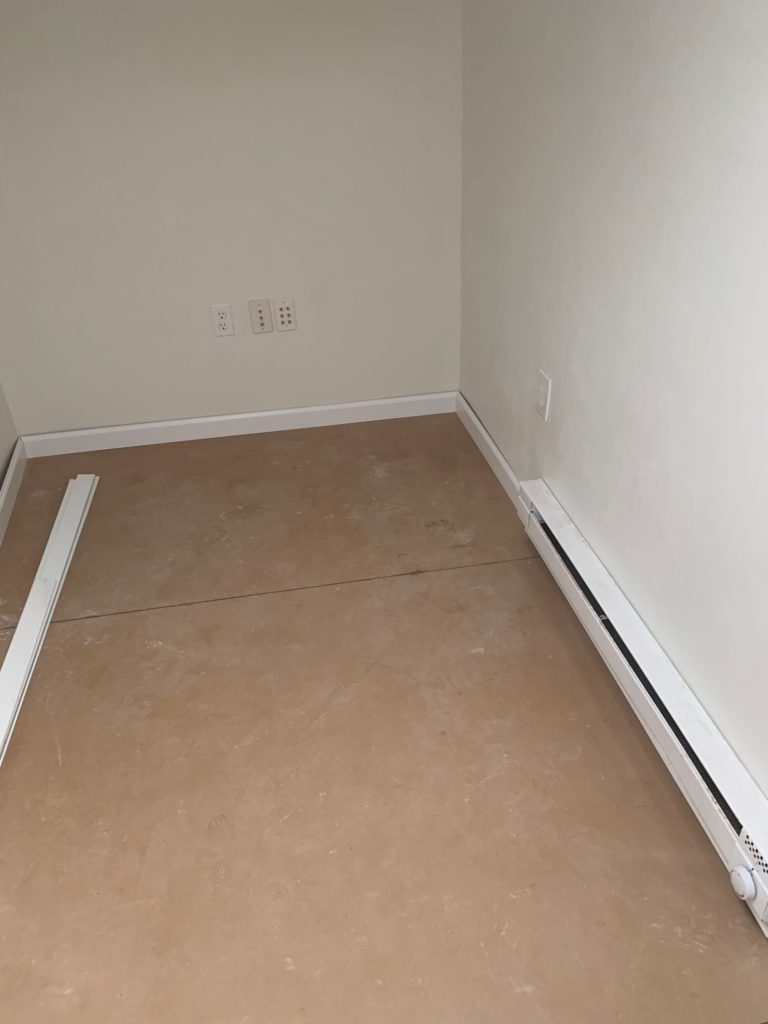
Originally, I was going to put a couch against the west wall (third picture). The measurements fit in the room but the couch does not because I didn’t factor the baseboard heater into the picture. I don’t think it would be a good idea to put the couch up against the heater. So, I am still working that out.

After this is done, the bigger work needs to get done and that is going through all of the junk and reorganizing the basement and garage where everything has been piled up while this process has been going on.

End Your Programming Routine: I am excited and sad to finish this project. I am looking forward to moving in and use the new space. I have lots of things stacked up waiting for this to finish so that would be positive, But, I will be done staring longingly at my project all day and think about my next move when I get a chance.

July 15, 2021 – I Learned Something This Week

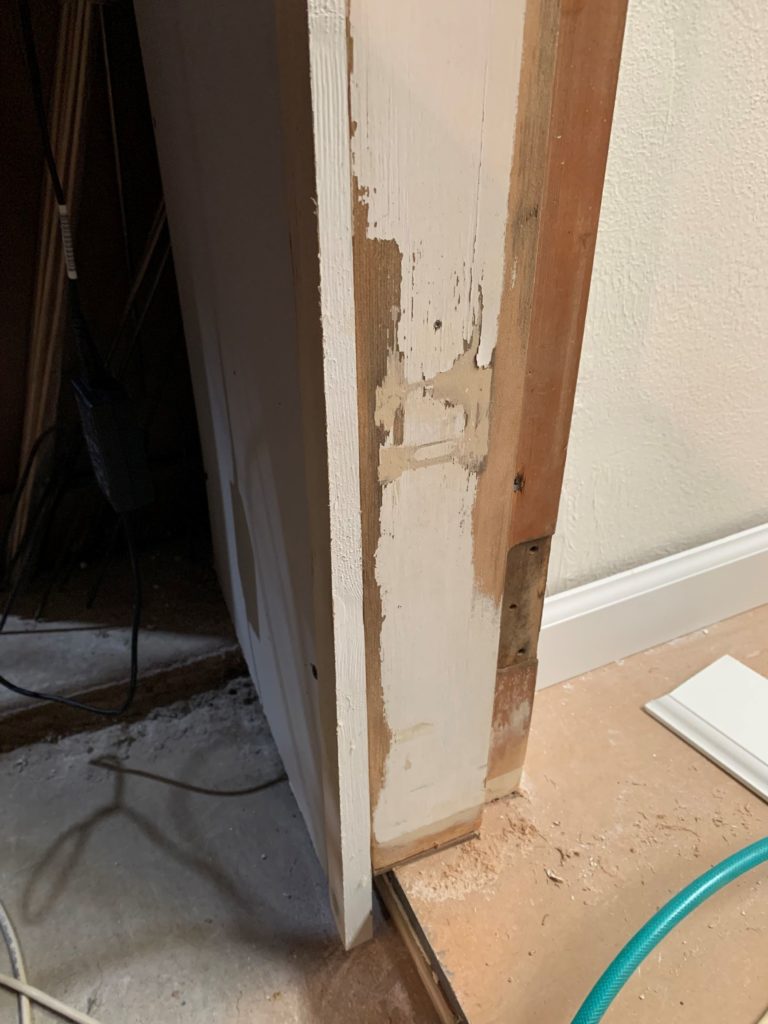
I have run into this problem multiple times where the door jamb does not sit properly into the opening. The generic problem is described as the wall is out of plumb. In my ignorance of the past, I have tried to build up the drywall around the protruding jamb rather than try to deal with it.

I ran into the problem last year when I was working on the apartment as well. Then I did some casework last summer for a relative with the same problem. It all boiled down to the fact that I did not know how to handle a door frame when the opening is not plumb.

First of all what not to do. Do not put in the door out of plumb so it appears to fit properly. That part I knew because it will cause the door to fly open, slam shut or hit on the floor. To operate properly, the jamb needs to be installed close to plumb and square. It doesn’t have to be perfect, but close for nice operation.

Second, I have no one to blame but myself. I should have taken more care when framing so that I didn’t have this problem in the first place. I was so anxious to get things up that I didn’t think through the consequences of a bit of sloppiness. You can read yesterday’s post about minding the small things.

But how to fix it? It comes down to a bunch of extra fiddling (or work) to shave or add material to the jamb so that the trim will sit flush in the end. If the jamb is proud of the wall, then sometimes you can nail the trim on anyway depending on how much it is sticking out. The trick I saw when looking up ideas was to plane the jamb until it was flush with the drywall.

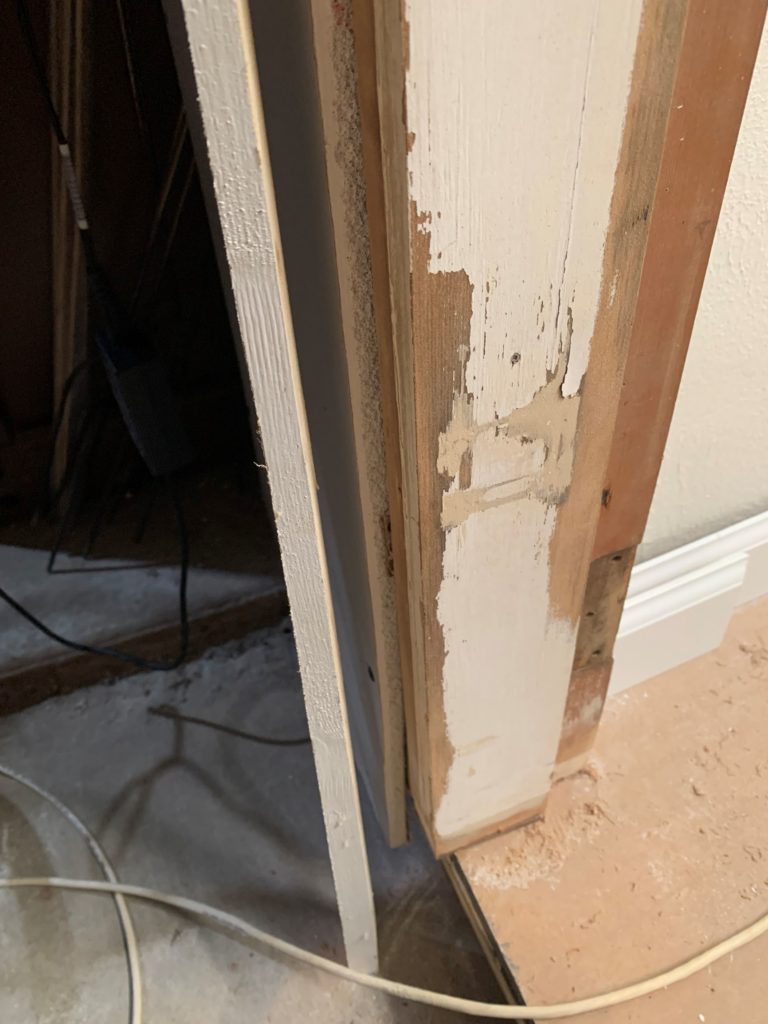
In my case, on one side of the wall it was close enough that I didn’t have to plane. But on the other sided of the wall the jamb was 5/8″ shy of the wall at the bottom. That means the wall was tipped inward. I also had some extra framing errors that kicked the the drywall out more than was necessary.

In the end, I had to cut a tapered shim to match the tilt of the wall so that the trim will sit flush. Or said another way, I built up the jamb to match the gap. That took time plus it will require additional filling and sanding. Debating what to do or even if I wanted to deal with trim has impacted my productivity some. I had to figure out how to cut the taper in finish carpentry fashion, plus mill the material, plus test it and attach it.

By the way, I didn’t look too hard but I only found half of the equation on YouTube. I saw a couple of examples of planing off proud jambs. I had to deduce that if you removed material on one half of the problem you must have to add for the other half of the equation. So that is the new technique I learned this week.

End Your Programming Routine: I took this on not because the project required it but as an exercise in learning. This is one of the areas that I have struggled in, trim around doors. The finished product will speak for itself but so far this is a huge improvement in the things that I have tried before.

July 14, 2021 – Mind the Little Things

Something that has annoyed me for a long time is the heat pump condenser drain doesn’t function well. The tubing is too limp and crimps to easily causing the pump to just run until the reservoir is over full and then it leaks onto the floor. It doesn’t leak often or a lot, but potentially things are getting wet that I really don’t want.

I should take my own advice sometimes because I don’t always mind the little things. Part of the damage on the apartment I had to rebuild last year was a result of not paying attention to the warning signs. I have some rot on the shop siding as well, I need to get that handled before it turns into a bigger problem. I am planning to do that work in the fall because I don’t want to kill the flowers that are growing in the area that I need to access.

Getting back to my current issue, this is a seasonal problem. Also because this has never been a dry basement everything is pretty well placed to prevent water damage. However, my guard is down from the normal wet season and I am trying to wrap up the office project so the basement is not really water ready. The other mental trap is out of sight, out of mind.

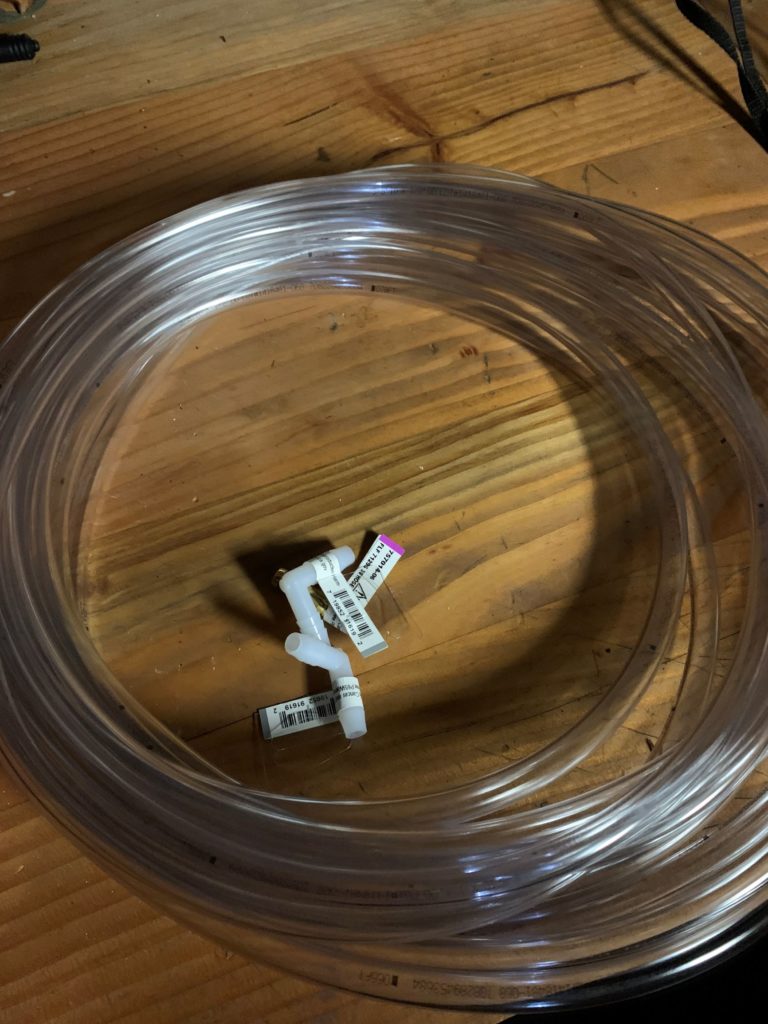
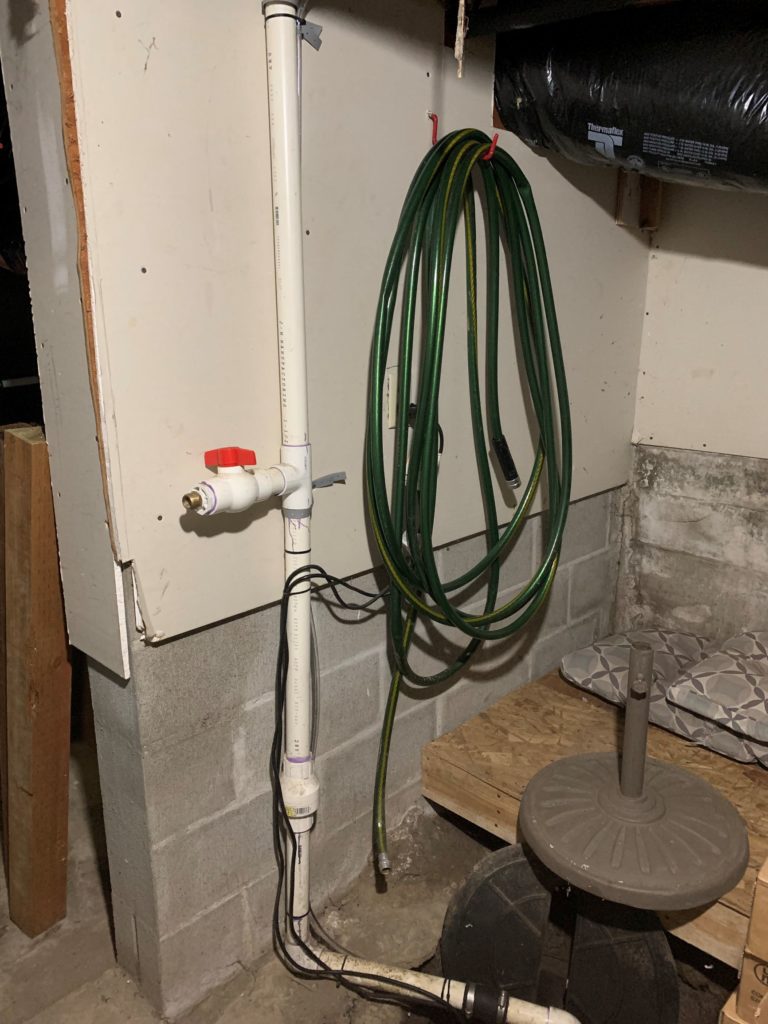
My plan is to run the condenser line into the sump rather than outside the wall. That will prevent the pinching that occurs with the tubing between siding. I purchased the materials to do the work for less than $16. I ran the line in about 10 minutes. It will take me probably another 20 minutes to secure the tubing properly and this quick project will be done.

In theory, there is one drawback to this solution. If for some reason the sump pump fails, then there is a risk of overfilling the sump. But, I believe that the water output is minimal and I doubt that there will ever be enough volume to trigger the pump. So, I believe that the risk is very low.

End Your Programming Routine: It is often the case that the consequences of decisions (or lack there of) are not realized until sometime in the future. Experience teaches you that if something doesn’t look correct, it probably isn’t. You still may not have enough information to predict the outcome if the situation is not corrected. So it is best to deal with things when you can.

July 13, 2021 – Sealing Air Leaks For Comfort

Having lived in old and new houses, they both have their advantages. New houses are energy efficient, provide the conveniences that are desirable and laid out in a way that appeals to our sensibilities. I prefer the old personally, I like the character. But that does come with many drawbacks.

One of those drawbacks is that retrofits often damages the integrity of the building envelope (said more plainly: holes where there didn’t used to be). Another one is materials built for one function but used differently. For example, windows were built to operate. Because they were made of wood, tolerances needed to accommodate for thermal movement and swelling due to water. So, there was some play in how tightly they fit in the jamb. So, if there is no weather stripping, this becomes a perfect place for a lot of air leaking.

One of the podcasts that I listen to, the Fine Homebuilding podcast talks a lot about this subject. Believe me, it seems like there is a lot to know on this subject particularly when it comes to HVAC sizing, efficiency and comfort. In my case, I don’t have to go to higher tech testing or solutions to find some high value and low cost improvements.

When I started working in the basement, it was winter. The normal temperature was around 57 degrees before the heat came on. If I ran the heater all day, I would see the temperature come up to 64 degrees by the end of the day. As we have moved into summer, the ambient temperature changed to around 62 degrees. It is still too cold to be comfortable in most cases. This was the first driver to build my office space was the desire to be more comfortable during the day.

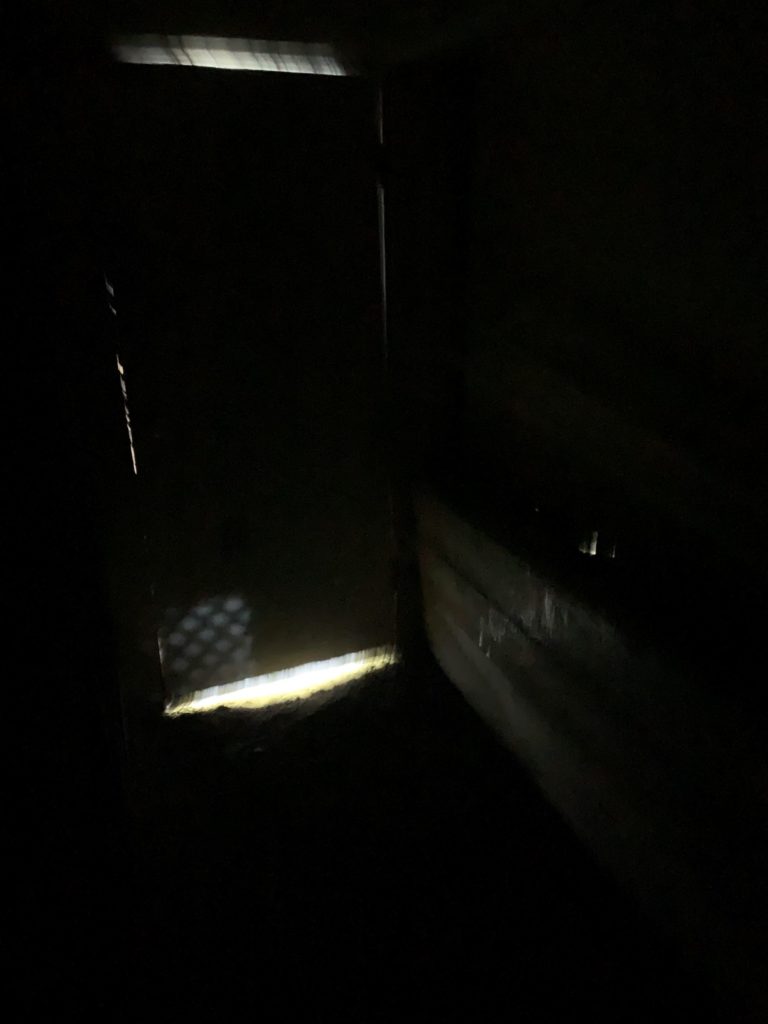
As I moved to the north end of the basement, I could actually feel the temperature get colder. I knew that there was outdoor air leakage, but I took some pictures that your could see a couple of problems.

It doesn’t take a lot of imagination that when you see daylight that there is air leakage happening (not to mention water and vermin). I was looking around right before the heat wave and I saw something that not only could I address but it would be helpful. Under our kitchen is a crawlspace and that is vented directly outside. Essentially, the basement has the leaks shown but also 2 square feet of holes directly to the outside.

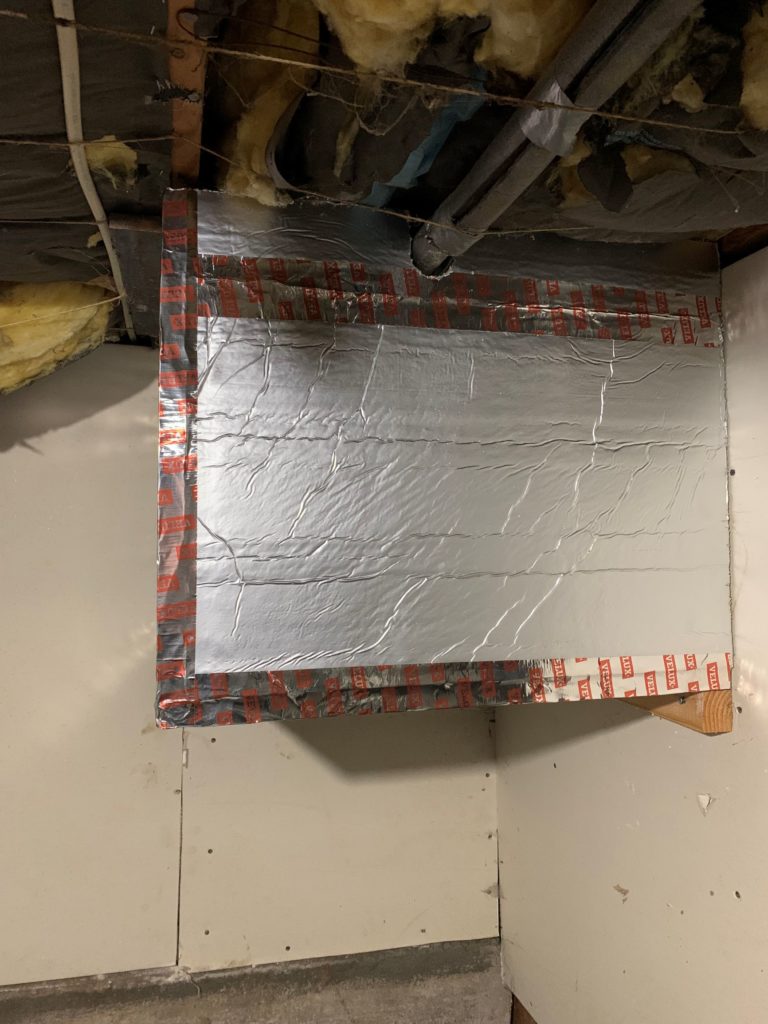
I had leftover rigid insulation so I built a box around the hole. As a result, I have seen morning temperatures move from 62 to 68 degrees. I have no doubt that in the winter it will be somewhat colder I am guessing add five degrees to 57 but I guess we will see.

There is one drawback to this modification which I have considered. Potentially, the air leakage in the winter provided a degree of warmth that kept pipe freezing to a minimum. I have had freezing on the hose bibs before but never in the kitchen plumbing. I may decide to remove this modification if the temperatures get significantly below freezing.

I do have one other option. It is not clear from the picture, but there is heat tracing on the piping. Most of it is in suspect condition and I have been removing it wherever it is in the way but I could hook it back up and then I wouldn’t have to remove my new box.

End Your Programming Routine: While there is no doubt that my results are anecdotal and not scientific I saw immediate change the day after installation. The cost was free since I did not have to purchase anything additional and it took me about two hours to build, fit and install the box. I expect that this will not only make the basement more comfortable, but also I think it will have an small energy impact on the whole house. At the very least, I will not need to run the heater so much in the basement.

July 9, 2021- Close, But no Cigar

I am still dealing with the post 4th of July sluggishness. It has been a super busy week again with lots of moving parts. I didn’t get any more read in 1984 and I made slow progress on my project.

I had set a move in target of July 1 for my office. Here on July 9, I am close but not there yet. I am still messing around with the door and jamb. I need to get that set so that I can nail the trim on. Once that is done, I can move in (without the door). Here are some pictures of the current state.

I am currently at 105.5 hours and my estimate was 100 hours. I forgot to include time for trim, but that is not the real reason for my overage. I am going to give a full accounting when I completely finish. I would guess that I have 10 or so more hours to go. It depends on how much door modification I ultimately decide to do.

It is the summer time, so the temp is much more bearable in the basement. In fact it is staying 68-70 degrees F. The urgency has subsided a little bit but it is a far cry from sweatshirt, coat and stalking cap with the heater on. Truthfully, when it was over 100 degrees last week, it was still 68 degrees down here. When I was working in shorts and a t-shirt, I was cold.

End Your Programming Routine: I the end, a goal is just that. There were things that I could have re-prioritized to finish this faster. But, I have no need to push it. Despite that there are other things that also need to get done, so the longer this drags on the more things get backed up. Ultimately, I am happy with where I am at and still motivated to get this done.