I am slowly getting there. I suppose that I lost a little momentum over the holidays and it is taking a minute to get back there, but it is happening and I mean my sofa table project. Last weekend, I got to the point that I was ready to cut my legs. So that is what I am going to write about today.
First, I am going to start at the beginning. What am I doing? I am making what is called a Shaker styled leg. That means that it is tapered from the bottom to the top and those tapers will be on the inside edges. The outside two faces remain square.
The Shakers were a religious movement around the early 1800s as part of the great awakenings of that period. Shaker’s were know for their simplistic styles in efforts to maintain focus on worship. This has translated as furniture that lacks the adornment and decadence of the Victorian designs (they go by other names in the furniture/art/history circles).
So, I needed to taper some legs. I looked at buying some fixtures to do a generic version of this, but I soon settled on the fact that I would build my own purpose built ones. I had all of the materials, so let’s see how it went.
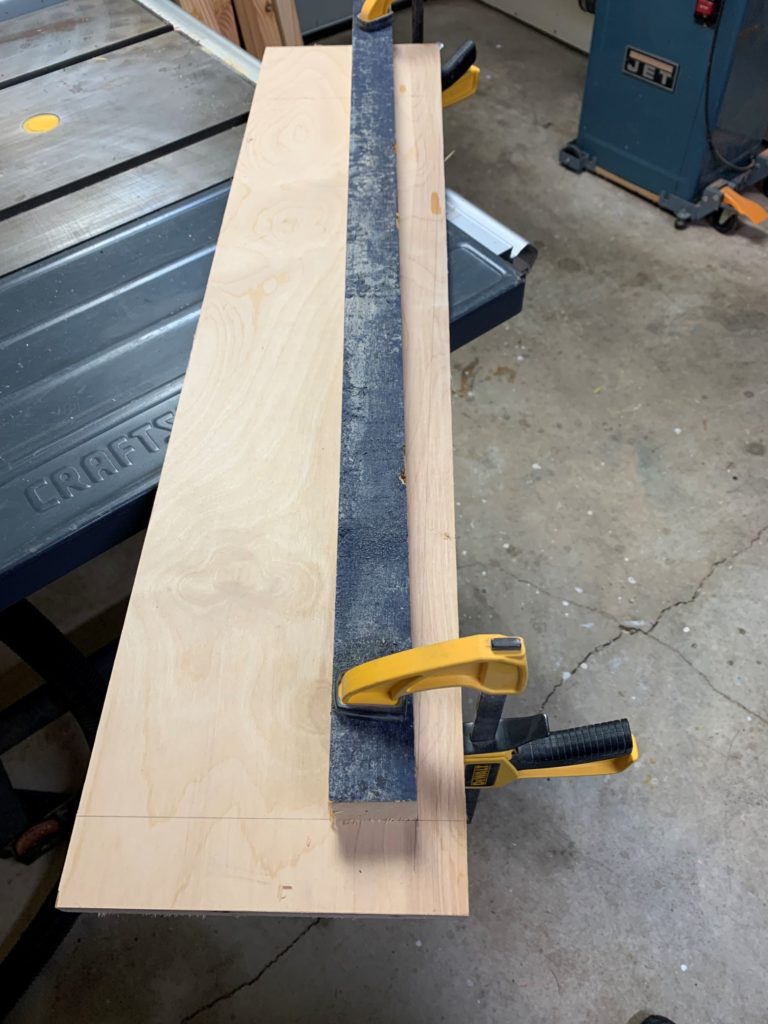

The first two things you need are a base and a fence. I chose a piece of plywood that will act as a sled against the saw fence as the base. The fixture fence was a piece 2×6 that I salvaged from my facia project this summer. That I send through the joiner to get a flat bottom and edge that I want to cut against.
Both the top and back of the fixture fence do not have to be perfect. The back for obvious reasons. On the top, I will mount some adjustable clamps. Because I can adjust for tightness, the top does not necessarily have to be square.
Measure and mark your taper on the base. When you figure that out, you can attach the fixture fence and base together. Counter sink the screws so that everything rides properly with the fixture.

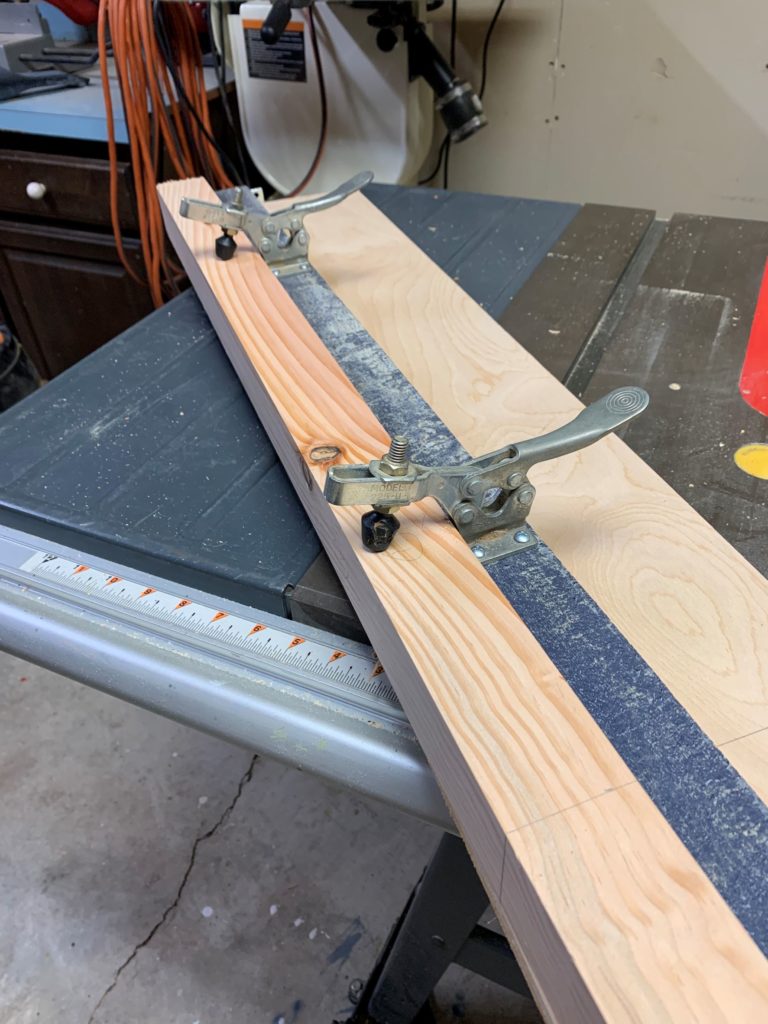
I used some short mending plates to act as a stop for the front edge of the fixture. That way, as I push against the piece, the pressure will keep my workpiece tight against the fixture. My only other piece of advice here is keep metal away from the blade and make sure that the stop is placed low enough to contact your final dimensions. The clamps I placed roughly in equal thirds for distributed downward clamping pressure.
Amateur Tip #1 – The fixture fence should be as tall or taller than the workpiece thickness. Mine was shorter which meant that the clamps didn’t fully lock in place when adjusted to the minimum height. This is part safety and part quality. Had I have known, I could cut a fatter piece from my 2×6 and mounted it on edge
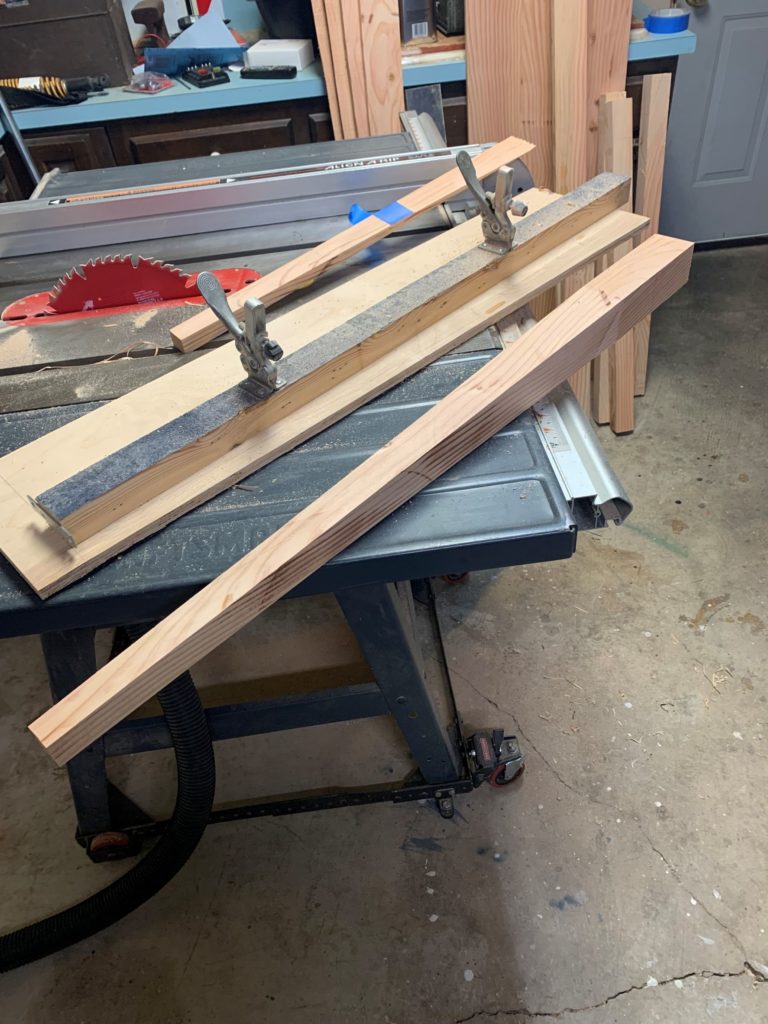
Amateur Tip #2 – After cutting the first face, save the off cut. Reattach the off cut to the main part with tape to maintain a flat (ish) surface for the second cut. If you can get away with rotating the cut edge to the top, then this wont be necessary. I picked the two faces that I wanted to remove and sometimes the first cut face needed to be facing down against the sled to get my taper on the proper side.
All in all, I am very happy with my first attempt. Part of this process is actually getting the proportions correct. I drew them to scale and the looked alright there. I think that they looked pretty good in the real world too. My next step is cutting mortises and tenons for the base. And that is another day.
End Your Programming Routine: There were a few things that I would change. Like for instance, I didn’t verify that my base was square, which is wasn’t. Consequently, my taper was a little more aggressive than I planned. But, that is OK. Experts would say that someone without experience should run test pieces or mockups. That’s great advice for commissions or expensive woods. In this case, my whole project is training. Live an learn, but I am happy with my first shaker legs.
Recent Comments