Tag: preservation

January 20, 2026 – There Outta Be a Better Way

I admit it, I am frugal. That is one way of saying that I really despise waste. A standard construction tube of caulking often contains way more material then a typical home owner project will use at one time. So the remainder of the tube becomes waste if it sits around too long.

I have tried every trick in the book to preserve the life of caulk tube remnants. I have put electrical tape over the nozzle. I have tried to embed nails and screws so that there is a channel when I come back to it. I have cut the nozzle shorter to pull the plug of dried caulk out. I have used large, screw on electrical connectors to act as a cap. They all suck.

Caulking is a love hate relationship. You want to believe that it is an ideal solution to a less than ideal situation. That being said, I find about a five year or less life with it in an outdoor application. My personal preference is to use as little as possible because if you are at the point where your hopes are on caulk, you are waiting to fail.

Certain projects typically can use quite a bit of caulk. I am thinking back to siding replacement I did a couple of years ago. In those cases, it seemed like I was going through it as fast as I could blink. But, because I despise waste, I want to make sure that I am purchasing the exact amount I need. Caulk will even dry up in an unopened tube and when you only use a squirt at a time, it doesn’t pay to keep it around.

Recently, I was doing a quick cleaning to get ready for a house showing. I hadn’t really spent any time in the apartment since the tenant moved out. It looked like it was in the need of TLC and when I looked at the vanity, I could see a gap between the top and the tile backsplash. I can’t remember if I ever mentioned this but we had to replace the entire floor a couple of years ago. The shower had leaked and it had rotted the structure. So, the vanity had to be removed and I suspect it shrank.

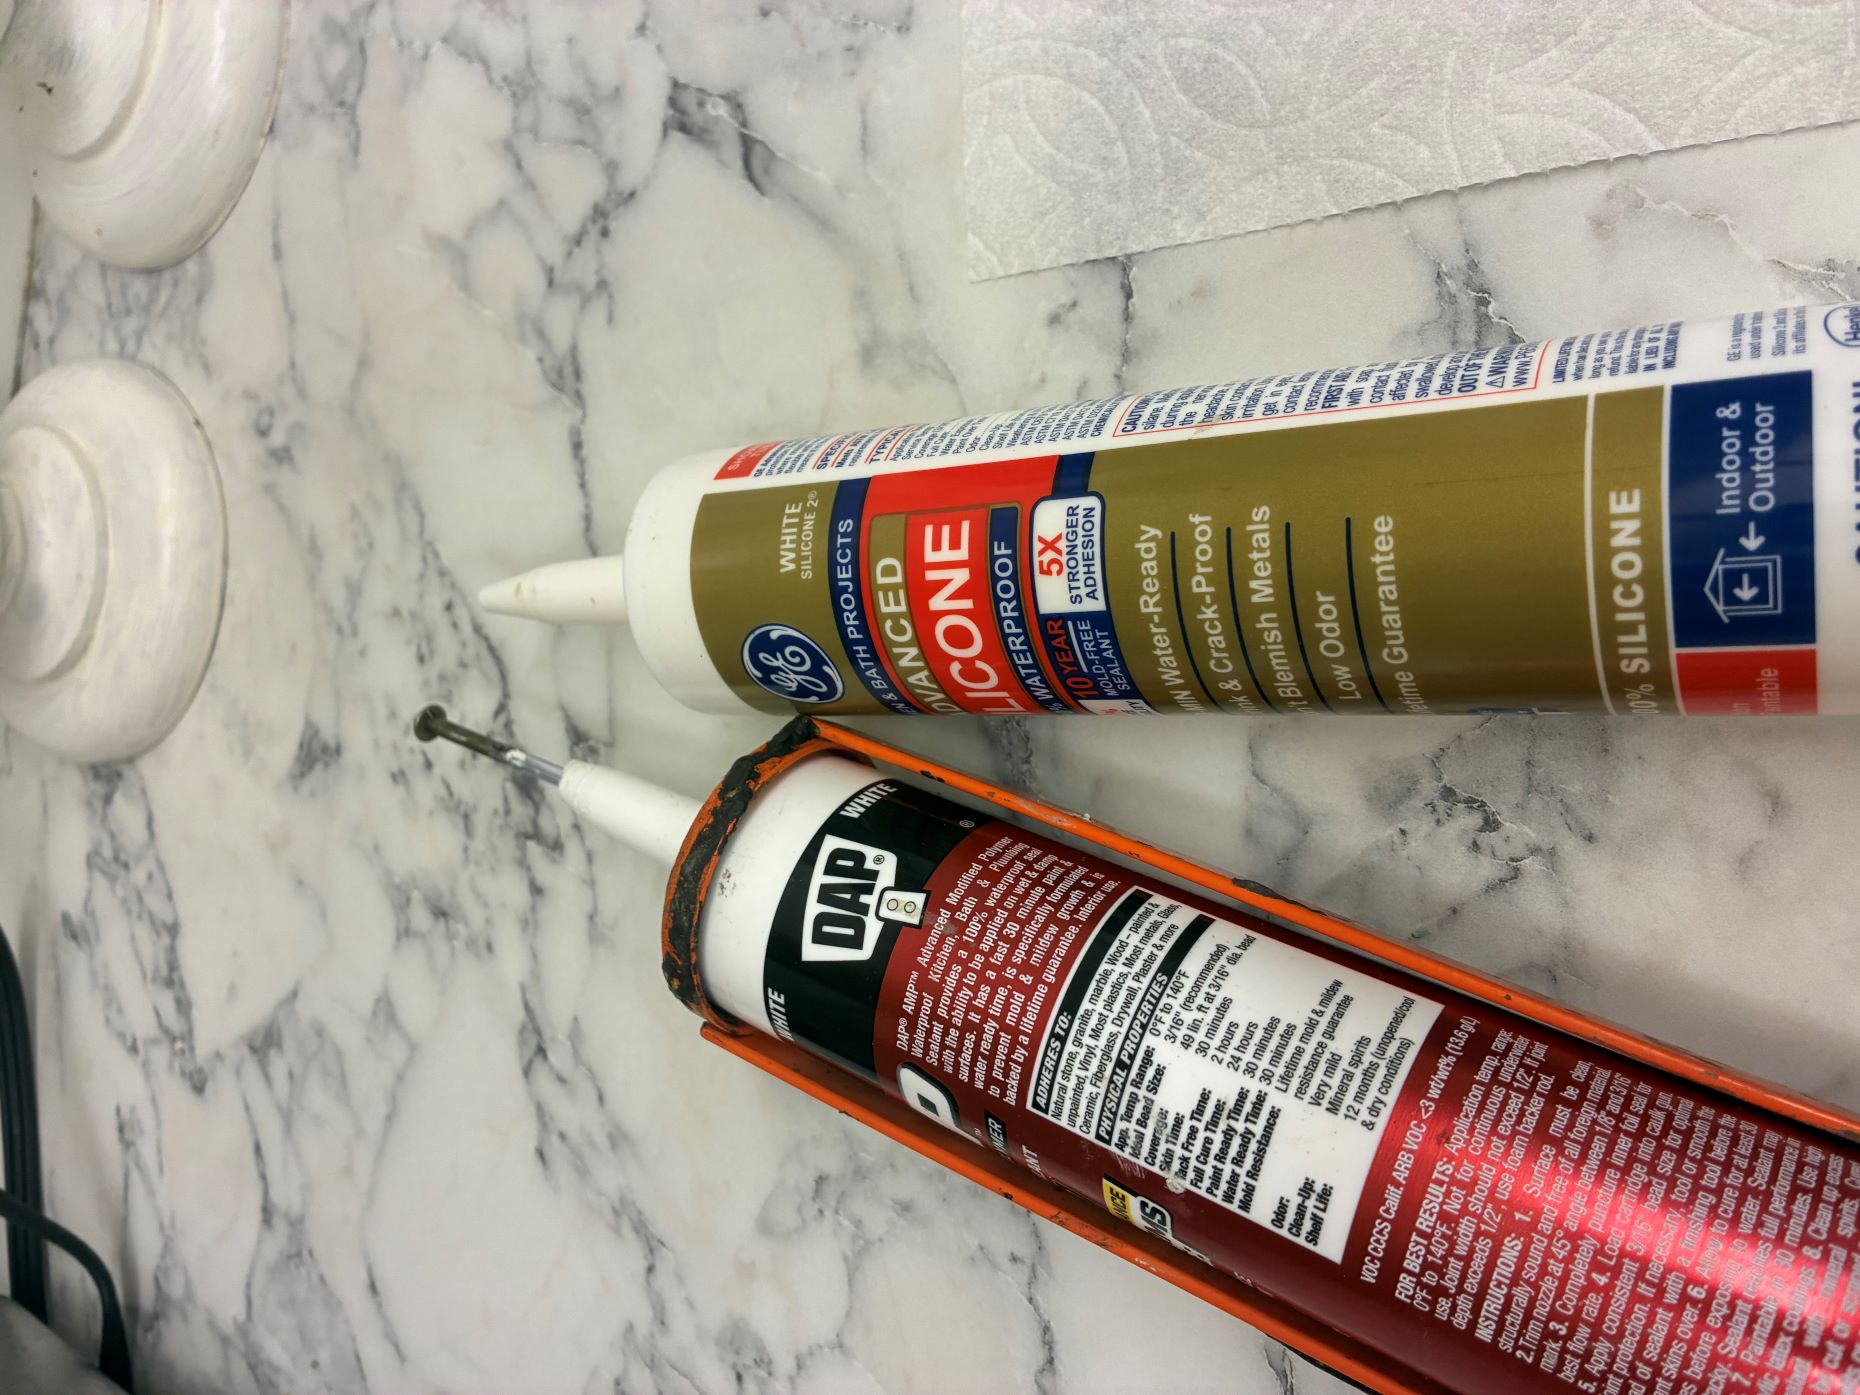
I thought that I would just quickly put a bead down. The more I can spruce up, the better the chances the buyer will be wowed, or at least not turned off. I had an open tube of kitchen/bath caulk. The best application for this is 100% silicone, that is not wholly important other than to say it is not water based. It requires mineral spirits to clean up.

In fact, I had two tubes. One was clear and the other is white, see picture above. The clear one had clearly given up the ghost. I determine that by forcing a nail into the small opening at the nozzle. If and when I pull the nail out and I get some still wet material, then I consider the tube viable. I would then set about trying to get at the good material.

The clear was clearly dried out, but the white was not. So, I set about poking and squeezing until it was flowing. If I can get away with it, I will cut half the nozzle off but that amount of opening causes a very wide bead. That tactic is not really suitable for a for a bath job unless you are OK with it all over the place. I was not.

Twenty minutes of poking and cleaning my hands and tools off with mineral spirits, I finally got it to flow at an adequate rate. Believe me, more than once I had this thought that I am spending way more money in time than just going to purchase a replacement tube. The nagging problem in my head is that this perpetuates the cycle all over again. I had to get it done quickly because I had 30 minutes before the showing so I persisted. Fortunately, I felt like the smell of bleach that I poured around the shower to try and subdue the mildew significantly overwhelmed the pungent, vinegary smell of silicone caulk or the petroleum smell of ‘Odorless’ Mineral Spirits.

The job got done and I screwed the electrical wire nut back on the nozzle. I know full well that the next time I want to do something like this again that this tube is likely shot at 3/4 full. I was lucky to get a second project out of this one as it is.

End Your Programming Routine: I used to keep a small tube of hand squeezable caulk. However, it also dried up. Just like we are buying half gallons of milk now, these things can almost cost as much as a standard tube. But, at least there is not so much waste. Now that we are moving to a newer house, I am expecting less home improvement projects. Maybe it is time to go back to the smaller tube?

September 5, 2024 – Peter Piper Picked a Pack Of Pickled …

Cucumbers. One of the things that my new approach has freed me to do is write more complete posts. In the recent past, I would have written an article starting something and then maybe I would have come back to it a few weeks later. Because I have released my pressure to write everyday, I can now save up and get out what I really want to share in the format I want to use.

One of the things that I wanted to do with my crock is make some pickles, the original way. I love vinegar and quick pickling but I want the preservation skill of anerobic fermentation. In fact, I have heard that fermented salsa is the bomb. It makes me want to get another, smaller crock to satisfy all of those itches of things I want to try.

A few weeks ago, my son wanted to make some Korean military stew otherwise known as Budae Jigae. This was perfect timing because I used copious amounts of kim chi in the dish so I could clean out my crock and get prepared for the pickles I was going to make. The neat thing about budae jigae is that it was perfect for the wilted baby bok choy and a couple of stray hotdogs in the fridge. You literally just throw things in that you want to use up.

I went to the farmers market in search of fresh Kirby cucumbers at a good price. I found them, minus the good price but hey I appreciate them making money and continuing to be there year after year. Pickles are pretty simple: cucumber, dill, garlic and salt is all that is needed. I threw in about half a cup of pickling spice because I had it and I like a little extra kick.

The one thing I couldn’t find was fresh dill. I see it in the grocery store around this time of year, but I happen to know someone that has copious amounts of it, my parents. I haven’t seen them much this summer since most of it I have been holed up in Portland. So, I thought it was good to go see what was going on with them and collect as much dill as I wanted.

Unfortunately, it took me a couple weeks to get this project going after I had everything; still having hangover events to being gone all summer (like everyone else’s doctor appointments). I washed and sorted through the suspect cucumbers that stayed in the refrigerator too long. From the recipes I read, it said that day of pickling will yield the crispest results. I had to deal with the situation that I had.

Prep you ingredients and cover with 3% salt solution. That translates to two tablespoons of salt per quart. Wait three to six days and you have pickles. It seemed a little improbable to me that it would be that fast. However, the picture below is after six days.

The real results are how do they taste? I thought it was pretty good considering I really didn’t know what I was doing. I thought that they were missing a hint of sweetness but I don’t know where that would naturally come from. My wife said that they were way too garlicky. I deliberately put more in because she said that she wanted lots of garlic. Oh well, she is highly subject to strong tastes and smell right now anyway. Maybe as she heals, she will like it more.

Something I would do differently next time is not make so much. I bought 11 pounds of cucumbers. It filled my crock for sure but what happens if they are not good or turn? That would be $20 down the drain. It is always better to make more next year than bear the sting of failure or waste.

Speaking of turning, like all fermenting it continues until it is done. So if you are happy with the current results it is hard to stop. The concept of cold crashing or cooling them to halt the fermentation is in order. That presupposes that you have a fridge or somewhere cold to put the crock. I do, but I think I will leave it in the basement in the name of science this year.

End Your Programming Routine: I am looking forward to a late summer burger soon. I can have all the pickles I want without feeling guilty. In fact, it would probably be best to get on eating these fast before they get forgotten in the basement. I would definitely call this a success with an eye on perfecting the recipe in future years.

October 4, 2023 – Grape Juice, Method 3

This was not just a good year for apples but also for grapes. I got plenty of Concord grapes which best use is for juice. I have made wine with it before but the criticism for this wine is ‘grapy’. I concur. If I was to make wine with it, then I would probably use it for mulled wine or cooking. It is really not a sit down and have a glass situation.

If you recall last year, I attempted to use the apple press to squeeze the juice out. That worked, but it also required a lot of cleanup. Several years before, I used the Norpro Juicer. That worked as well but it sure packed the skins into the screen and required multiple stop and clean out operations. I stack rank the apple press over the Norpro but I want something better.

I did do some research on other options. Results I got that I am sort of loathe to try were to put the grapes in a blender or use a potato masher. I decided to try a third option. This was a light simmer.

The knock against this method is that heat potentially kills beneficial compounds found in the raw grape. If you were going to can the juice or make jelly, I don’t think you should give it a second thought. You have to heat those anyway to do those forms of preservation. My plan is really just to make juice to drink, but I am more interested in how easy and the mess factor that is involved rather that the nutrition nuances. Lets face it, if the option is less nutritious juice or letting them whither on the vine, you can guess where I come down on that decision.

Like all food processing, I start with cleaning and grading. I want to remove all of the split, moldy grapes as well as the insects that came around for the ride. Truthfully, if I am going to heat an pasteurize everything it probably really isn’t necessary but the thought of bird poop in my juice is quite a turn off.

I decided to de-stem all of my grapes. The reason that I did so was to give extra quality control. It allowed me to observe which grapes I was selecting. That being said, this took quite a bit of time. If I was truly looking for the simple button, then I would throw the whole cluster in the pot.

I turned the pot on medium low and set about to prepare dinner. Once the bottom layer started boiling I kept turning down the heat. I was trying to minimize the amount of heating, but I was doing other things so it was a low effort operation. I would say it was on the stove thirty minutes and probably simmering for twenty.

What you see in the picture was about a quarter of a 5 gallon bucket of grapes. That yielded about 1 quart of juice in this method. This took me about 30 minutes to prep and about another 30 minutes of filtration and clean-up. Still a lot of work.

I only juiced part of my grapes in this test. The next thing that I am going to do is try different levels of filtration. I used a hop bag to do this and it was too fine resulting in a lot of squeezing and manual manipulation. I think that it will be faster to do a two step filtration. An initial coarse filtration for the first press followed by a fine filtration for the finished juice. Of coarse, that will make more clean-up work, but I am hoping that the there is less clean-up time than squeezing time.

End Your Programming Routine: I am no juice connoisseur, but it tastes pretty good to me. My observation of the wine industry is that it takes a lot less care and handling with the grapes than I did for the juice. The reason is that it is too labor intensive to do what I did. That being said, don’t worry it will be fine. If you choose not to process your grapes, I wouldn’t blame you either.