Tag: maintenence

January 4, 2023 – Take Your Saw Blades To the Dentist

You know, I suppose that I am lucky. I go to the dentist twice a year. One time I was talking to my dentist and he said that some people have teeth so bad that they have to come in once a month for cleaning. Whatever the chemistry or the diet or the personal habits are, there is enough build-up necessary to have a cleaning session.

A lot of times, your saw blades have the same problem. The quality of the cut is not necessarily the sharpness of the blade, but the build-up of the sap/pitch/crud on the teeth. Not only does that build-up effect the quality of the cut but it also effects the quality of the blade. Meaning, the harder the metal has to work the more heat build-up there is and the more likely dullness and or damage will occur.
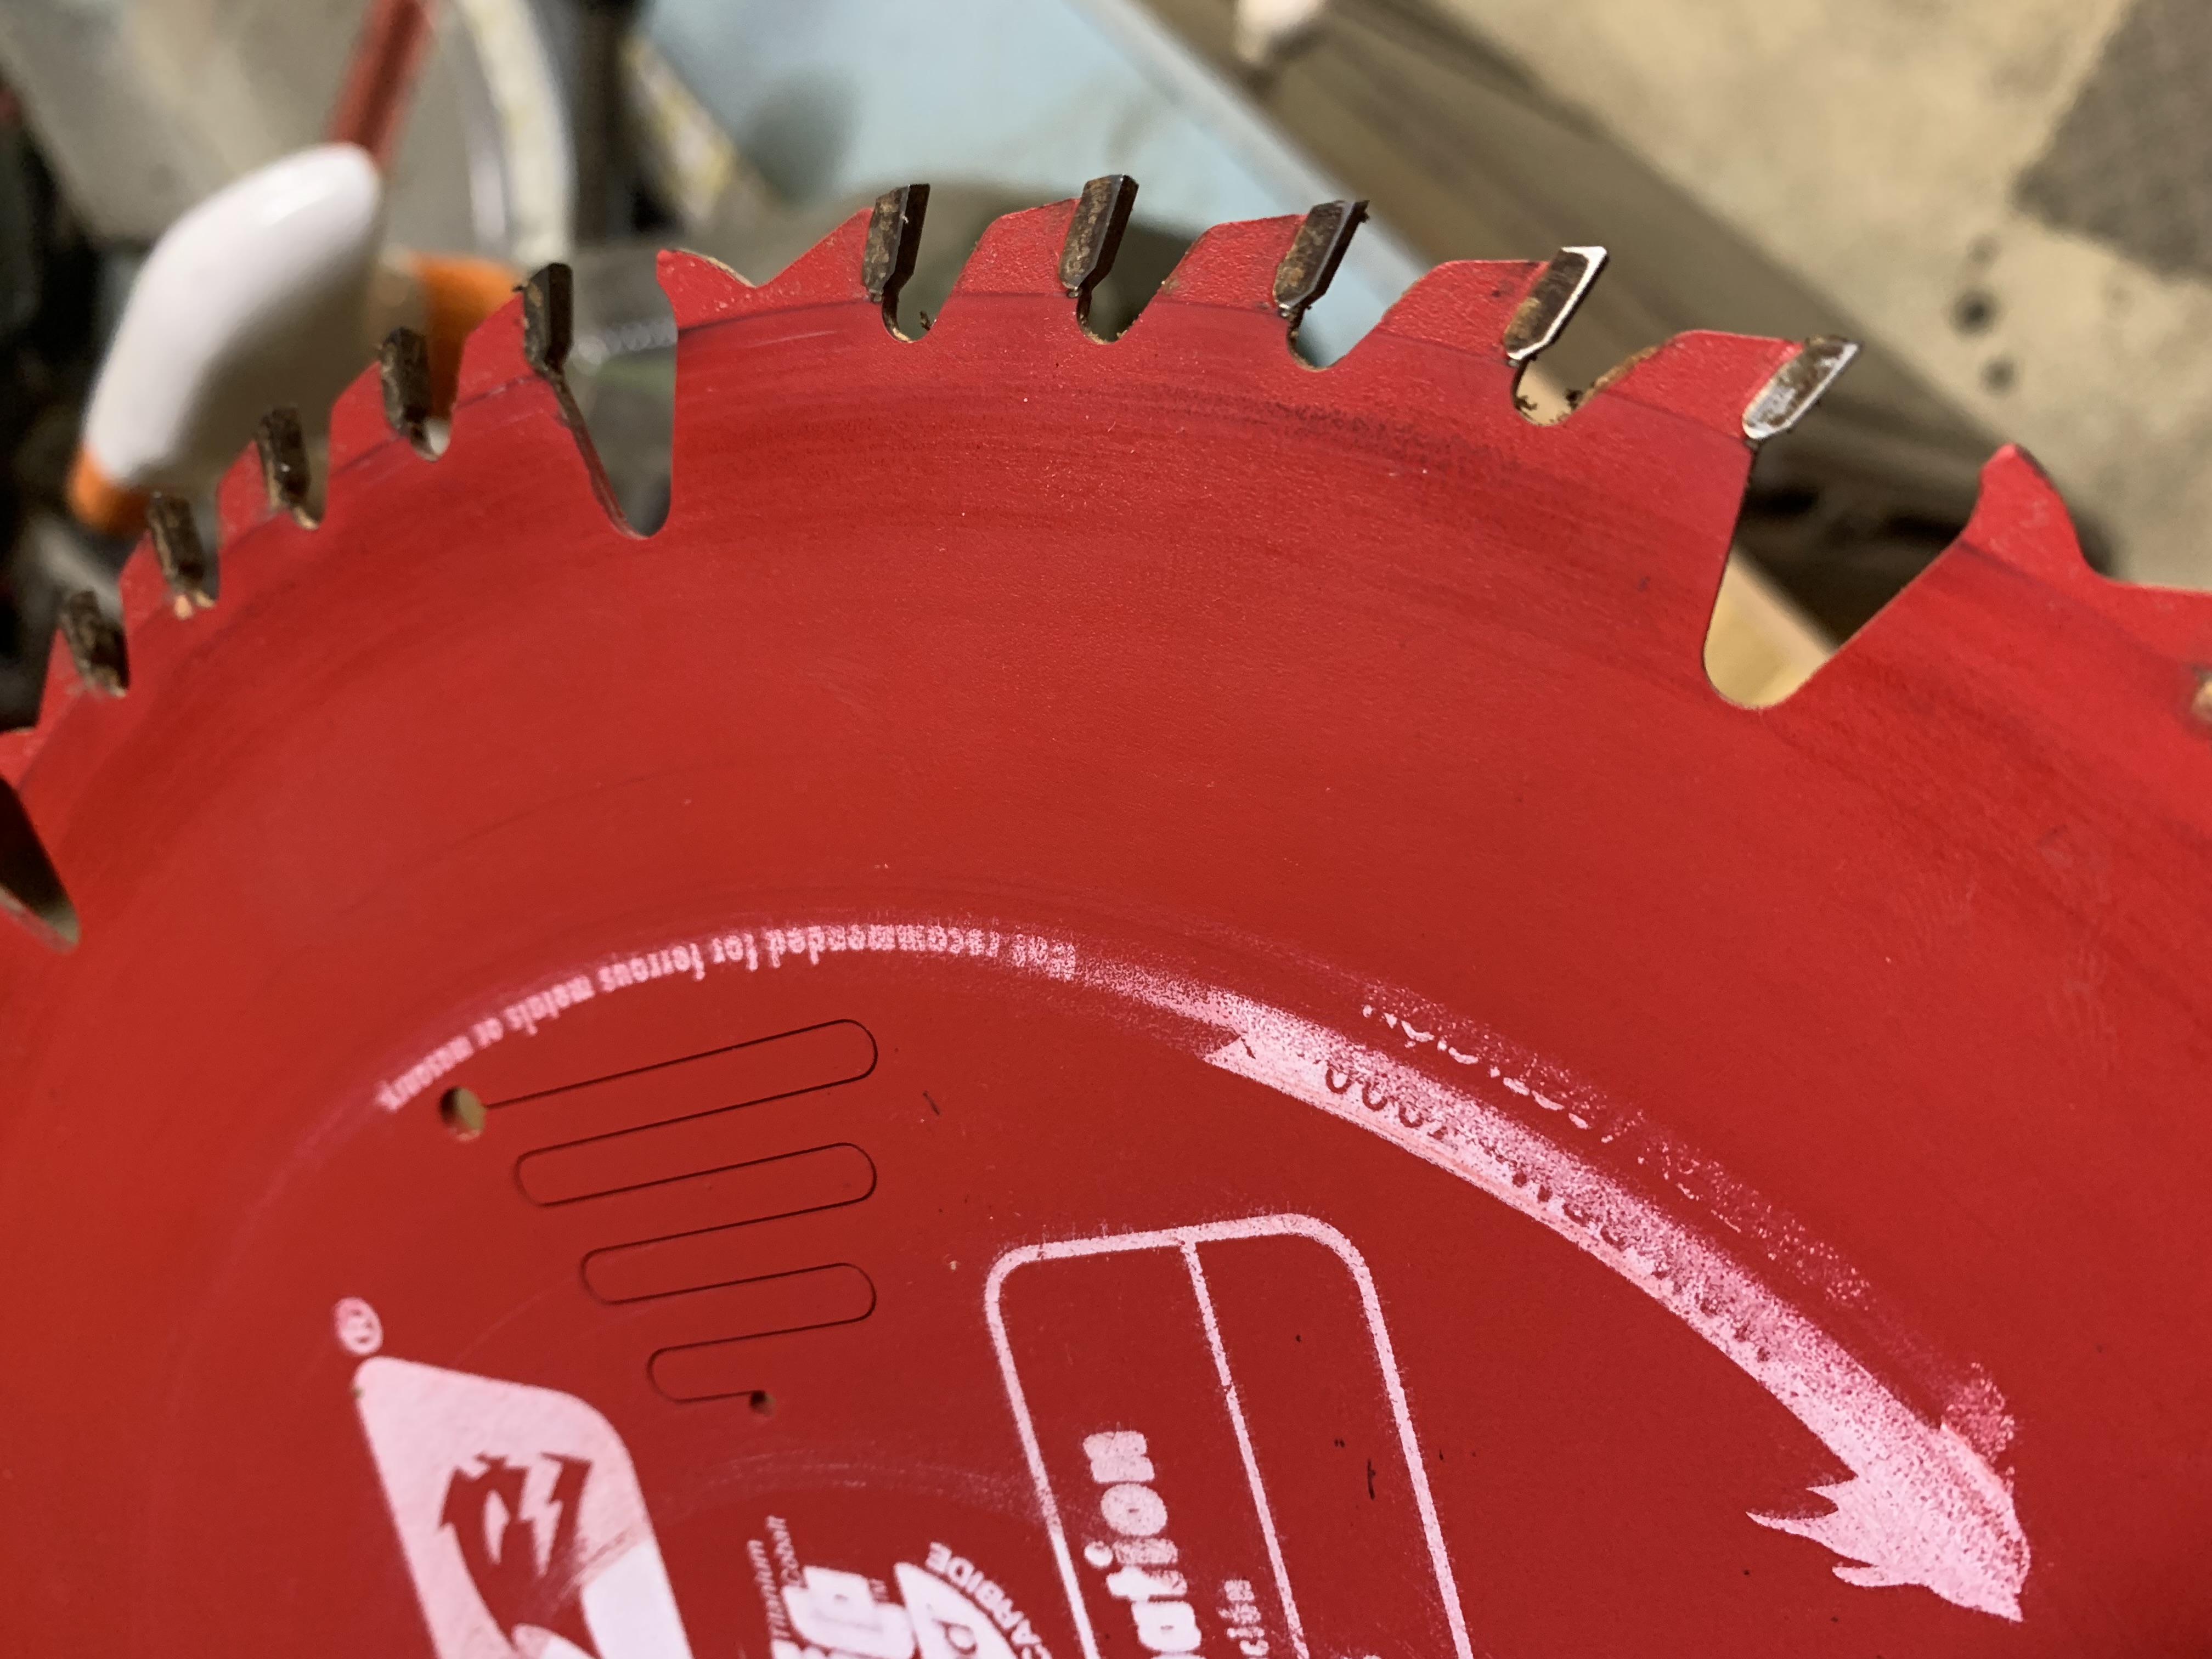
Just like the dentist, I brush my teeth, then I scrape them using something like an X-acto knife and then I brush them again. My picture above is after brushing them once. First, I spray on some simple green. I have the blade in a very cheap automotive fluids pan to contain everything and let them soak for 15 minutes. Then I use a bronze bristle brush like you would find in the gun cleaning section of the store.

When to to this is usually visually apparent. You can see the build-up on the saw blade. Now, I am as lazy as anyone else. I don’t like doing this and it takes away from my productive shop time. So, I make the decision on a task by task basis. If I am cutting construction lumber, then I don’t really care so much about cut quality, but on my woodworking projects, I do care about the finish cuts.

All that being said, I would also be more diligent depending on the quality of the blade. The one pictured is a $40 blade today ($30 at the time I bought it). I suppose that this is nothing to sneeze at but there are much more expensive blades. It is a decent quality blade and cut, but in the end these are consumables.

And with all of that, I am not manic about it. I spend thirty minutes doing the major cleaning and maintenance and then I move on. It doesn’t look like it came out of the box but it works much better than before I cleaned it.

Before I scare anyone off, the frequency of cleaning has a lot to do with what you are cutting. I tend to cut mostly fir, hemlock, cedar and spruce. These are high resin woods where the buildup happens immediately. Working with the American hardwoods like oak, maple, walnut and others the pitch buildup will be significantly less. My air dried fir has hidden pitch pockets that are still liquid so it doesn’t take long to coat everything in pitch (including my fingers).

Up until this point I have been referring to circular saw blades. Band saw blades are effected even more from buildup. When I am re-sawing boards, it is nearly impossible to get a straight cut when the blade is not clean. I do the same process, I just leave the blade on the saw when I do it.

There is probably a lot more to say on the topic of saw blades in general but I wanted to focus on cleaning them today. There are specific products for this job on the market, but Simple Green (or generic substitute) works just fine for me. That being said, I have never tried them so they may work better than what I am doing. There are other products that are meant prevent the problem in the first place. Think of it like Pam for your tools. I worry about that stuff effecting the finish that I eventually put on the wood.

End Your Programming Routine: If you are struggling with quality cuts, take a look at your blade. You might be amazed at what a difference a cleaning will make on the final outcome. You also might need a more appropriate blade for your task, so try cleaning first, then replace if results are not desirable.
October 27, 2022 – ‘Tacticool’ Thursday

Things aren’t always as they seem. I have switched pellets from Gamo to Crossman, most recently to use up a partial container. I sighted in my rifle and then I went on with my day. A couple of days later, I was shooting offhand and I saw that my group was terrible. I had been shooting offhand with the Gamo pellets within a 2 inch group, sometimes even within a quarter.

I am shooting offhand on purpose. This is training for hunting. Sure, if you can have a rest, then it is better, but most deer I have shot have been without any sort of rest. So, this is finding the scope, trigger control and breathing.

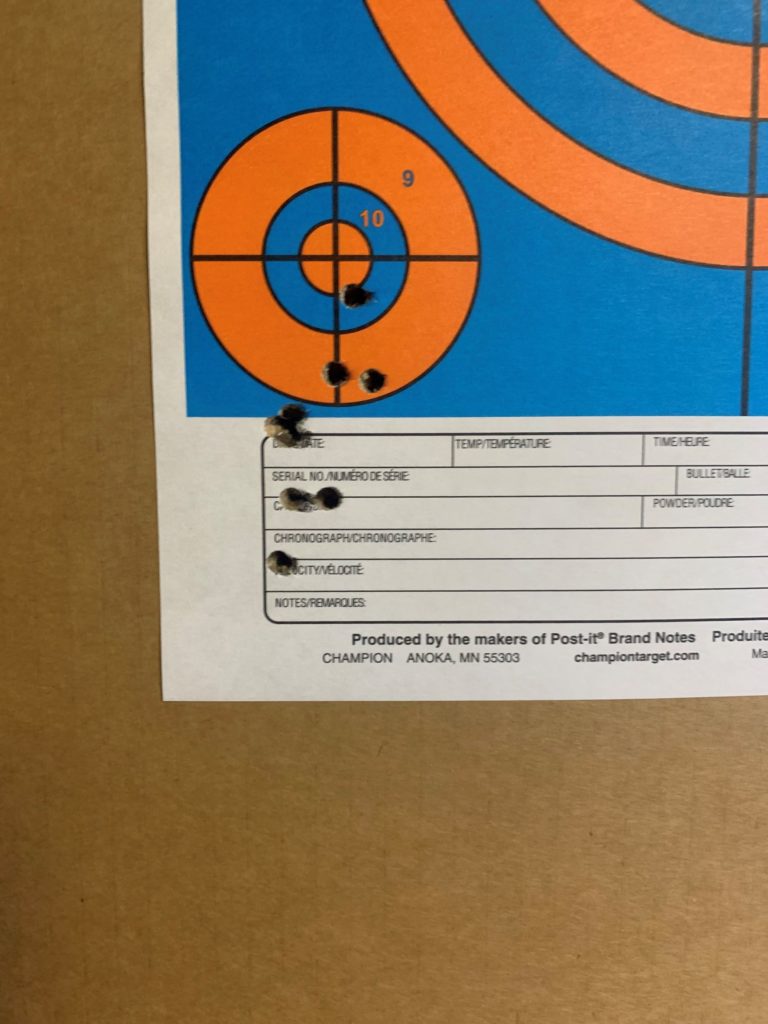
At first, I thought it was the pellets, so I shot on a rest again and I was getting quarter sized groups. Then I thought it was possibly my eye sight. The group above had one group (of five) with my glasses off and one group of five with my glasses on. They were not great so I decided to try this experiment again with deliberateness.

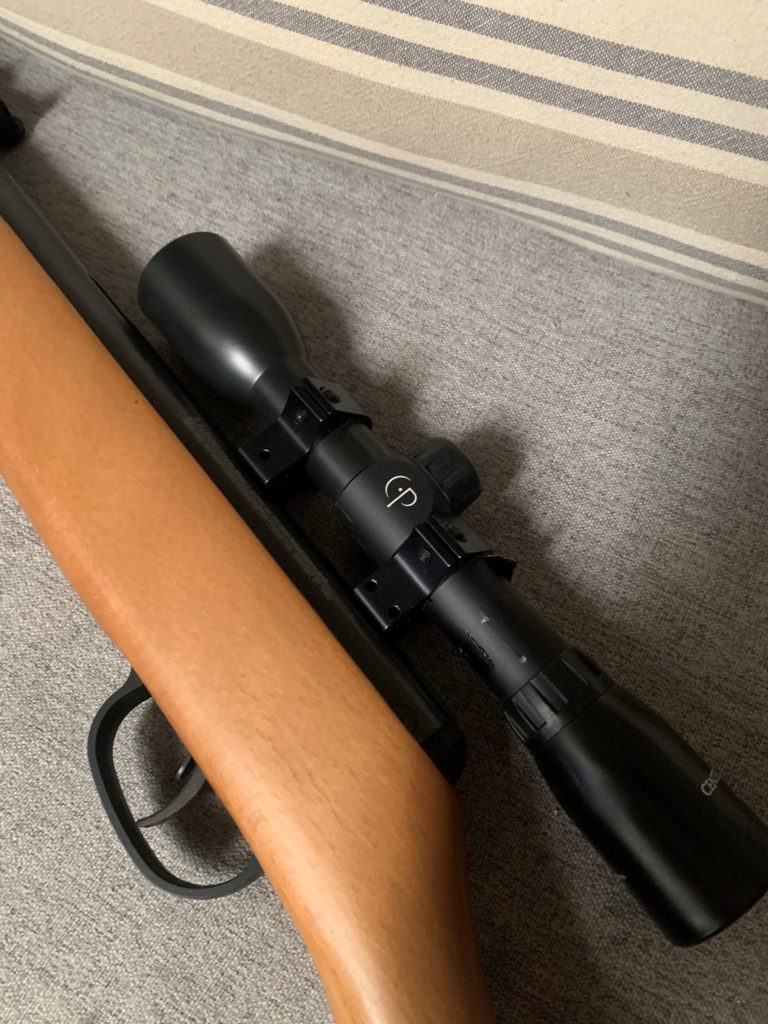
This time, whether glasses on or glasses off, the group was all together, so I decided to look deeper. I noticed that the scope had slid all the way back on the rings. When I went to loosen the hex screws, they were already loose.

I have heard that airguns are hell on scopes. Just this week, I also tightened up the metal to the stock. Now, the scope was loose. I am happy to say that things are back where they should be. This is the first ever recoil induced failure I have ever observed.

I am one of those fix it once, right kind of people. So far, I have only just re-set and tightened everything up. But without doing something different, this is going to happen again, so maybe I ought to use some blue Loctite.

End Your Programming Routine: As I said at the beginning, things aren’t always what they seem. I still believe that there is some more variability in the Crossman pellets. They do not seat tightly and my groups are more open than what I have been shooting with the Gamo pellets. That being said, my first clue should have been the adhesive pad backing out from under the scope mount. I didn’t know why that was happening, but now it seems like it was the scope moving.

February 11, 2020 – The case for changing your own oil

The warning light had been illuminated for over a week now. Then, last Saturday, my son ran into the house yelling ‘the car is on fire!’ I immediately dropped everything and went outside to look at it, maybe use the fire extinguisher. Fortunately, it was a coolant hose that was dripping onto the hot engine causing steam and stink. I said ‘shut it down, this car is going nowhere’. We all had to pile into the old pickup to get to our scheduled family function.

I keep supplies on hand for doing maintenence

Today I spent a some time doing maintenance including replacing the heater inlet hose. The following is a time line for the oil change.

  • 3:05pm – Pull into the garage
  • 3:10pm – Remove the oil plug
  • 3:20pm – Replace the oil plug and remove the old oil filter
  • 3:30pm – Replace the oil filter and start filling oil
  • 3:40pm – Complete

Now, I normally do not spend thirty five straight minutes changing the oil. It usually takes me much longer because instead of pushing through all of the steps, I drain the oil and go do something else. So, I really don’t calculate the time it takes at all. The only real impact is that you must be around and that particular vehicle is not moving during the process.

In between the steps that I listed, I refilled the washer fluid eliminating that warning. I topped up the coolant that was lost during the hose change and I did a quick visual inspection of the other systems and fluid. I hardly know anyone that changes their own oil and I think that is a shame. Below are some reasons why I think changing your own oil is a good thing.

  • Time – Unless you have an appointment somewhere, you aren’t going to get a much faster oil change (consider the drive). I run my supplies like a pantry and pick them up when they are low, eliminating that emergency or specific shopping trip.
  • Peace of Mind – looking under the hood gives you a view of how your car is doing. You can see wear, leaks, battery health and other observations that indicate your car’s condition.
  • Tools and Skills – I mentioned this on a previous entry but tackling some of the easier jobs gives you the confidence and the ability to take on more complicated tasks. I was able to identify the hose leak, order the part, and replace it in about an hours worth of time. I don’t even want to consider what a hassle it would have been to get it to a mechanic, let alone cost.
  • Cost – Filter $4, 6qts Motorcraft 5/20 synthetic blend $24 for a total cost of $28 (minus labor). That is an OEM oil change, see what Ford charges.
  • Better Service – Almost every used car that I have purchased has a stripped or dripping plug because oil change businesses don’t care. They don’t use premium products and they don’t treat the vehicle as their own. I also don’t try to up-sell myself on BS services or scare tactics like ‘air’ in my differential fluid.

I suppose the counter arguments are 1) there is no place to do an oil change like an apartment 2) the car is a lease and you don’t care about longevity 3) you are physically unable to do the work. Those are the only real objections that I can think of. Don’t be one of those people that cant be bothered, buy some tools, read a manual or watch YouTube, get to it and good luck.