Tag: home repair

January 18, 2023 – How Hot is Hot Enough?

Recently, I noticed a problem. It seemed like the first five minutes of the shower was hot and then it went lukewarm. I didn’t think that I was imagining things so I started to ask some questions. Did my wife take a shower before me? Are the kids here? And the answer was no. Hmm, seems like we might have a problem with the hot water heater.

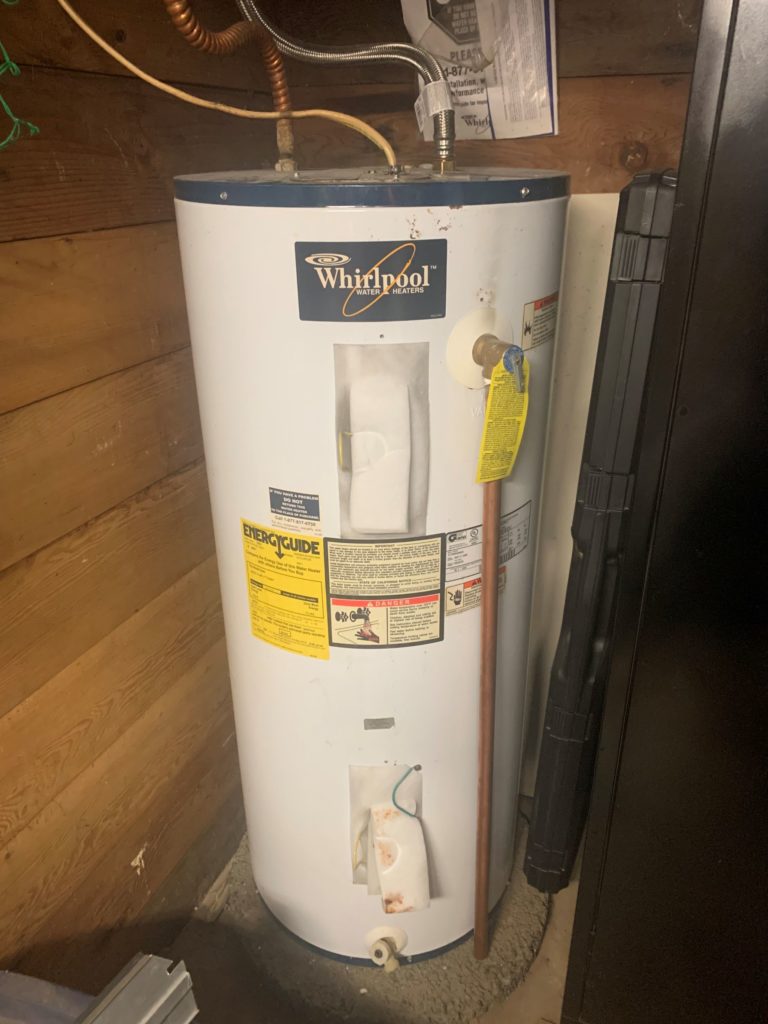
I looked at the date on the water heater, it was dated 1994. So, that is 29 years old folks. The common stated lifecycle is 10-15 years. That means that when we bought the house, we were at the end of the expected duration. But, that is crazy, as long as the tank is not leaking (meaning rusted throughout), then there should be some serviceable parts and some way to check it.

Electric water heaters have two elements at top and a bottom. I surmised that there was a problem with the bottom element because there was some hot water. A quick aside on how water heaters work. Because of the temperature gradient, hot water is on top and cooler water is on the bottom. As you draw from the tank, hot water comes off the top while cooler water is added to the bottom. This actually pushes the hot water out. Time to test things out.

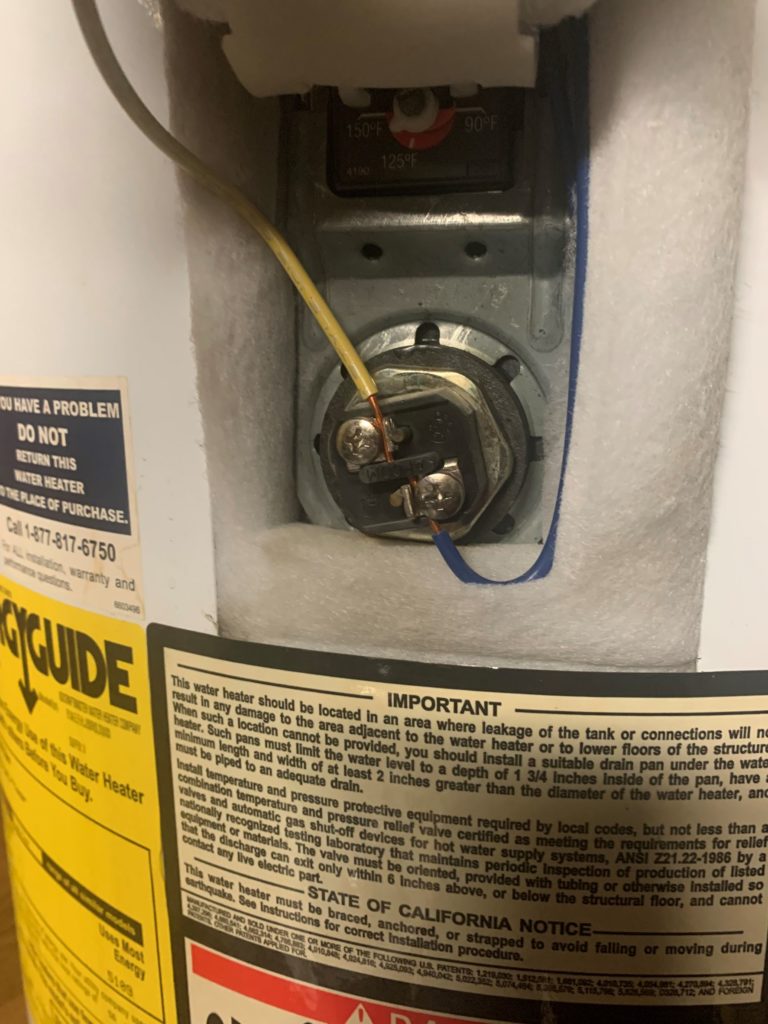
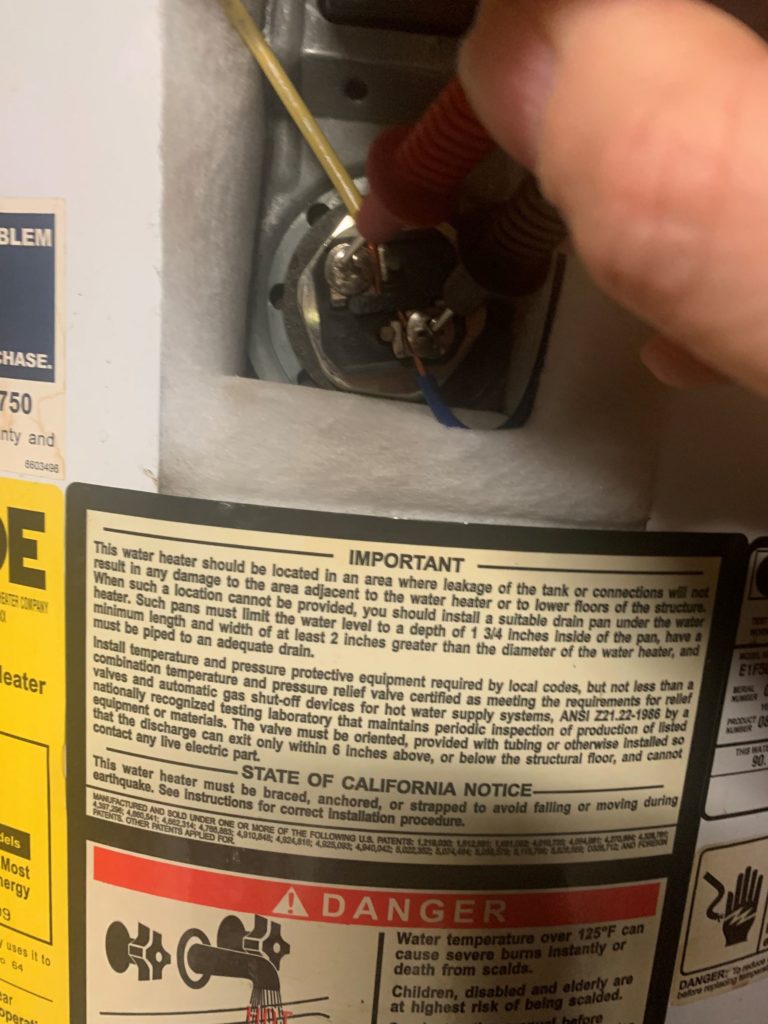
First, take the covers off of the tank. This exposes the elements and thermostats (one per element). Then, with a multi-meter set to resistance (that is the ohm’s symbol omega, sorry I cant add special characters) put the lead on each wire terminal and measure. The expected result depends on your particular element but I was expecting around12 and 13 ohms. From the picture, you can see that the top element measured 13.4 and the bottom measured 0.7 ohms.

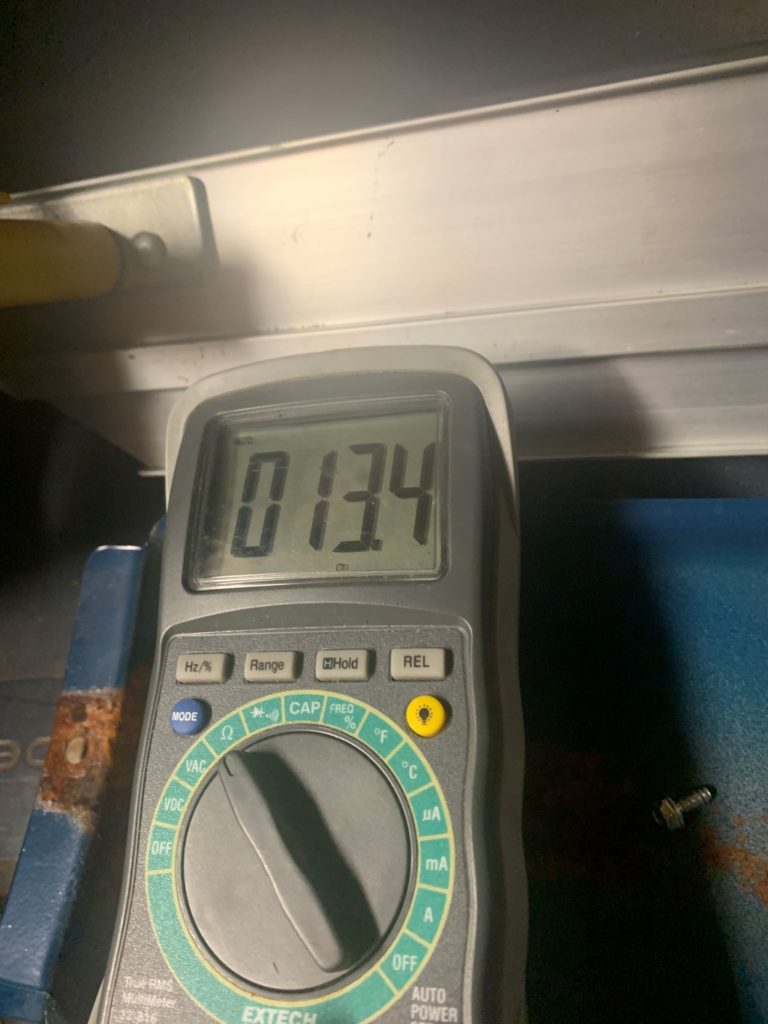
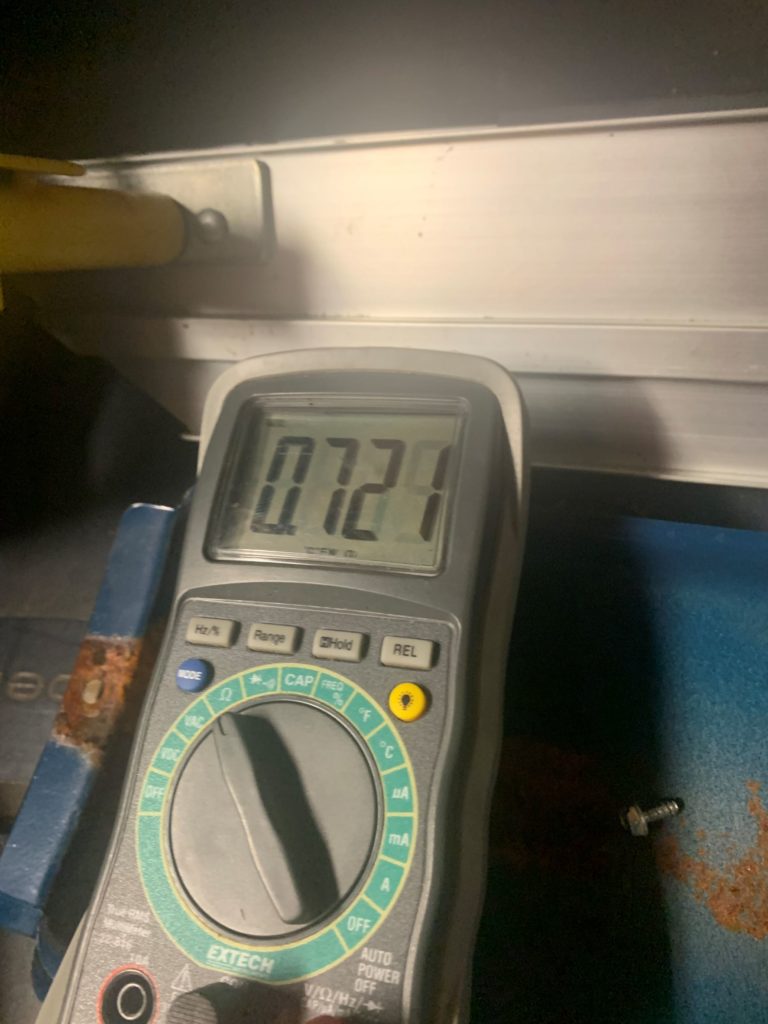
If you remember you basic physics and circuits, 1 ohm is a broken circuit. What is likely happened that the element is all gunked up with mineral build-up. But, the element could be burned out and the circuit is completed with the mineral build up, at least that is my speculation.

Had I gotten two good resistance measurements of the top and bottom elements, I might have turned my attention to the thermostat. In theory, those could be tested too, but it is more complicated and I didn’t do it so I am not going to talk any further about it. I am going to attempt to replace the elements.

I say attempt because I hope that I can get the bottom element out. There is a lot of corrosion around the element and who knows what the inside is looking like. I will probably look at the top element and will make a decision as I get there. The replacement I ordered comes with two elements and is billed as a ‘tune-up’.

End Your Programming Routine: If you are interested, stay tuned to follow up on this project. What I am trying to get across today is that things like this are not out of reach of the average homeowner. A little knowledge of how a hot water heater works and what is possible can lead to saving a lot of money. I don’t know this for a fact, but my guess is that a plumber would replace the whole thing because after all, it is three times older than it’s expected life.

September 9, 2020 – Review: HingeMate 350

I have been saving this one for a while. I have been waiting for a day where I needed a topic quickly, today isn’t that day but I have been sitting on this for over a month. I am going to discuss the finer points of the HingeMate 350 today.

What is the HingeMate anyway? It is a template set that is used to create mortises for doors and hinges. It has pretty much everything you need to do that job, except the router. I purchased it at Lowes for $38.50.

There are plastic templates for the router to use from 2 1/2″ to 4 1/2″ hinges. It can accommodate three different styles of hinges in those widths, 5/8″ radius, 1/4″ radius and square. In addition, you can also mortise strike plate mortises as well as lock plate mortises.

This was a job that was traditionally done with a mallet and chisel. And it can be done, it is not too hard. But it is tedious and takes quite a while (at least for me). I recently replaced doors on my project after spending hours truing up the frame and opening, so I wasn’t too excited about ripping out the frame along with the finished trim, I thought that I would give this a try.

When would you replace a door only? I would say that if you are happy with the swing operation and the trim detail, it is a perfect scenario to only replace the door. The trick is that this is kind of a precise operation, hinge placements need to be exact in order for the door to work. It is easiest to transfer measurements from the old door to the new door for the best results.

The way that this product works is that you select the template that you want to use and place it in the template holder. The template holder is adjusted for the door thickness and placed in the precise spot that you want to work on the door. The whole apparatus is screwed to the door. The bit is put into the router (not included) and then you adjust the depth of cut for the hinge thickness.

Rout the hinge mortise, remove the template and test hinge fit. If you are satisfied, drill the holes for the hinge screws and mount the hinge. Here is a tip, for best door operation, the top of the hinge face should be completely flush to the door edge, not proud and not inset. Otherwise you get into all kinds of binding and geometry problems.

How did it work? Well, it worked perfectly on my first door. It fit on the first test. My second door I had to make modifications to the door in order to make it fit, but I dont believe that it was a problem with the HingeMate but rather the opening was still a half an inch out of plumb.

So, what is the verdict for the HingeMate?

AdvantagesDisadvantages
Value4/5You cant argue with the price. The professional Porter-Cable version is over $250You need to supply your own router. That is another $100 if you do not already own a 1/4″ collet router
I bought this to cut hours of chiseling, I felt that I could do an entire door in the time it would take to do one hinge by hand.If you are only cutting one hinge size (or hinges only) you get a lot of extra pieces that aren’t necessary
Would like to have a storage case for all the parts. You have to cut the packaging open to get them out and there are a lot of loose parts around.
Quality3/5Followed the included instructions and got acceptable results. No flex, no wanderI noticed that the compression fit of the templates tended to loosen with repeated installation into the fixture. I fear over time, the fit would become too loose. That is not substantiated at this time
It was fairly persnickety to accurately place the fixture, the marks are not very precise and required a lot of verification measurements.
Performance3/5Hinges fit tight and flush. I was very happy with the mortises and the speed of the job.The precision of this jig depends on how good you are at measuring and setup. 1/8″ will be extremely difficult to set the door (or repair). I measured four times before cutting.
The only real thing I didn’t like was the screw holes that remained after the fixture was removed. Those had to be filled. It is a cheap and effective way of holding the fixture in place.
The trim router that I used was too small for the template and wanted to fall through in the middle of the cut so I had to freehand. Use a full sized router or an extended base plate to eliminate this problem.

The bottom line is that price for performance is there. I wonder about the durability of this product, but for me I am don’t really see using it much more. Again, my main motivator was saving time on installing the new doors, check that box. If you have a need, I can recommend this product. If you are a finish carpenter, go for the Porter-Cable.

April 22, 2020 – Just because it is raining, doesn’t mean the work stops

Looking at the forecast for the rest of the week here, there is definitely rain all day today and it looks iffy until next Tuesday. There are supposed to be dry days but gray with mixed showers until next week. That is a real bummer when you are trying to button up the exterior of house.

So, I thought I would show some progress and then talk about how I am going to work around it.

First of all, I guess that I have been pretty lucky in the weather lottery. Many times in April, it can be just as wet and cold as December, just not as much light. So, the fact that I have had three weeks without a lot of rain is pretty remarkable.

The house wrap is on the back and side (as shown). I have barely touched the front as I can see there is rotten sill. That will have to be repaired before we can button it up completely. My current strategy is to work on those two sides until I run out of materials. I am guessing that will be at the end of this week.

I did drag some of the T-111 and trim boards into the basement for painting last night in preparation. Today, I am going to try and make some progress on pre-painting before installation. It is much easier to paint materials on the ground and touch up nail holes and such when installed than trying to paint everything in place.

Aside from that, I did some drywall damage cutting the rotten studs out and replacing so I can switch to inside. The window trim will have to be modified now that there is a new window. I am vacillating around replacing or cleaning the drywall in places. The main reason is that I think the carpet is in reasonable shape and I am worried that it will be ruined if I start cutting chunks of drywall out and mudding it up.

Lastly, there is always clean-up. At least the way I work, things come out of the shop and get thrown back on the bench when returned. Saw dust piles up and it is kind-of a mess to work in and around. I have been doing it on the weekends as preparation for the next week, so it is not horrible but it bugs me to see things in disarray.