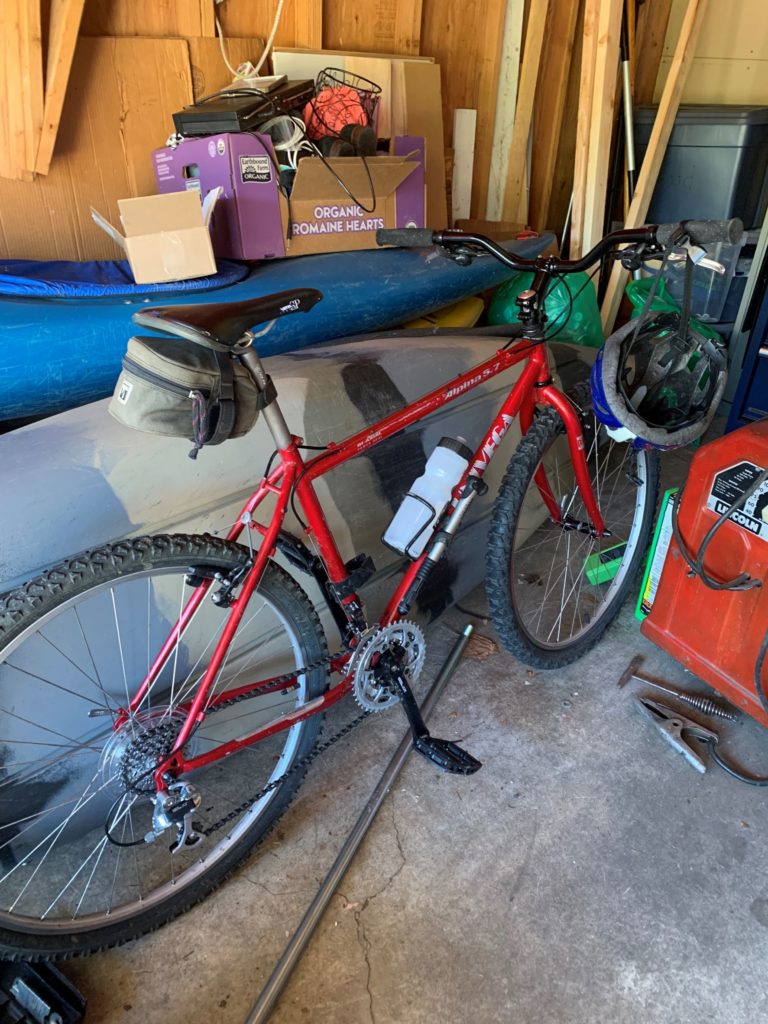
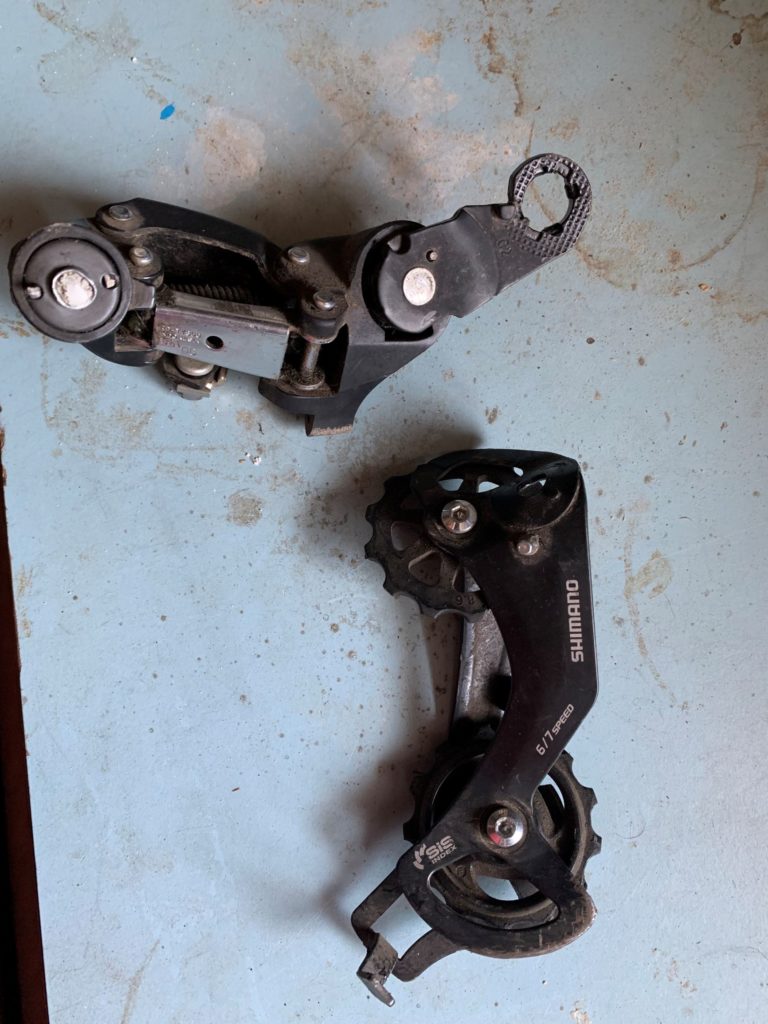
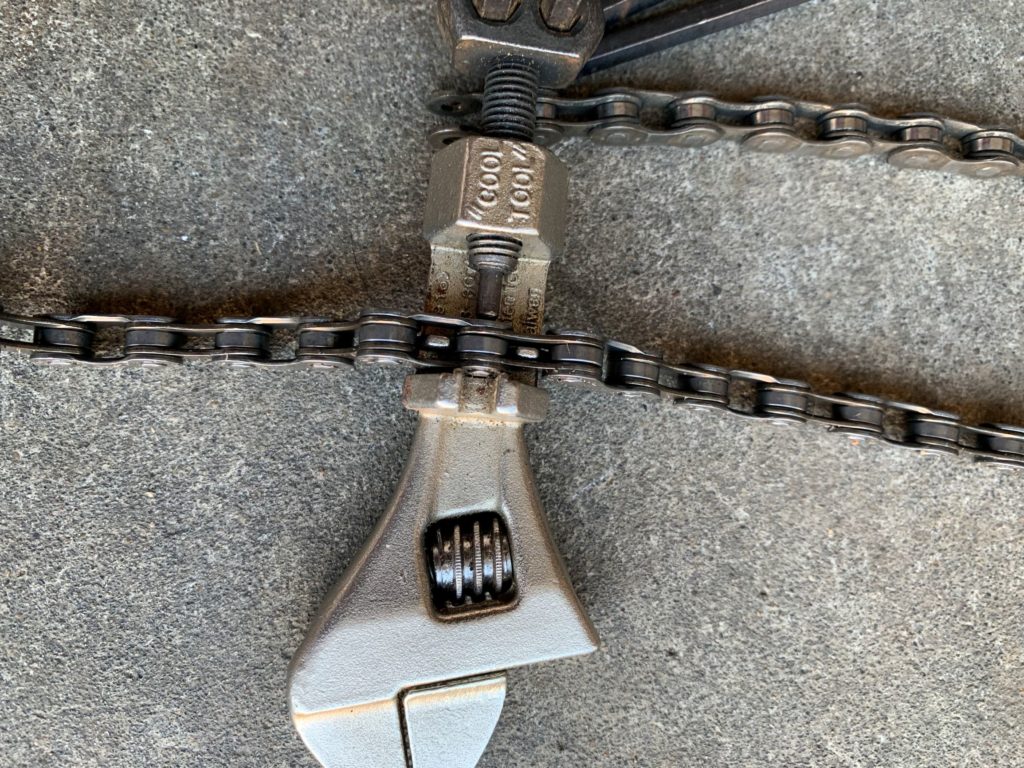
I got my bicycle back last week from the shop. This time, it wasn’t just a tune up but changes that I have been wanting to make for the last 30 years. I started researching bicycles in 1993. I wanted to get involved in a new-ish phenomenon called mountain biking. I was a high school athlete that fancied myself an outdoors enthusiast. This seemed like a perfect combination for me. I did quite a bit of research actually and talked to all of the local bike shops before I made my decision.
My first bicycle I bought in April 1993. I had it until it was stolen in the first of May 1994 (it was fully locked in front of the dorm). I had done a little bit of mountain biking through the year, so I decided to upgrade to a better model. This is still the bike I have now.
At this time, there were very few bikes with suspension. Front suspension had just been invented and there were only a handful of full suspension bikes. The arms race was not all the things you could add to your bike but how well built it was. So, for instance, this is a steel bike that weighs in at 24lbs. There were a few Aluminum frame bikes and there were also a couple Titanium frame bikes as well. Believe or not, I saw a couple carbon fiber frames even.
I think now, most of the performance bikes are Aluminum, not steel. Thoughts on that type of metallurgy is that it is more prone to stress cracking because it is more rigid than steel. I would say that is much more likely when you are riding over bumps and causing additional unintended force. I think if you add suspension, then some of that potential damage is mitigated.

It was always my intent to buy the best bike I could, then upgrade it as time went on. Interest and use had waned over the years. There was a time when I got my bike ready to ride as my kids were of the age of but after using it a couple of times it sat for another season and stopped working again. Another way of saying it was I couldn’t use it when I wanted to without another trip to the bike shop.
One of the things that I wanted to change were the pedals. Mine originally came with what are called toe clips. They were supposed to partially lock your feet into the pedals and give the rider the ability to get power on the pull and the push stroke. The problem with the casual rider is that you needed to wear full shoes, so a casual ride with sandals wasn’t possible. You could flip the clips upside down, but then the clips were frequently dragging, It was annoying and therefore, I replaced them.
I would call my bike ‘higher end’ at the time. Being so, it was intended for more rugged use. This also meant that the rider geometry was aggressive. Conventional wisdom at the time was that a rider would get used to the position. I definitely never got used to it and it wasn’t comfortable to ride over longer distances, even when I was young. I changed the rider positioning with the neck and new handle bar so that I was sitting more upright. Lest be honest, I will be lucky to ride the bike, let alone race it.
I have always enjoyed riding my bike. It needs to work in order for me to do so. My kids are of the age that they will be driving soon so it was worth it to me to spend some money on it.
I am considering possibly making some additional changes (but not this year). I always wanted to upgrade the front forks to a suspension setup. I am also waffling on having a bike that I can use around town to pick-up a few items at the grocery store, rather than driving. That would mean the ability to carry things and probably have some rain protection and less aggressive tires.
To me, the question would be buying a separate bike to setup for town use or modify this one some more. I am leaning toward buying a cheaper second bike and setting it up for around town use. I like the idea of riding my bike to the store rather than driving. It is not about the effort, but the time even though the store is only a 1/4 mile away and a bike would go along way to eliminating the time factor. However, let’s not put the cart before the horse and see how this year goes.
End Your Programming Routine: There is no doubt that this was an expensive job. I spent $350 on the total project. My wife thought that I should have bought a new bike instead of spending the money on all this. In my mind, the changes were worth it considering the quality of the bike ($800 in 1994) to begin with and at least in my mind, a $400 bike is probably a two year bike. Most of the labor cost needed to be done anyway, I added $100 in parts. I hope to get some use out of it this year.


Recent Comments