When I agreed to to take on this task, I knew that it was going to be tough. Now that I am done, I am happy to have this done. Let me say that I am worn out. I decided to do it all in one night rather than splitting it because of the the amount of energy it takes to get started. Meaning, it saves time to keep going rather stop and pick back up again.
Just because peaches and pears are done, doesn’t mean that I am done. I have basil that I am going to make into pesto and freeze. I have grapes that I am not sure what I want to do yet, I might make jelly or I might do nothing. I have my plum wine ready to start. Usually, I make applesauce too. I don’t think that there are enough apples this year to do so.
Today, I am going to talk about the process of canning for high acid foods, specifically pears. The two most important things are having everything gathered up and the sequencing of the steps. Meaning, this process can go much faster if things are moving in the right order.
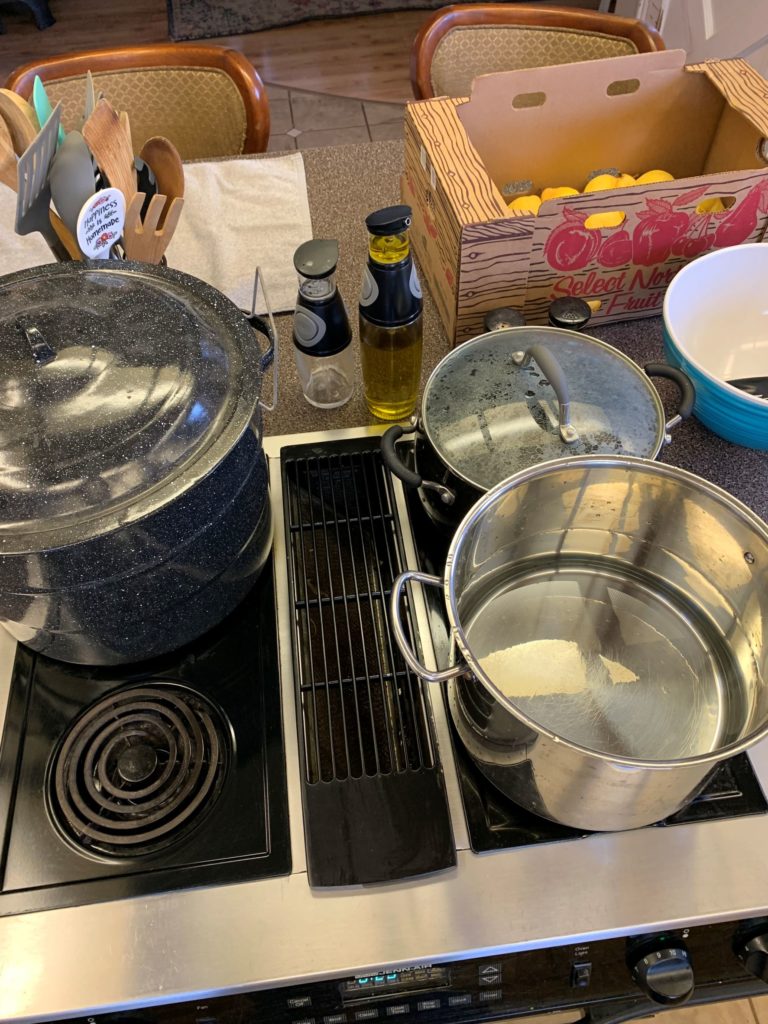
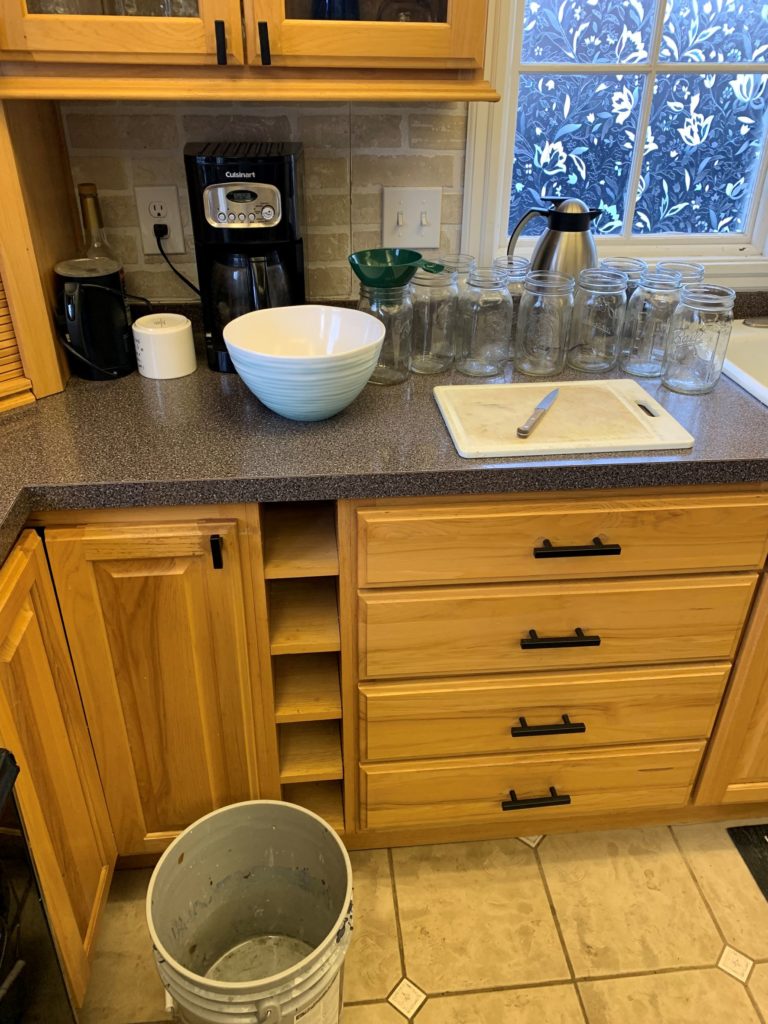
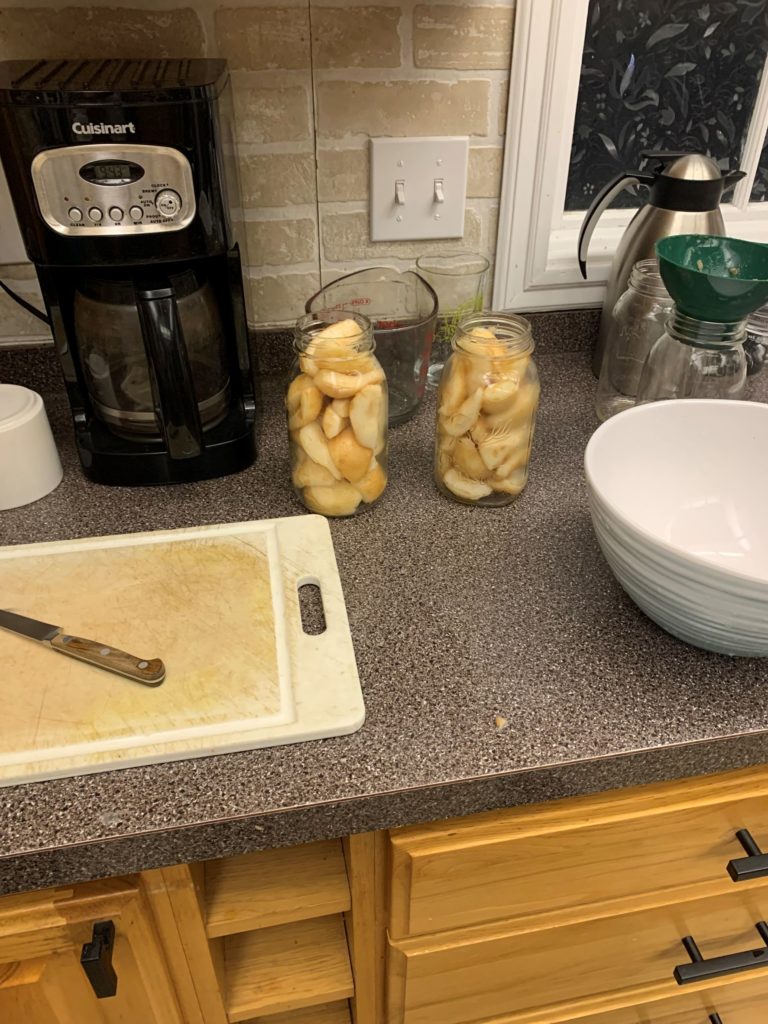
The first thing I do is start heating the water for the canner (black on the left). But as long as things are heating up, get your syrup going (right, back) and heat up the scalding water for peeling (right, front). Have your workspace laid out so there is somewhere close to put finished jars to cool. In the right picture, I have the prep station setup including someplace to dump waste. I have the lids already off and the jars lined up so that I can move the funnel from jar to jar quickly and minimizing the mess.
I tried a new way of peeling this year. It involved scalding the pear for 15 seconds, and then immersing into cool water. In theory the skin peels of. I found that no matter how you slice it, this process was messy and time consuming. After the pears are peeled, I quarter them and remove the core and other blemishes.
As you get going, be sure to keep an eye on things going on. You may need to refill syrup so that sugar has time to dissolve in time to get the jars filled so that you don’t need to wait on that step to run the canner. Time in the canner is 25 minutes at a rolling boil. I find that I need to fiddle with the power gauge up and down to keep it going. The canner holds six jars technically, I find that I can do seven by putting one jar in the middle of the basket. Once boiled, I set aside on a towel to cool. Interestingly,
Canning works by two principles. One is that the sugar water acts as a preservative. The second is that the lid ultimately creates a seal which increases pressure inside the jar. As the contents boil, there is a slightly higher pressure inside the jar which drives oxygen out of the jar. It means that the jar leaks while the process is happening. In theory, the jars being submerged under water creates a ‘one way’ drive out of the jar.
I say all that to say that the jars end up sticky because some of that syrup boils out. Before storage, it is a good idea to clean off the outside. Sometimes I don’t and the consequences are that ants may find the jars in the spring. Of course they don’t get in, but they do crawl all over the place and who needs that?
I usually have a failure or two. With my peaches it was one jar out of twenty this year and I had one pear fail to seal. Those go into the fridge for short term consumption. Also, jars can break due to a temper set of glass. I never do this because it takes extra time and I always put my jars away clean but it is recommended to run the jars through the dishwasher before use. This helps with setting the right glass temper as well as cleaning.
End Your Programming Routine: Everything that you need to know can be found in the Ball canning handbook about $10. For free you can also supplement with YouTube. Since I grew up with this, I cannot each store bought canned fruit. It does take some planning, effort and commitment but I think that knowing how to do it is valuable.


Recent Comments