Page 129 of 137

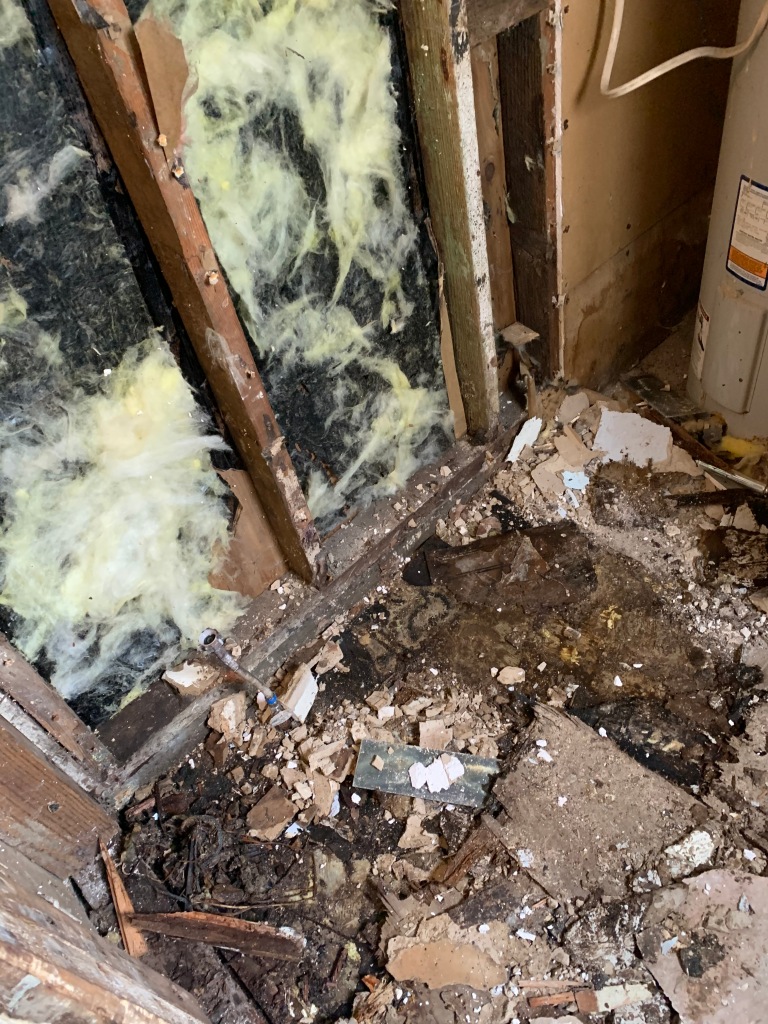
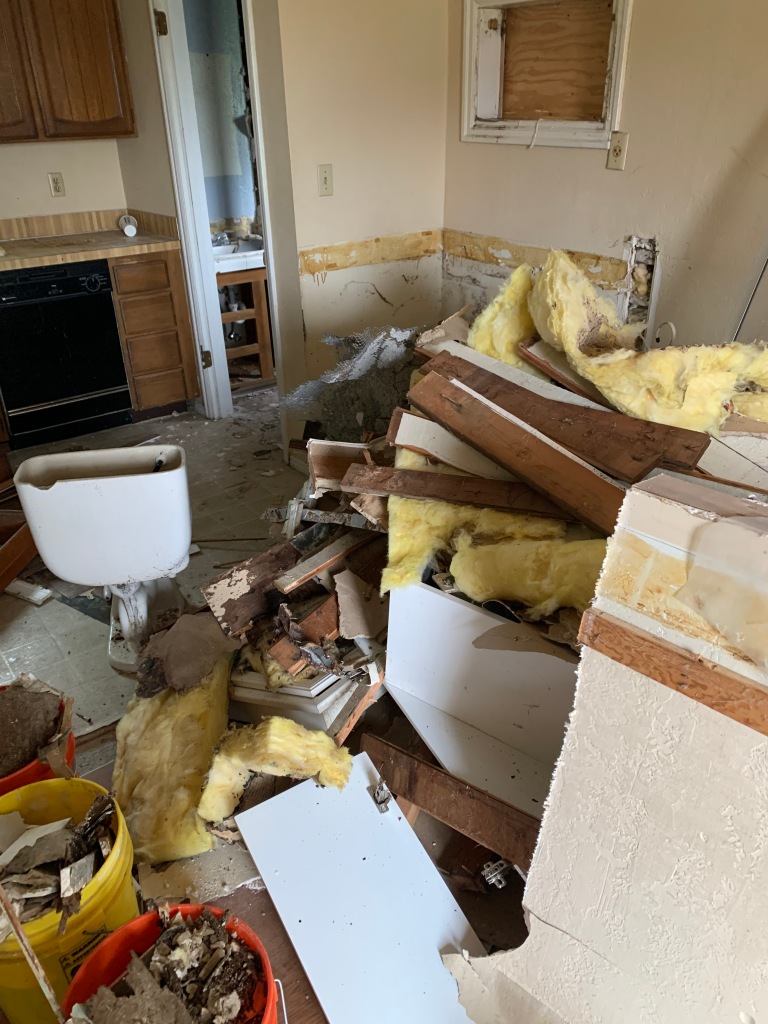
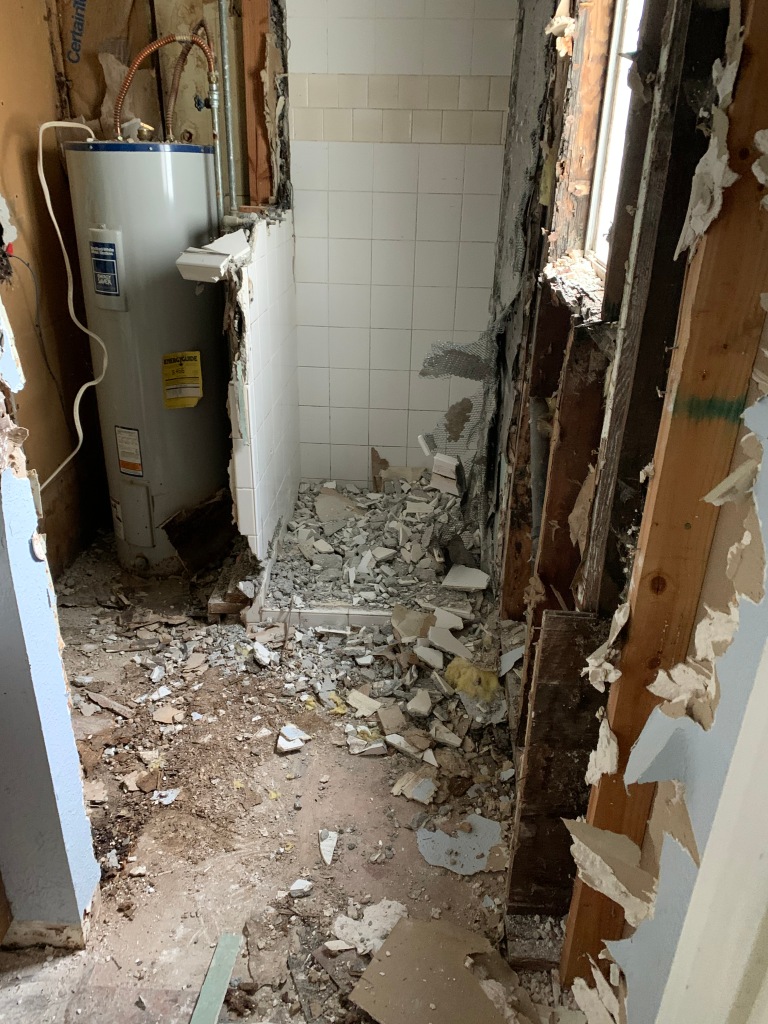
May 20, 2020 – Don’t anyone fool you that construction demolition is fun (or easy)

I feel like the role of demolition in a project, particularly on TV is portrayed as some kind of romantic process. There is a wild, passionate throw of ideas like “we can knock this down and open that up and replace these fixtures and those sets of cabinets”. Everyone will get out their pent up aggression and an hour later will be moving on to making everything nice and new.

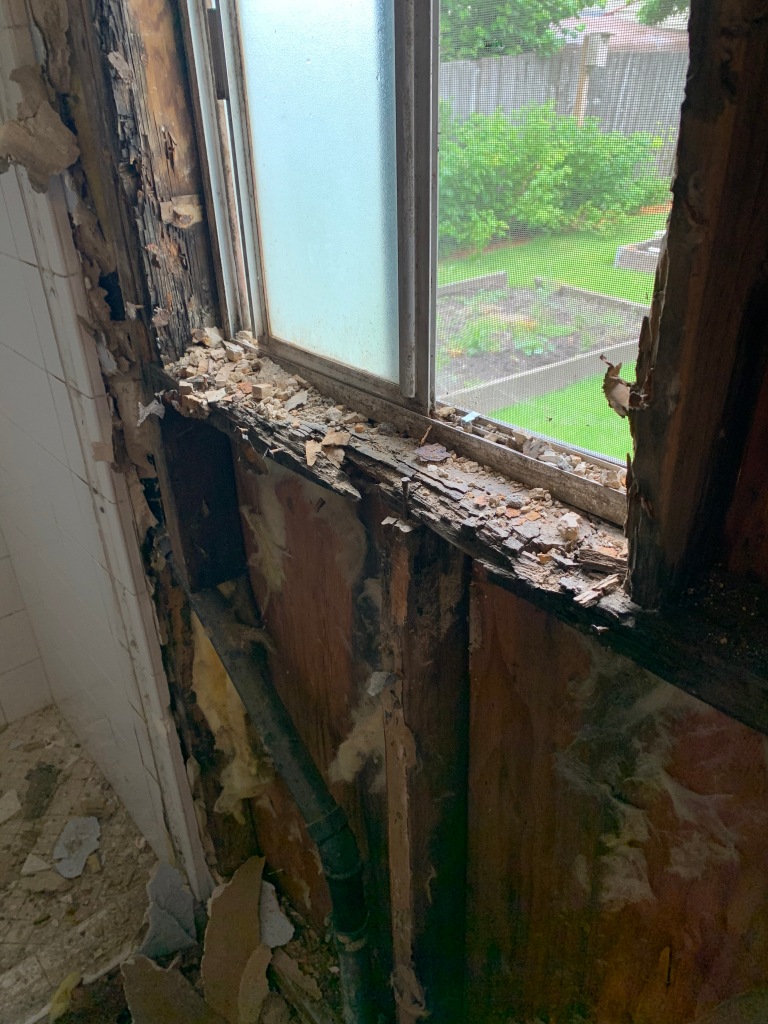
In the real world, that just isnt true. Demo is long, tough, tedious and dirty business. The conditions are less than ideal sometimes downright gross. Rot, mold, mildew, excrement and even dead animals are part of the discovery.

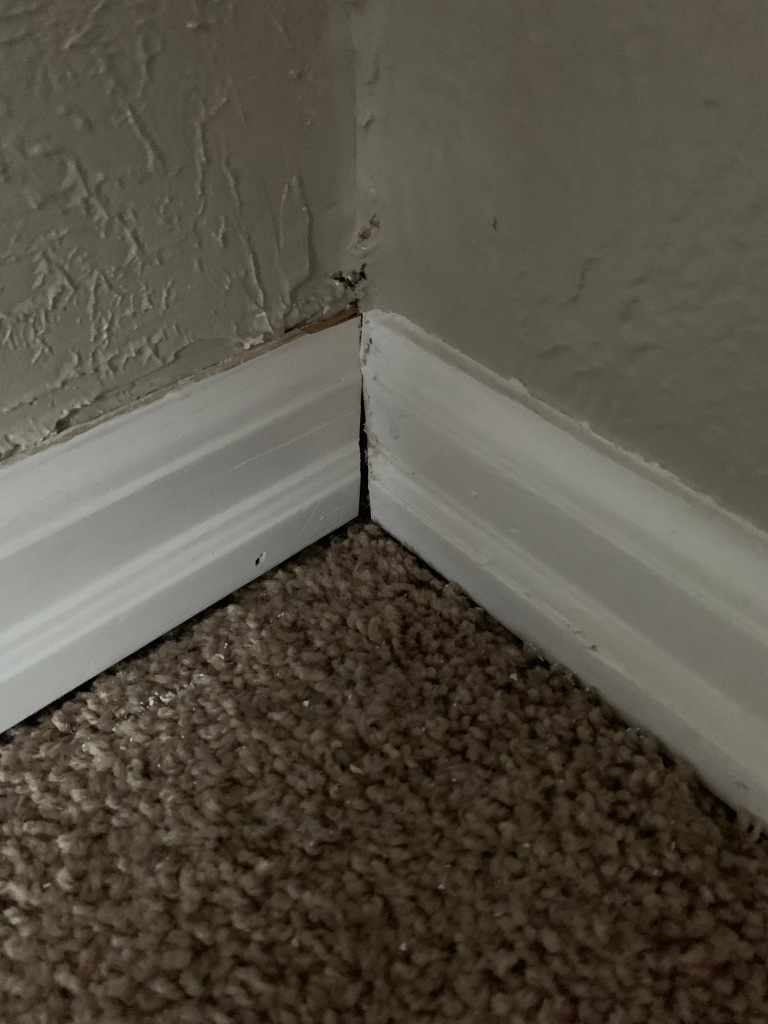
In my case, I am always mindful of ‘over’ demo. If I want to use one sheet of drywall or plywood, I am calculating precisely how far to go so as not to need one and 1/8 of a sheet. I am thoughtful that molding profile may not be easy to match again, so unless I want to redo the entire room, I need to be careful removing it. Gentle demo can take days longer.

I try to be consciences about reuse and value as well. Cabinet and fixture removals are examples of that. Habitat for humanity will take items in serviceable and good condition, but not damaged. I try to reuse wood and minimize landfill fodder as well. We burn appropriate and clean wood in our fire pit for family entertainment. That minimizes waste and maximize use, but nails and things need to be removed first.

I don’t mind swinging a sledgehammer ten times. But eight hours of prying, cutting at odd angles, hammering and wrestling sharp heavy objects quickly removes the romance. It is probably my lack of experience, but rarely does any of this go as planned or easy.

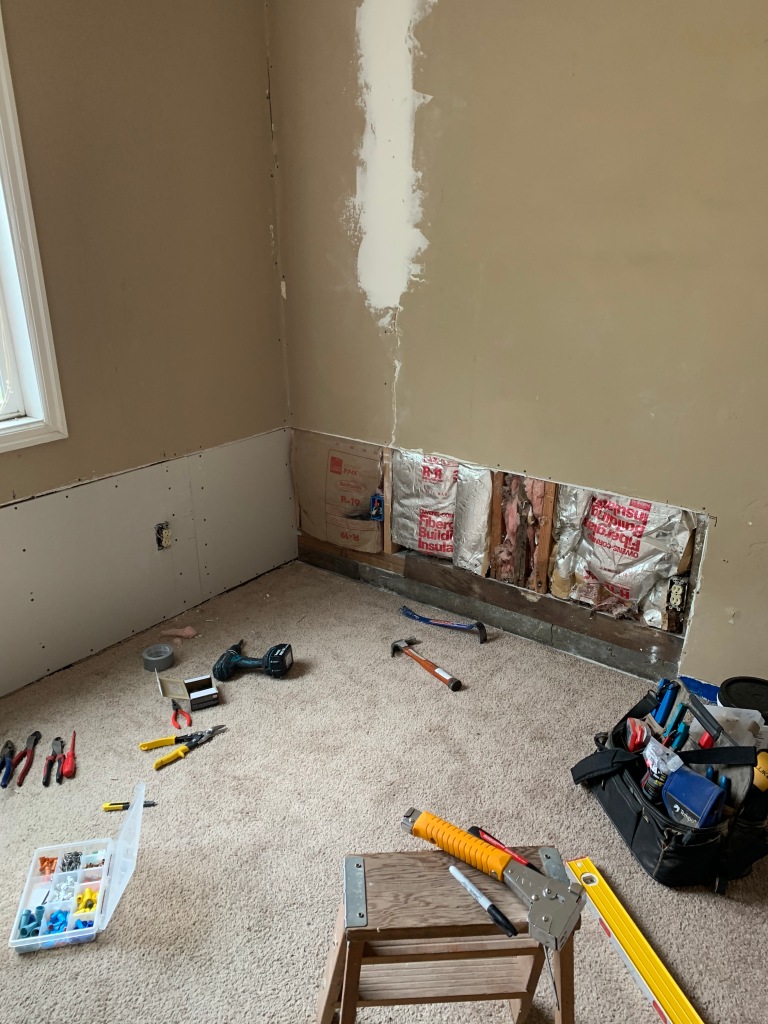
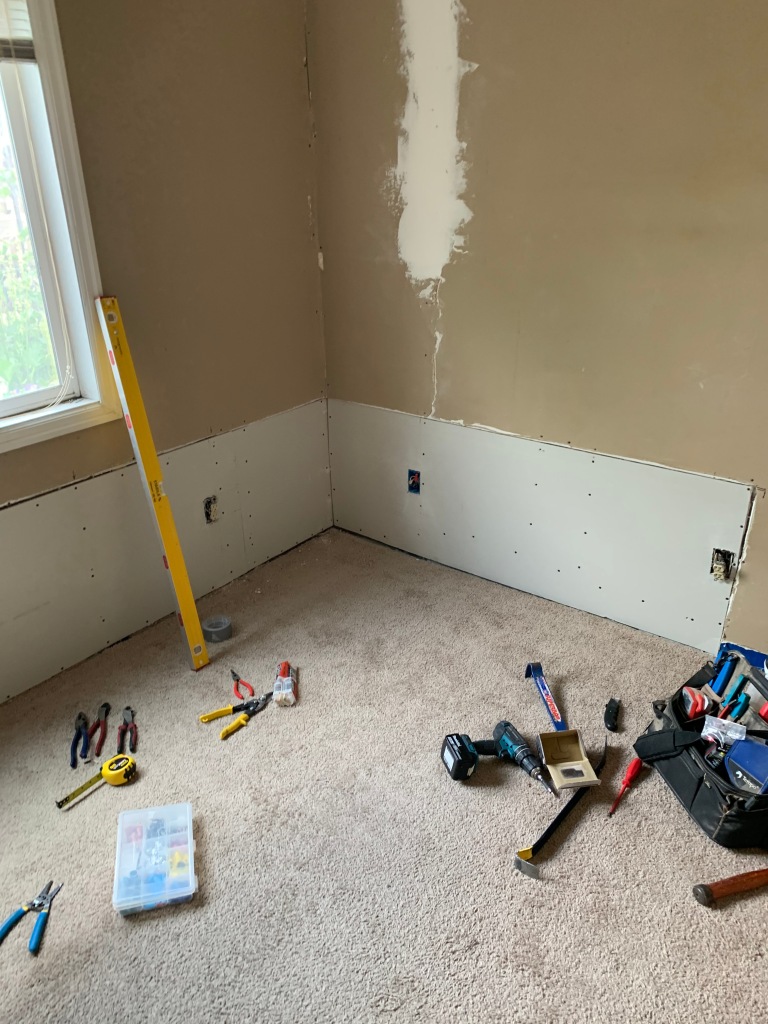
Yesterday’s progress on the bathroom. Boy is our work cut out for us.

May 19, 2020 – What the @#%! is a dipole?

This recent excursion into Audio/Visual equipment and electronics has gotten me looking around to the science of antennas. Boy let me tell you that from what is out there, this hobby is either a cult or dominated socially challenged individuals. It is very hard to get concise, novice level advice that isn’t filled with technical jargon.

The words cheap or DIY antenna conjure up some pretty ‘hacky’ results. Some of the first results found in such a search do bring up results, but they are very mixed up in technical details that don’t matter and use some techniques and materials that are lab worthy, but not something that will stand the test of time. I want to qualify before I get too deep that I am not an expert in the science nor do I have much (if any) experience in building antennas.

First, how do radio signals work? Each radio station has a frequency that they broadcast their signal. For example, 101.5 MHz is one particular radio station address. So what is a MHz?

  • M – Mega or 1,000,000
  • Hz – Hertz, unit of length of the radio signal in one second

That means that for 101.5, there are 101,500,000 waves in one second. All signals have an assigned band of frequencies that they can operate in. So, the smaller the number (of hertz), the the taller the wave is (because you are measuring the length in one second). Here are some examples from shortest to longest.

  • AM 535-1605 KHz (remember that kilo is 1,000)
  • FM 88-108 MHz
  • VHF 174-216 MHz
  • UHF 470-806 MHz

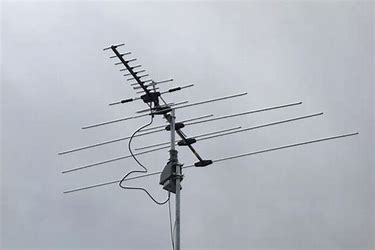
This is why antennas need to be specific size (length) to the signal that they are trying to capture. They are optimized for a frequency or band of frequencies, like a TV antenna. Also when looking at an outdoor TV antenna, notice that each conductor is a different length. This is to try and capture all of the frequencies that are available in the range.

So a dipole is a type of antenna that has a specific length of conductor that is optimized for one frequency. The most familiar dipole is the ‘rabbit ears’ type antenna. I wont go into all of the science on this version, however the principle is that you extend or adjust the length of the antenna and orientation to maximize reception of a particular frequency.

The length of a dipole is determined by matching the size of the radio wave to the frequency that you are trying to capture. Looking at the picture above, it would be an antenna that is one of the horizontal members sized for a specific frequency. There are calculators online that you can use to determine how long your antenna needs to be in order to capture the frequency you are looking for.

There is also a concept of directional or unidirectional. Directional means that your orientation of the antenna matters in the reception ability. Dipoles are directional, but it seems like the features where it matters, like Ham radio are not really affected for FM reception. We will find out.

The good news about all of this is that this is a novice look at all of this, so if you decide to build a dipole for FM, and your antenna is between 4’3″-5’3″ feet, you should be able to get most of the available stations. I will be posting about what I think makes a good antenna in the near future as I finish building it.

May 18, 2020 – It’s Alive!

I don’t have a ton of time lately. My schedule has been cruise the different job websites, apply for relevant jobs, write a blog post and then work on getting my rental house together. Even on the weekends, I have been doing this. I may get an hour or two some days and I have been spending it looking at my audio equipment.

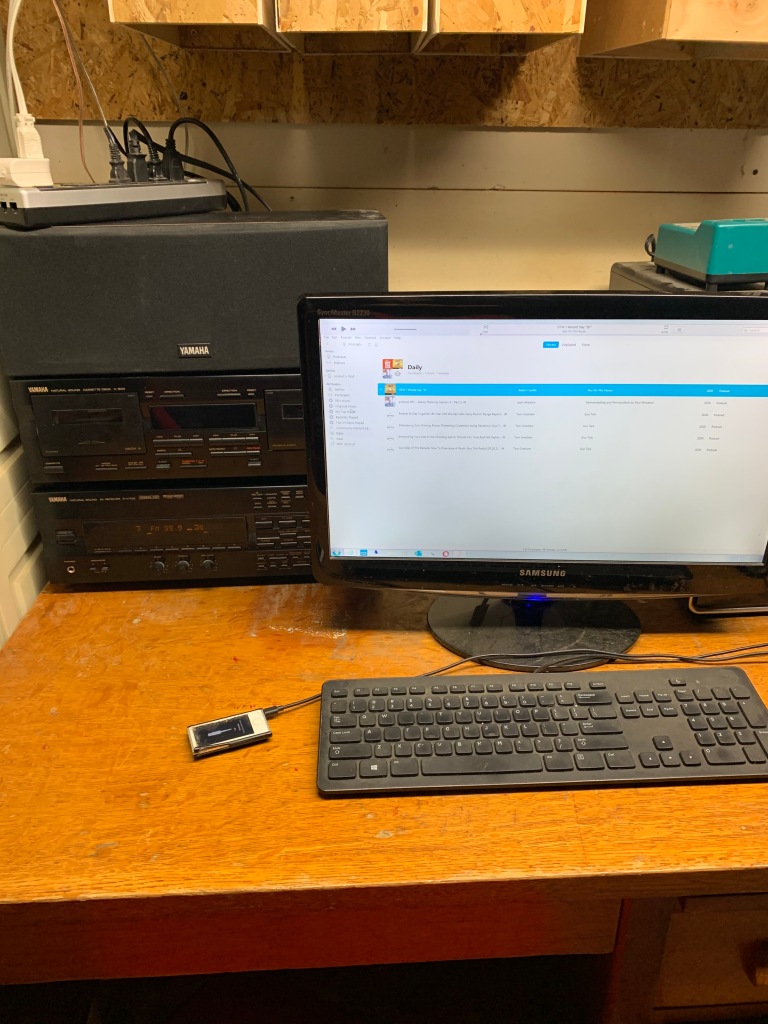
The receiver is now working, which means the receiver and tape deck are now working. I also replaced the connection from the computer to the OEM speakers and run the sound through the receiver. I hooked up the surround sound and did a Dolby test, wow it has been years since that experience. I also have been playing my podcasts through the receiver as I putter around in the basement. That has lead me into investigations into building antennas and other things that I will talk about in a later post.

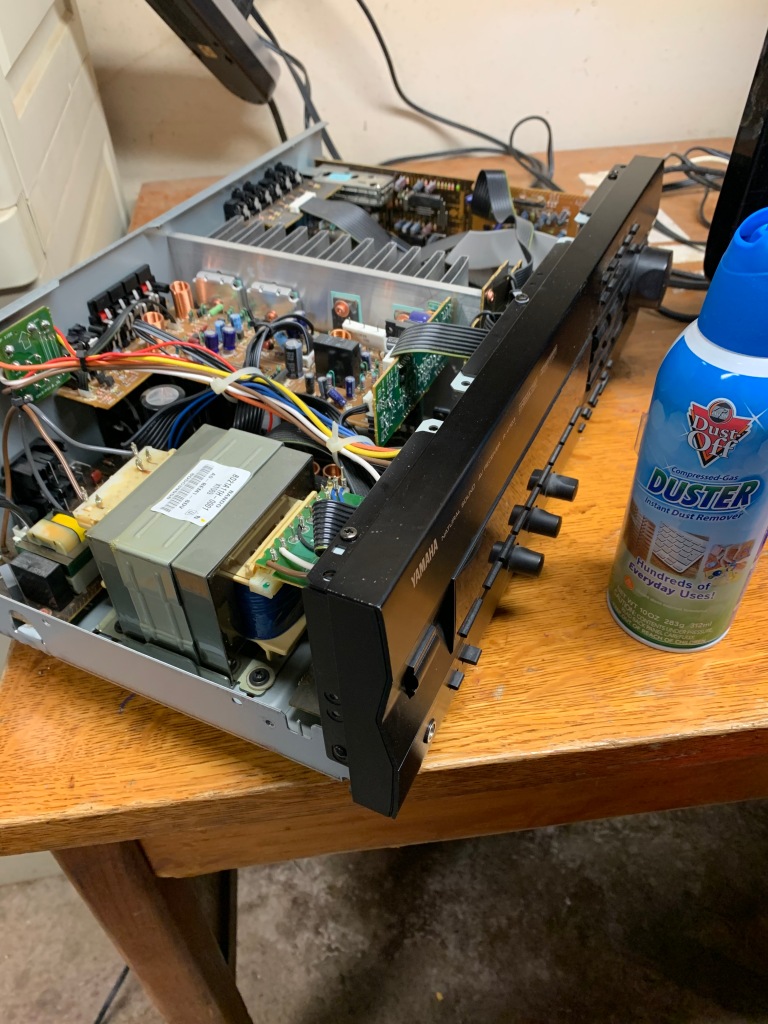
First, I thought that there was a component blown out in the receiver and that proved to not be true. Taking the cover off and looking around, I found a piece of dried grass that was laying across the speaker conductors (I couldn’t really get a good picture of it because it was too deep into the box). I used some compressed air to flush it out and viola, it works.

The same cannot be said with the CD player. That is currently in parts. I think I may have damaged it by not knowing what I was doing. A couple of things that I have learned so far… There is a downloadable service manual which has been helpful in not breaking things further. The CD player has diagnostics on-board which has told me that the table position sensor has failed (I think I damaged it when I tried to force the table back in). It is not easy to find parts outside of drive belt.

Looking around, there are some ‘local’ authorized service people. I may pursue that because it seems that this unit is still worth $200 according to Amazon. At the very least, I am going to look at the board and the sensor a little more carefully to see if a solder job is a quick remedy.

This journey has kind of fascinated me. There are people who are really into this sort of thing. I have to admit, seeing old units from the seventies next to an old magazine add is pretty cool. Learning the history and mystique that is attached to some of the old units is pretty interesting.

Lastly, unexpectedly and kind of serendipitously my wife received a record player for Mothers Day. It isn’t a real high end one, but I thought it would be fun anyway. I do still (think) that I have some records at my parents house, like “Thriller”. Unfortunately, the are travelling for a couple weeks, so I will have to wait until they get back to get them.

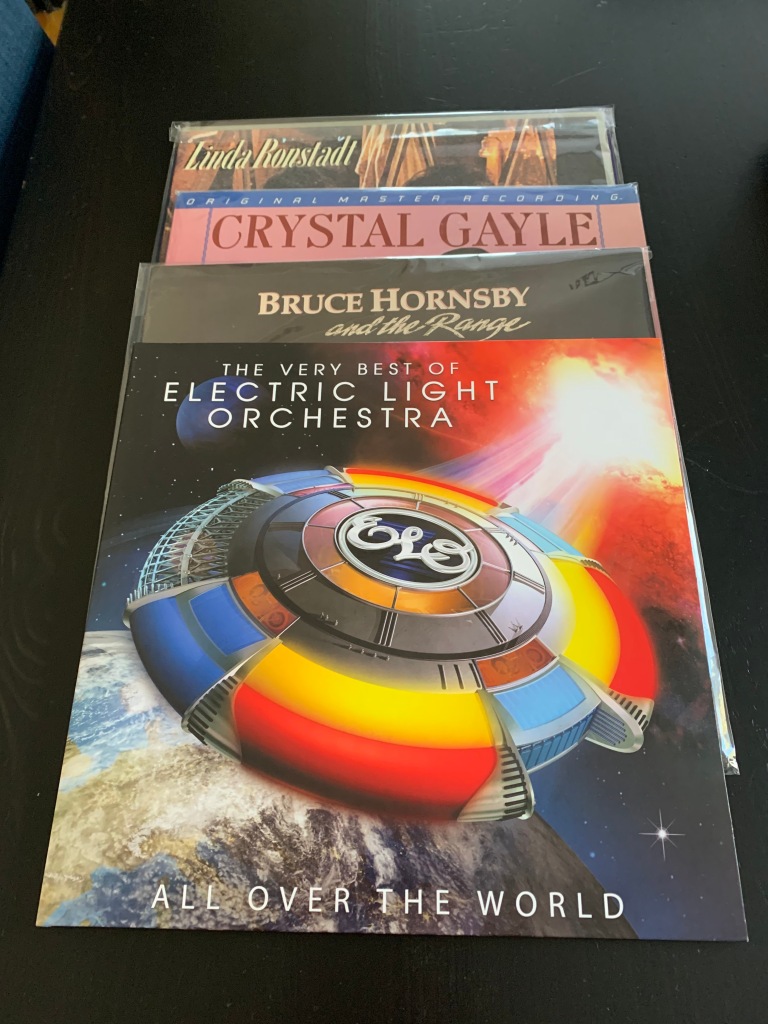
Last year, vinyl outsold CDs for the first time ever. It is definitely a growing trend. There is something in my head that seems wrong to play today’s music in vinyl. I am thinking of purchasing something like “The Very Best of Electric Light Orchestra: All Over the World”. That seems like an appropriate maiden voyage.

May 15, 2020 – Progress is faster than the documentation

A quick update for today (I know that I need to do more than take pictures). So much has changed in the last couple of days. The siding on the south and east side is done, the island is demo’d, the new heater is in and the drywall is installed.

With rain in the forecast this weekend, I will probably spend more time on the drywall finishing. We also got a new refrigerator today. It doesn’t fit into the space it is supposed to go. I will have to shorten the water supply which will require a bit of modification of the plumbing.

More pictures and info to come… have a good weekend.

May 14, 2020 – ‘Tacticool’ Thursday

Back when I was a youth, I was in Boy Scouts. One of the things we did quite a bit of was rafting, mostly white water. There was a friend of the troop that was an outfitter in the summer time and he would let us use his rafts for short excursions in the offseason. I have gotten the opportunity to raft the Deschutes, John Day, North Santiam, Mackenzie and the the Willamette.

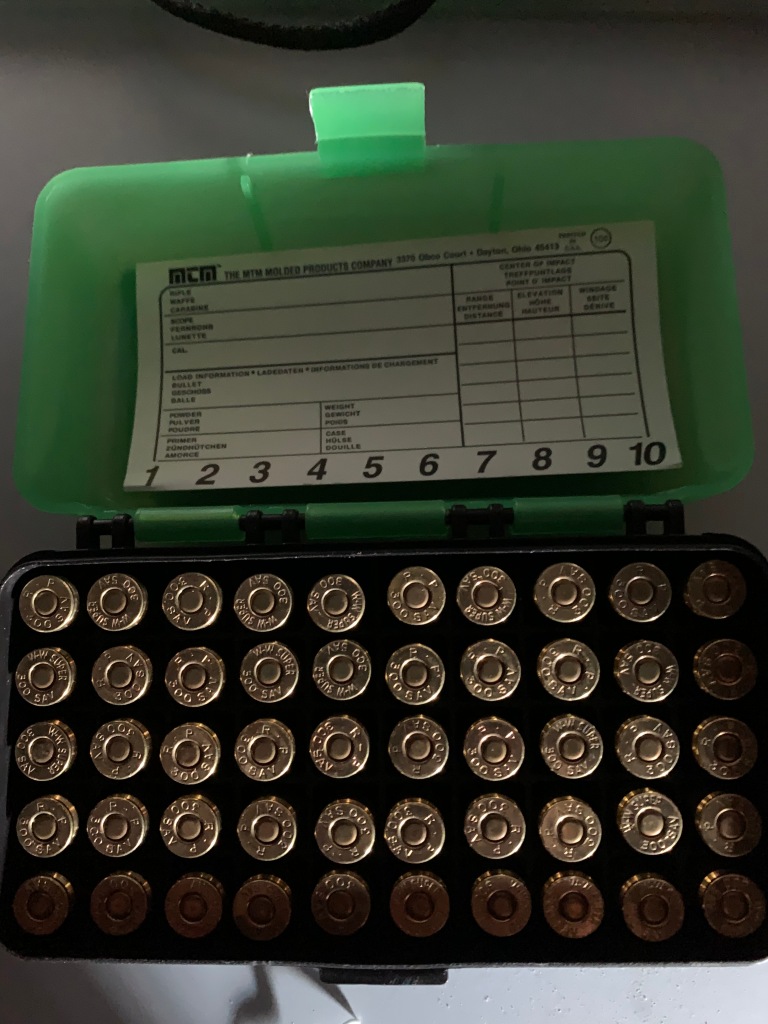
My first trip, was on the North Santiam and when the rafts were all blown up and ready to go, we were handed a fifty caliber ammo box for our valuables. This was our boats’ dry box. Military ammo boxes have a water tight construction and a durable seal that allows the box to float (as long as it is not full of lead).

It seems to me that in today’s world the surplus boxes have all dried up. I think for the one pictured, I paid $3 in the early 1990s. I remember distinctly paying $5/ fifty caliber box in the late 1990s. They can definitely be found online, but you will be paying $20 plus shipping. Fortunately new, non-surplus boxes can be found for around $12-20 if you are interested in picking one up. MTM makes a plastic ammo box for $10. It doesn’t quite stack the same with the metal ones.

I thought that I would talk a little bit about what they can be used for. Well, first of all you can put ammo in them. I like to put reserve ammo in them so that when there is a run, like now I know that it is safe and sound for when I want it. I already talked about using them for a waterproof container, very good use. You can buy trays to put inside the fifty caliber box, that turns it into a toolbox or parts box. I have seen them strapped to ATVs for that purpose. I know that there are plans so that you can build a self contained ham radio w/battery for grab and go use.

Surplus ammo cans come in a variety of sizes. Some of them are very large. Rafting companies on the Colorado have built mobile toilets on the largest of the boxes. They have to pack out waste to minimize the environmental impact of raft tours. I think that the most useful size is the fifty caliber. It seems to be the best compromise between size and weight.

I am always interested in what other people are doing or have seen. So let me know what you have done.

May 13, 2020 – Rainy Day, time to work inside

Since my update last week, probably 75% of the siding is now up. There is still some caulking to be done as well as most of the painting. There is consistent rain in the forecast for the next two days so I am going to be switching gears on the outside and working on the inside.

In the interest of ‘edutainment’, I figure I should be working a little harder than just posting pictures of progress and a short blurb about it. I am going to try and get some helpful information in these posts. So, with that, here is a starter information about siding.

Now, wasn’t that fun?

May 12, 2020 – Review: Hunt, Gather, Cook

Hunt, Gather, Cook: Finding the Forgotten Feast by Hank Shaw was the April book selection in the Left Coast Cellars Culinary Book Club. Unfortunately, the club has been on hiatus since mid-March but that doesn’t mean that the reading doesn’t go on.

Hank Shaw is an author, blogger, podcaster and general media person. His focus is about cooking with wild sourced ingredients. He tends to collaborate with others in this space like Steven Rinella. If you are into this sort of genre, then you probably already know about him and his contemporaries.

The book is organized into three sections. Section one is about foraging, section two is about fishing and section three is about hunting. Each chapter in the section is grouped by a theme such as wild berries. At the end of each chapter there are five or so recipes focusing on the type of ingredients the chapter is about.

This is one of those books that I would consider a gateway into the subject. There is no possible way that a person can safely learn everything about foraging by reading this. Every microclimate and region in the country could support it’s own botanist/mycologist/herbologist from the vast diversity that is present. There is no mention of mushrooms, which is probably a good thing. Instead the focus is on high value, low risk choices like seaweed and day lilies.

Another potential roadblock to successfully implementing ideas in this book are access, equipment and knowledge. For example, in my state there is no ‘season’ for rabbit hunting. It does require a license to do so. There is public land about ten miles away, but I have rarely seen a rabbit. I think that to really do this successfully, having a flushing dog would be the only viable option. Dogs are not allowed in the public land without a leash.

Instead of focusing all of my energy into why any of these ideas can’t be done I think the best use of this book is to read through it and look for things that can be done. Almost everything has a season to when it is available and or legal (including a lot of plants). Plan times to obtain these items as family activities. A family charter for bottom fish and crab is something I can do in my area. Then be prepared to feast when the trip is complete.

I enjoyed reading this book because it is about 25% technique, 25% cookbook and 50% inspiration. So, it is not a page turner but it does get the mind stimulated about the possibilities. Over the years, I have learned that it is much more enjoyable to pursue the activities rather than read about them. But I find that I can more easily find the time to learn and think than I can do. For that reason, it is exciting to think about that next fishing trip or making blackberry wine.

May 11, 2020 – Mom’s hand chosen picnic

I hope that you all had a great Mother’s day. I know that we did. It was more like a Mother’s Day Weekend. Friday, I hung a new chandelier. Saturday, we cleaned the house and hung pictures that have been sitting around. Sunday we had a picnic on the lawn, I installed a window treatment and we watched a movie to finish it off.

The picnic was delicious and while she chose the result, I went to work on how it was done. I thought that I would share.

The kids did a lot of the work, so I will help them develop their sense of presentation at some other time. But, the first item was a fruit salad.

  • Fruit Salad
    • Watermelon
    • Grapes
    • Pineapple
  • Charcuterie Tray
    • Assorted crackers
    • Cheese
      • Sharp Cheddar
      • Dill Havarti
      • Gouda
      • Parmesan
    • Cured Meat
      • Prosciutto
      • Salami, two types
      • Coppa
    • Pickled asparagus
    • Chocolate truffles
    • Salmon Spread – Mix ingredients for eveness
      • 8 oz cream cheese
      • 2 oz smoked salmon
      • 2 tbls capers
      • 2 chives, chopped small
  • Egg Salad Sandwiches
    • Sliced French Bread
    • Egg Salad
      • 10 hard boiled eggs, coarsely chopped
      • 2 stalks of celery, fine dice
      • 1/8 cp finely sliced red onion (very small amount)
      • 10 chives finely diced
      • 1/2 tsp dill weed
      • 1/2 tsp thyme
      • 1/4 cp french mustard
      • 1/2 cp mayonnaise
      • dash of cayenne
      • Salt and pepper to taste
      • vinegar to adjust acid

Mix the egg, onion, celery, chives, dill and thyme. Then add the mustard. Add the mayonnaise slowly so as not to make your mixture too sloppy. Adjust your additional seasonings accordingly.

I added a little more vinegar to increase the acid at the end. So keep tasting as you go along. You might even want to leave it a little dry if you know that is what you like. There is nothing worse than an over goopy egg salad in my opinion.

May 8, 2020 – Ever driven with no headlights, in the dark?

Since the quarantine began we haven’t been out much. On occasion we have something that has to get done. In this case, we needed to get our exchange student to the airport at three AM. I was driving on the freeway and I thought to myself… “Wow, it seems the headlights are really dim. In fact, are they on?” So, I flipped the switch and the headlights came on again.

During that trip, it happened at least three different times. But, it wasn’t always both headlights. Sometimes it was one on either side of the vehicle. My first instinct was that it was an electrical problem. This Lincoln Navigator is a bit of a gremlin with electrical problems. There are what appears to be phantom errors with the parking sensors, check engine light, suspension monitor, etc. I check them with a code reader and reset and they seem to disappear.

Today’s headlight is a complicated and potentially expensive proposition. Not only are the bulbs expensive, but there are also ballasts and igniters, that is to say a bunch of electronics as part of the assembly. A big shout out to p38fln on f150online. The advice was that if both are going out within 2-5 minutes of startup, that it is likely the bulb. So, I ordered two new bulbs at $54/ea. The worst case scenario was that I replaced the bulbs for no reason, but they are ten years old at this point.

There are a number of good videos on YouTube on how to change the bulbs. It actually is pretty easy to access them. By far and away, the most difficult item is to remove and re-install the T-10 screws that hold the headlight in place. It is not a real accessible place and little screws tend to be difficult to start.

Start by removing the two 10mm bolts holding the assembly in. Once those are out, there is a tab on the left (or right depending on which light you are working on) that needs to be lifted. Pull the unit straight out.

With the assembly free, remove the three inserted light bulbs by twisting and pulling. Then remove the connection to the headlight by pressing the tab and pulling straight out. Now the assembly is out to remove the headlight.

Remove the rubber cover to the headlight. With at T-10 screwdriver, remove the two screw that hold the bulb. Pull the lamp out and disconnect the electrical connection. Finally, remove the metal clip at the base of the bulb and swap it onto the new bulb. Reverse the process to install.

I am happy to report that I have had no headlight outages since replacement. This is a limited data set and I have driven the vehicle three times since. But, it was happening every time the lights were on before I changed the bulb.

From this experience, I would recommend doing your research. I saw a lot of effort and cost expended by others when a bulb change was the solution. Replacing wear parts make sense when troubleshooting and repairing anyway. I dont know what a shop cost would have been, but I would guess several hundred dollars, plus the hassle.

May 6, 2020 – Covid-19 has turned my 5.0 GT into a commuter car

My son sees a medical specialist every couple of months for monitoring. That specialist works at the research hospital in Portland. For us, that is over an hours drive on a good day. Normally, I make the next appointment when we are at the doctor’s office. I try to make it where it will have the least impact on the school day or in other words ‘as late as possible’. That leaves us at the whims of rush hour traffic during most appointments.

As a life-long, small town guy I find rush hour traffic extremely frustrating. This is born largely out of my belief of the colossal waste of time commuting is. My two years living in the suburbs or Portland cemented that for me in the 1990s. I have tried very hard not to live or work where I had to deal with those frustrations.

First, I needed to get fuel before we left. The Mustang has a small tank to begin with at 16 gallons. With the low price of gasoline I filled the car up for $32. I almost always reset the trip counter when I fuel up because I monitor the fuel economy during that period. It is a habit that I have always done as a double check on the gas gauge.

During our trip, traffic was incredibly light. I would characterize it as Saturday morning. I think that we stopped at two lights in Salem on our way to the freeway and two lights once in Portland. For an appointment at three PM, we would start to encounter the afternoon rush hour at this time, however typically not terrible in the mid afternoon.

Our round trip spanned from 1:30-5 PM. I would have expected 1:30-6:30 PM so I was really happy about that. Now, the best part… the Mustang’s overall fuel economy. I averaged 29.2 MPG on that trip. I have never seen the economy that high before. I usually average about 20-22 MPG. For that trip specifically I have seen it as high as 26 MPG.

The net of this is that the Mustang can be more than double as efficient as my other two vehicles. I am typically no lead foot nor am I a hyper-miler. I enjoy the power sometimes, but it is hard to find a place where I can safely exert it because usually there are too many people about. That usually leaves me with merges or passes when I flex it the most. But, when there is little traffic, it is nice to see what can be done at a steady pace.