This saying was an inside joke for a number of years. What it really meant was that Friday was a day that higher ups were gone and the workers were stuck in the muck. Really, it was someone else’s fun day, not mine. But, since we have had a number of weeks of heavy stuff on Fridays, I am going to stay light today.
What then shall we talk about? How about tool repair? You can find ax, hammer, maul, sledge, hatchet, etc heads at garage sales, second hand stores and even free. This is where this one came from. My son hauled it home from some job that he had. He proceeded to pour vinegar on it and there it set for months.
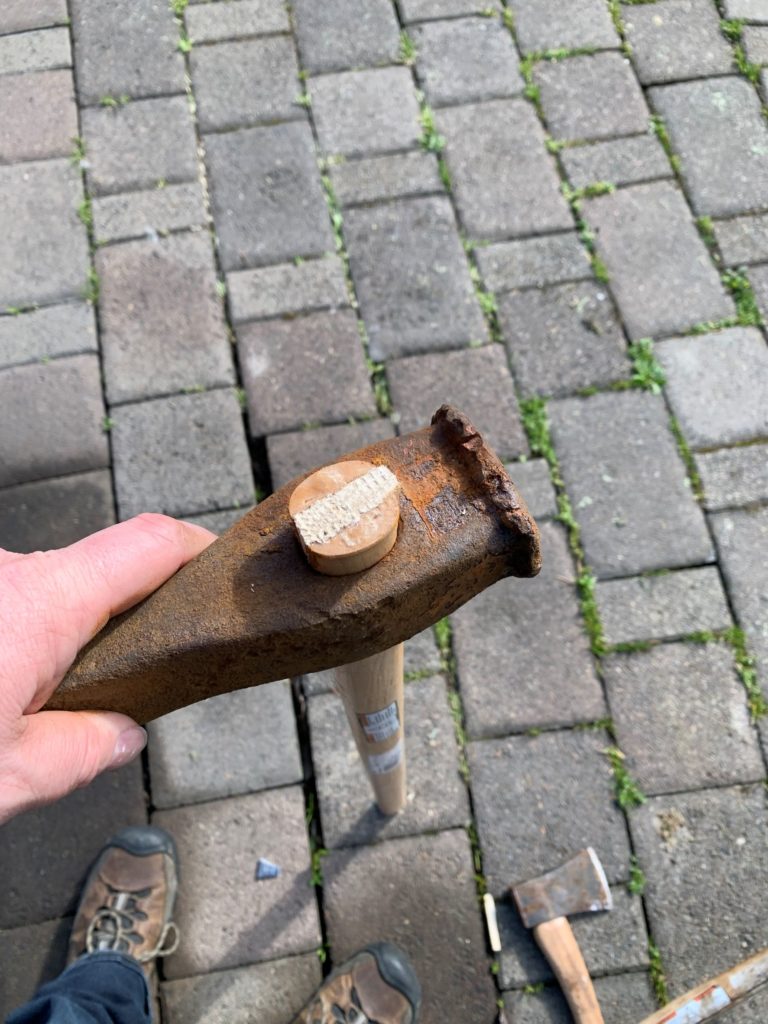
I didn’t know this but apparently, vinegar is a good rust remover. The problem is, the surface needs to be treated to it doesn’t re-rust. That is where it is at again, very rusty. I may someday spend some time with a wire wheel or something and try to paint it or even wax it but for now, I just put a new handle on it.

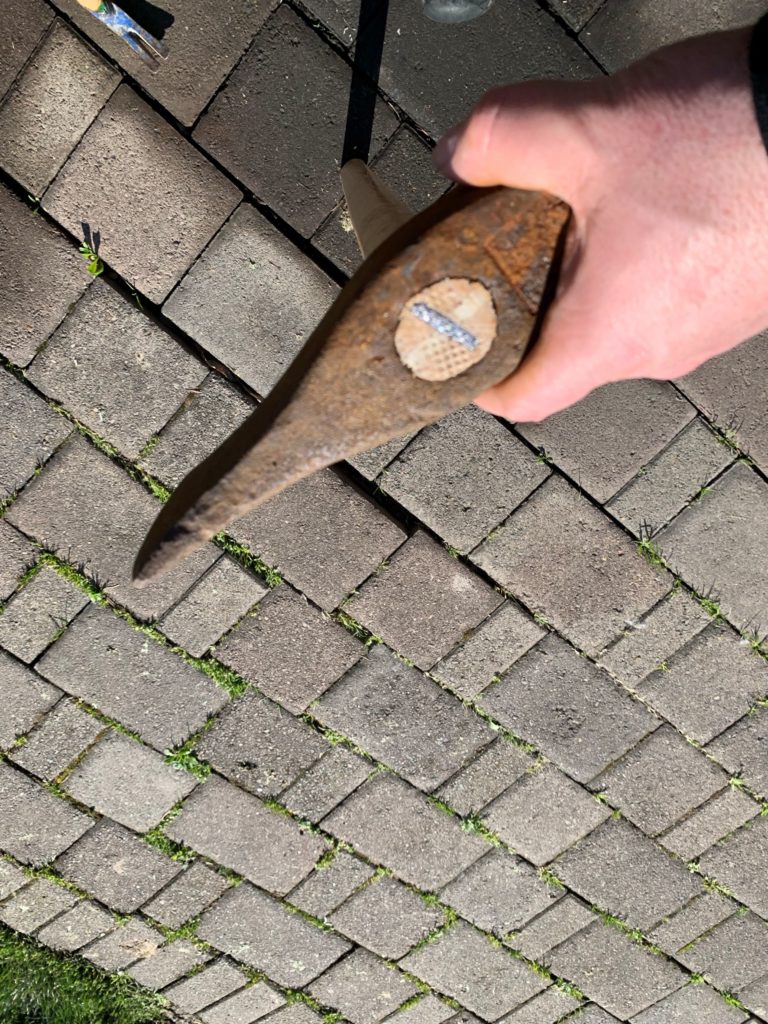
The first step is to select the appropriate replacement handle. This splitting maul required a round head to fit properly. This is also the right handle for the sledge hammer. The options are wood and fiberglass. I like fiberglass in a lot of cases, I think that they weather better if you are going to leave tools out in the elements (not really recommended, but it happens). The attachment is slower, using epoxy which needs to cure. Wood is quicker, cheaper and traditional.

Once the tool head is seated on the handle, you then drive the wood wedge into the handle. This wedge forces the handle tight to the tool head. Note: most sledges and mauls leave the tip of the handle out from the top of tool head. I am not totally sure of why, but I suspect that it lets the head slip a little when splitting. Also note that the wedge is oversized and must be trimmed or split in order to be hammered in correctly.

I chose to trim the excess off. I don’t have any at the moment, but I like to pour epoxy in the hole. I feel like it make a better bond of the tool head to the handle. I have observed older handles eventually wearing to where the head comes off again. This technique helps last longer I feel. Finally, hammer the steel wedge perpendicular to the wooden wedge. This will help lock all the pieces together.

Now, I have another working splitting maul. Lets talk about the economics of the situation. I paid $13 for the replacement handle. I checked a couple of sources (box stores) and I found handles running $20. I also checked the cost of a replacement. The cheapest one I saw was near $40. A comparable model with hickory (or ash) handle was $67.
I already have a maul, why would I want another one, especially if I rarely use it? Remember two is one and one is none. But also, I have come around to having duplicate yard tools because I can have more than one person doing work, if needed. At least for me, it gets the tool head off the floor and makes a useful tool. I think the $13 was also worth the cost of the topic as well.
End Your Programming Routine: Let’s be honest, I probably didn’t need another splitting maul. In fact, I gave away one when I was cleaning up my father-in-law’s estate last summer. But, I was stuck with this one since my son brought it home. I will probably hold onto it and give it to him when it is time. Knowing how to fix tools is an important skill if you ever live rurally and it can save you time and/or money.
Recent Comments