Category: cooking

October 11, 2021 – Making Plum Wine

This is something that I should have done a long time ago. I have had these plums prepped and improperly stored in the freezer for over six weeks now. The truth is, I thought that I would talk about brewing much more than I have. This may be the first time I have written about it other than saying that this was one of the things that I was going to write about.

About mid August, a box of plums showed up on the deck. I don’t really know where they came from. I think I do, but nothing has ever been confirmed. Now, I don’t really care for them and would much prefer them dried, then called a prune. I also thought about trying to give them away, ultimately I decided to try and make wine.

Never having done this before, I did some research. Plums are a stone fruit. It seems like they are related to the peach and the almond. So, there is some risk of cyanide that is contained within the pit. It was generally regarded as minimal risk with a whole pit, (not being ground or broken) and in some cases it was preferred to have some pits with the brew. I decided to just pit them all for several reasons. Since I don’t know the source, I don’t know the condition of the fruit. Could they be rotten or green or contain bugs?

I didn’t have plans to immediately brew which is why these went into the freezer for a later date. This has several advantages beside managing schedules, freezes will kill undesirables. It will also rupture cell walls making the essence of the fruit easier to access when I decide to get started. From a (home) brewing perspective, freezing fruit is a helpful technique to to making the best batches.

I’ve done quite a bit of reading and learning about beer. However, the same is not true with wine. I guess what surprises me is that most fruit wines use sugar as an additive. In this case, I had 15lbs of fruit but also 15lbs of added sugar. At least this is the case in the homebrew world. I am aware that in the wine world, nearly anything can be done to make adjustments, from acid to flavor. I guess we will see how it comes out.

What kind of yeast do you use? I chose a freeze dried pastor blanc yeast from Red Star. In my beer research, I know that the liquid yeast strains seem to be the premium choice. However, I have not found it to make that much difference in taste. I have pretty much switched over to dry yeast for the cost and storability. I have both and could have used either red or white yeast.

Along with 3 gallons of water and a few adjuncts (that are not strictly necessary), I got my wine started. I added one teaspoon of acid blend (citric and maleic), 1 teaspoon of yeast nutrient for getting the yeast going, it is some kind of urea (or nitrogen compound) and one teaspoon of pectic clarifier. I dont think that is necessary either.

Finally, I added three Campden (Sodium metabisulfite) tablets. As strange as it sounds, these are added to retard the fermentation. Traditionally, the primary fermentation is done in open vessels and the skins of grapes contain enough yeast to ferment by themselves. The brewer wants to make sure that his added yeast takes off first to have the most controlled outcome. These tablets also contain free radical scavengers to consume oxygen and reduce the oxidation of the juice.

End Your Programming Routine: So far, my experiments with wine have been not great. I have found the best place to use them is cooking or mulled. But that is OK, It is the place where my science training still gets exercised a little bit. I will keep you updated on how the process progresses.

October 6, 2021 – Tomato Soup

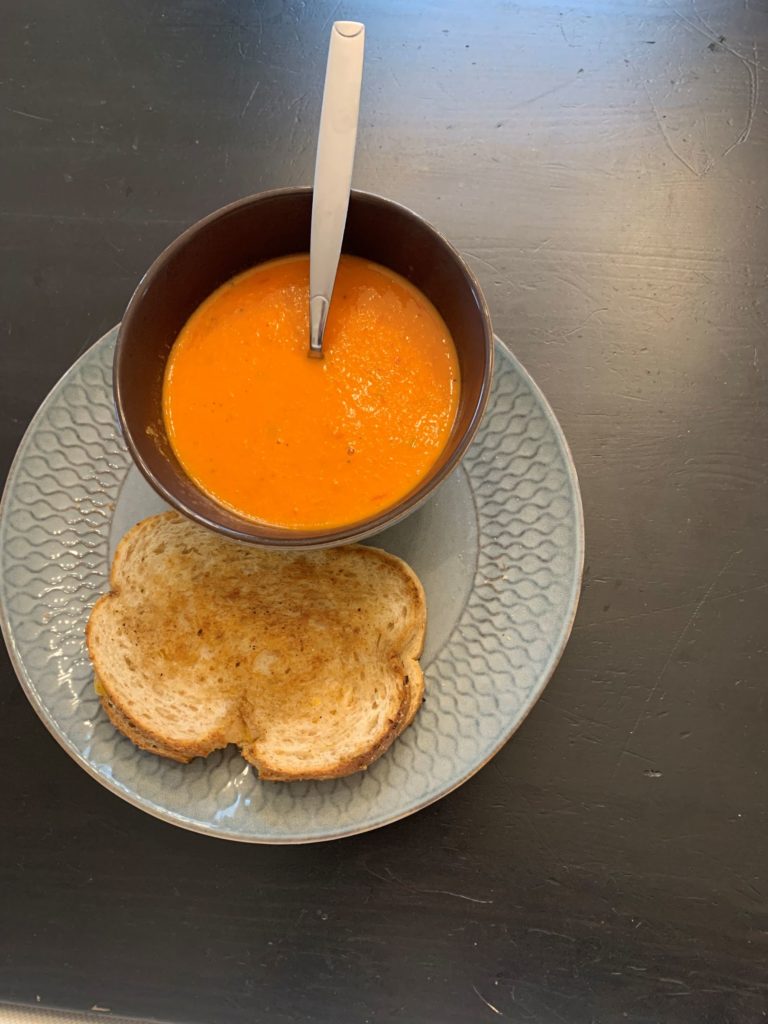
What do you do when you have a lot of tomatoes around? The answer is whatever you can do like salsa or sauce, . My dad gave me a bunch and we have eaten some but it is time to finish them off before they go bad. To top it off, yesterday was a rainy day and something warm would be just the ticket.

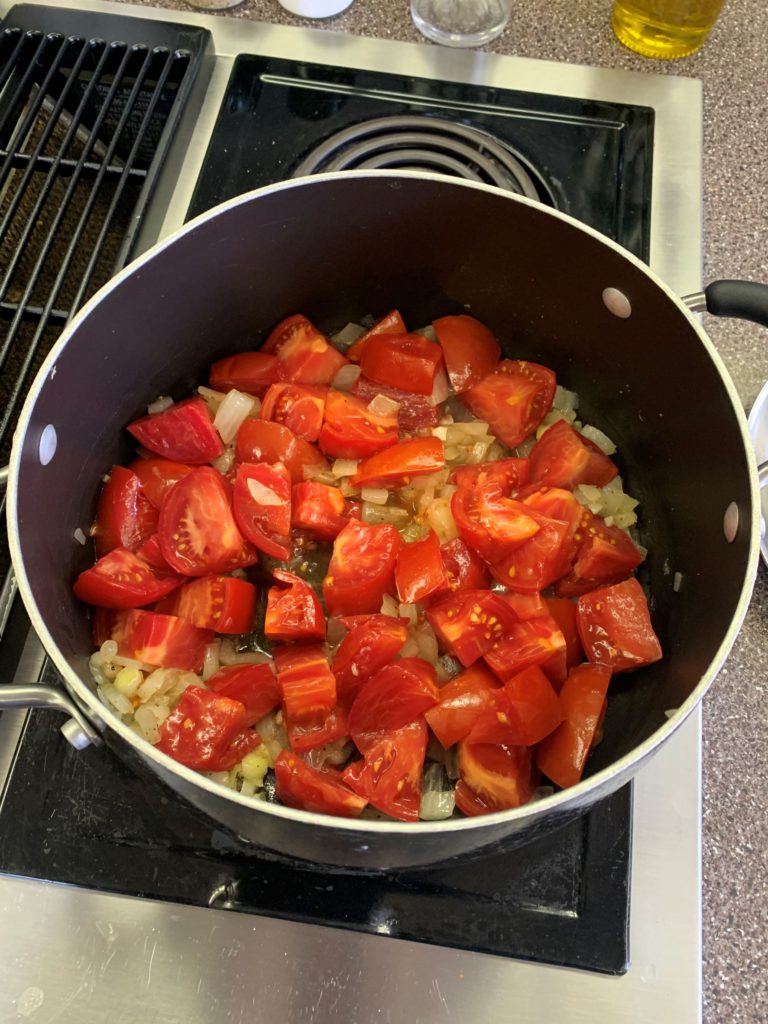
The ingredients are simple and the technique is easy. I looked up several different recipes and kind of made my own. I coarsely chopped an onion and smashed four cloves of garlic. Those were browned in the pot. Then, I chopped up about 2lbs of tomatoes and put those in the pot after the onions were sweat.

After the tomatoes have cooked down, I added two cups of vegetable broth. That was to give me enough volume to use the immersion blender. I added some basil and some time and blended the entire mixture. I finished it off with a couple of tablespoons of cream. Be sure to taste for salt.

End Your Programming Routine: It is officially fall and the harvest is winding down. The rains are here and our annual frost date is within the next two weeks. It is likely the last hurrah for summer veggies. I paired the soup with grilled cheese and a slice of peach pie.

October 5, 2021 – Fresh Fish on the Menu

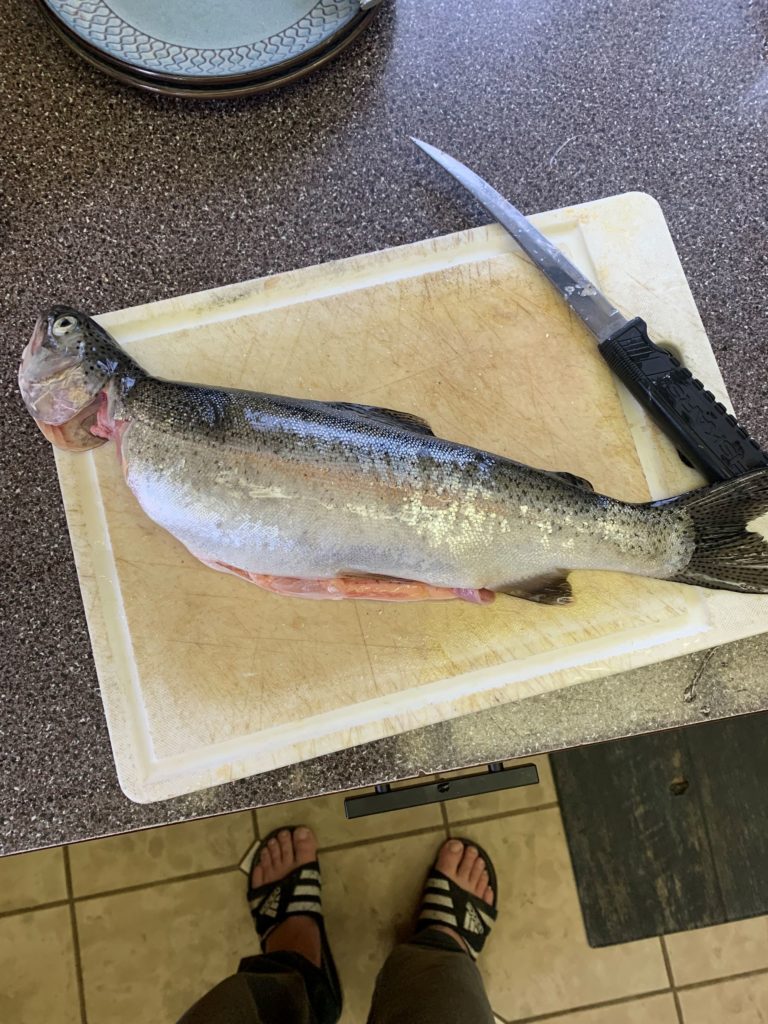
I don’t think that I can express in words the difference that fish being fresh can make. It is not ‘fishy’, in fact I would say sweet. The texture is firm but not rubbery or even flaky. It is moist and mild. We ate the fish I caught on Saturday and even that was not straight out of the lake fresh, it was on ice for two days.

I heard an interview with Josh Niland who is an Australian and fish chef. He has some radical ideas about aging and taste. I am very intrigued and would like to get his book ‘The Whole Fish Cookbook: New Ways to Cook, Eat and Think’. But before I change my paradigm, I have to say that it has probably been 20 years since I ate fish this fresh and, wow what a difference. That is not to say that I haven’t caught fish and eaten it, but sometimes they have been frozen first or sat in the cooler for longer than optimum, but it is also rare.

The prevailing theory on Salmonids (salmon/trout species) is less is more. I have experimented some with different flavors and one that I like is onion, dill and lemon. Another combination that I have found I like is curry on salmon. Yesterday I tried a something a little different.

To begin the preparation, I scraped the scales and rinsed the slime off of the fish. Usually, trout is cooked whole, but I wanted to make sure the portions were equitable so I decided to filet the fish. I have never filleted a trout before. In many ways, I think that it leads to waste. I am planning to make some fish broth with pho soon so I saved the heads and the rest of the carcass in the freezer. But if you do, trout have the same pin bones as a salmon would, so you can pick them out or eat around them.

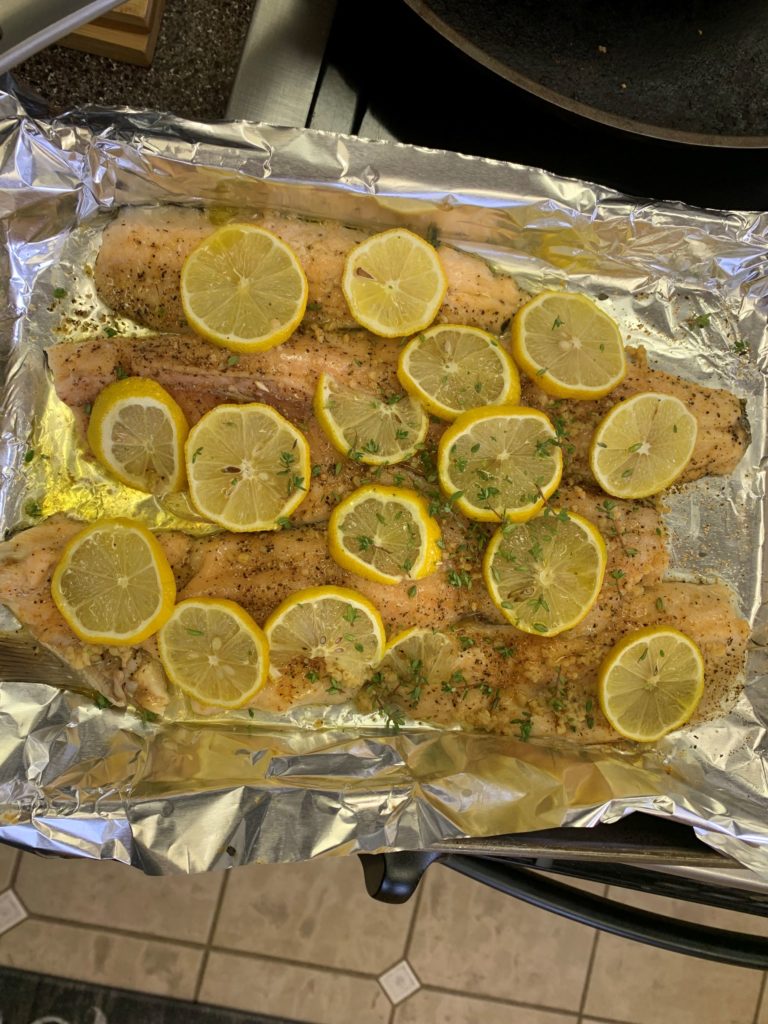
I added plenty of salt and pepper with a dash of cajun seasoning. On top of that was four cloves of garlic and rubbed the seasonings with olive oil. I sliced some lemon because they were there, not because I needed to and sprinkled with fresh thyme. The fillets were baked at 400 degrees for fifteen minutes.

End Your Programming Routine: It was said that the original pilgrims got tired of eating lobster every single day because it was abundant and easy to obtain. I am sure this could be the same thing, but I sure wish that I had a few more fish. It is definitely enough to make me want to go back out there and fish again. I think it was the perfect cap to a great trip.

September 29, 2021 – Repurpose Rice

Knowing what my week looked like, I set about making a plan on how to line up the meals. Usually, part of my strategy is to look at what we have and what is risking going bad and how I can try to ‘get rid of this’ (without waste). Looking at the schedule I also have need to have some leftovers or at least quick meals.

Currently, my biggest problem is that my freezer is at capacity. I also know that is a good problem to have. However, inheriting a lot of food yields things that we wouldn’t normally purchase or prepare. With that, I am trying to clear up space while trying to do new and interesting things (that will be eaten). We got an open package of pot stickers to finish off last night.

Yesterday, I talked about beans. I don’t always, but I did decide to pair with rice for my fish tacos. I partially did that because I was expecting to make fried rice with the pot stickers the next day. How do you make rice that pairs with beans and can then be repurposed to Asian the next day and by the way make it vegan and meat only eaters will eat it? Well it is not easy, but we found a way to make it work.

Let me diverge a slight bit, I am going to beat up on Mexican restaurants again. When you go out, the only rice you see is reddish in color and has some degree of seasoning. That is an attempt to make the classic rice preparation which is essentially rice made in salsa (at least that is the color). The best way to finish the combination is balance the remainder of the liquid with chicken broth and add some cumin.

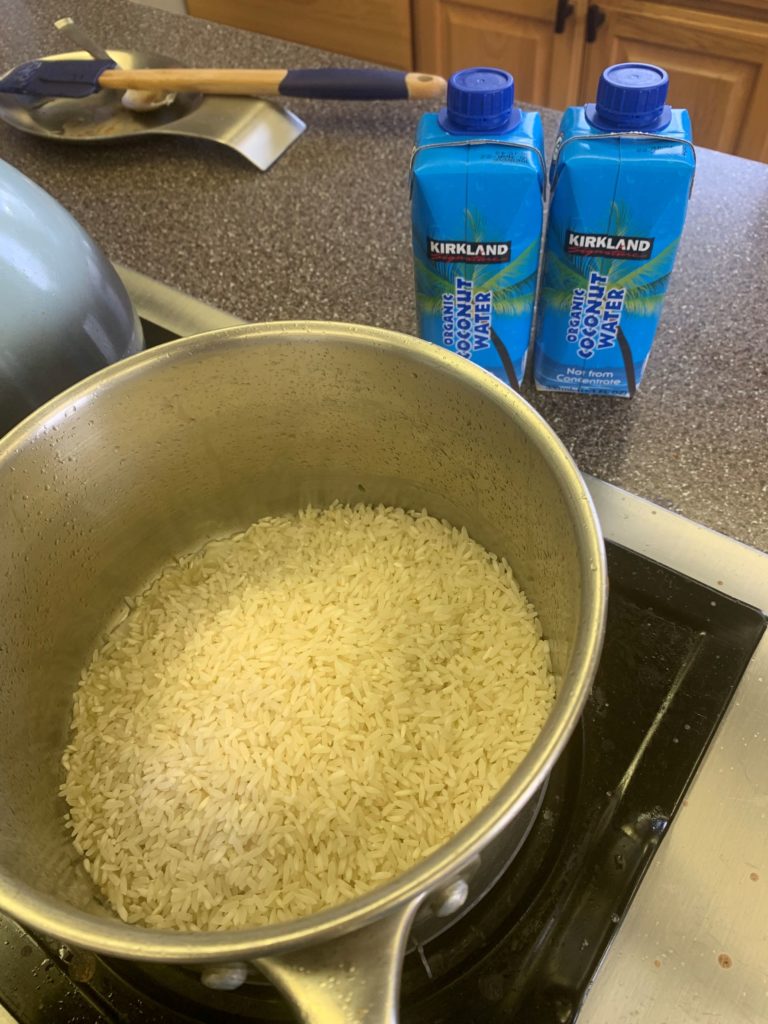
I learned a long time ago that is only one way to prepare rice. You can omit the salsa and make a white rice (with onion). This is more typical in the southern part of Mexico. Cumin is out if it is to become fried rice tomorrow and of course chicken broth fails the vegan test. We also learned recently another way of doing it which is to use coconut water. This becomes more Caribbean and leans more to the Asian for sure. Plus, I think that it is highly appropriate for fish tacos.

I softened some onion and then browned some rice. Then, I added the coconut water and made rice the way you normally would. Typically, part of the recipe is also coconut milk as well, I just wanted a small amount for us, so I omitted that this time. and that is it.

The next day, I fried some vegetables and added the rice, some soy sauce and viola. Again, to keep this vegan I had to omit the butter, egg or fish sauce. But, it was good enough to pair with pot stickers and green beans in black bean sauce.

End Your Programming Routine: With planning and modification, you can span the globe in two nights with half the amount of work. That may be a slight exaggeration but the principle holds true. The other advantage is that it reduces the chance of orphaned side dishes that can sometimes be difficult to eat or pair. Not every meal is fancy, tonight there is enough from the previous meals in the last couple of days for leftovers too.

September 28, 2021 – Kick-Ass, Refried Beans

There is going to be a lot of food content in the near future. It is partially because I am cooking a lot, partially because it is harvest time and I have to take advantage of that and partially because I haven’t done much in the past year. Aside from running kids around and sorting through junk this is the one thing that is going on in my life.

Some friends brought us over a meal the other night. It was black beans, chicken and tortillas with salsa. I would call it basically burrito fixings. We ate on it a couple of times. But I can’t get my kids to eat the same thing more than twice in a row, so a big container of beans sat in the back of the refrigerator for a week. And the reality is one of my son’s is vegan this month so he wont eat anything that is unknown origin so it was just the two of us eating all this food.

I got really introduced to beans when I started hanging out with my wife. As a child, we would open a can of refried beans and make burritos about once a month. We didn’t go out to eat much and we just weren’t really exposed to the different preparations. Somewhere in that journey, I was introduced to repurposing whole beans into refried beans. I just never gave it much thought. Mind you, this is really a leftover technique, which is right up my alley.

Have you ever gone to a Mexican restaurant and had tasty beans? It is pretty rare. Most of the time, the stale tasting beans pairs nicely with the crappy, bland rice and pour excuse for fiesta food. They lack salt and depth normally, the only thing that fixes the situation would be some fiery hot salsa so that you cannot taste them. OK, I am going to stop bashing Mexican restaurants now.

Why is that? What is going wrong? There are two things, one is that no one is tasting as time goes on. The other is that there is nothing going into the beans to make them taste any better. It is very simple to take beans from meh to great.

Sometimes, if I have leftover pico de gallo, I will add that. In this case, I added a small tomato and a little bit of onion and a clove of garlic. I also added a heavy spoon of bacon grease. There is no real recipe for this however, think about proportions. If you open one can of beans, then I would say about a 1/8 cup of additions. is about right.

Add additional water to the mixture and boil the heck out of it. The object is to boil the raw ingredients until they disintegrate and are easy to mash. You also need to keep boiling off all of the extra water, so don’t carried away with adding too much water. After boiling for a bit, start mashing the mixture. Then, taste for salt and adjust accordingly.

You can always add more water and keep boiling if things aren’t as soft as you would like it. When I was done, I put the beans into a bowl and got a little heavy handed with the Feta (I was trying to get rid of the container and it had more than I realized). That is it. No cheese is necessary but for more authentic touch, use Cotija.

Other variations substitute olive oil for bacon grease or even skip it altogether. The bacon fat add smokiness and the fat in general adds to the texture to the beans. Sometimes I will add a little cumin. I like my beans a little coarser than puree so the masher works well, but an immersion blender would have a more uniform mix.

End Your Programming Routine: If you don’t like beans, it is probably because you haven’t had them done well. I really like them for breakfast with eggs and fried potatoes and a little bit of Cholula on them. I like them in my breakfast burrito as well. Another thing I discovered earlier this year was to put them on the bottom layer of a tostada. It will keep the giant chip from breaking up when you take the first bite.

September 27, 2021- Making Pesto

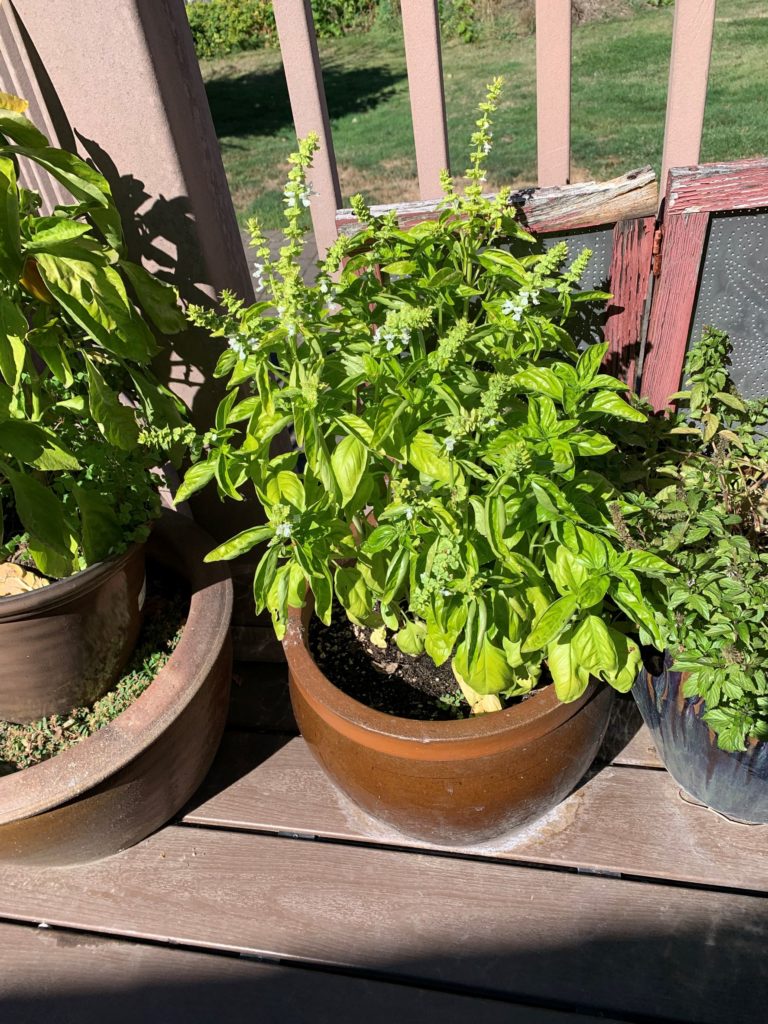
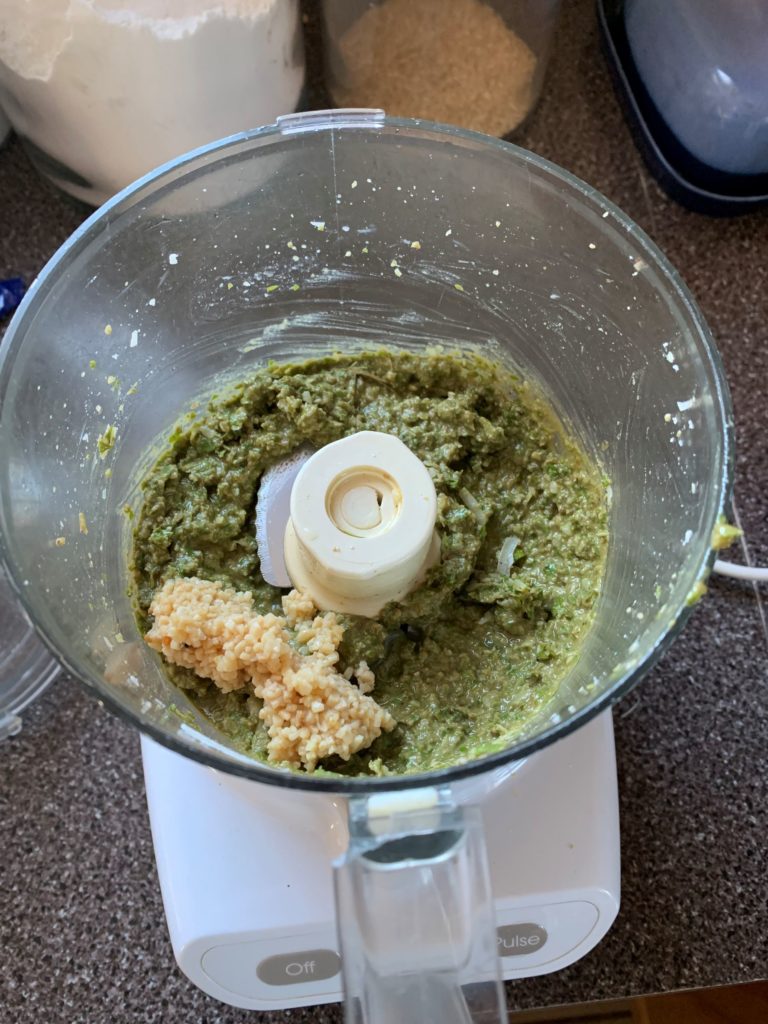
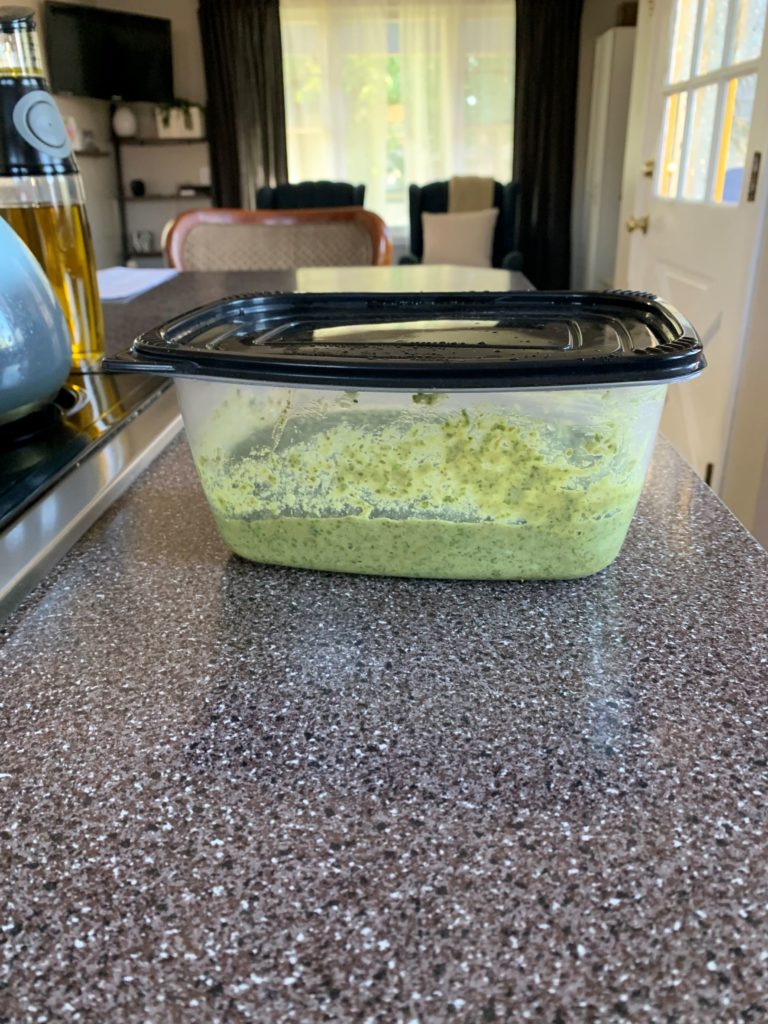
Harvest season is still going strong although I think that we are over the peak. Making pesto has been on my list for a couple of weeks now as my basil has started to flower. It is pretty easy with a couple of ingredients and a food processor. It stores well in the freezer for later.

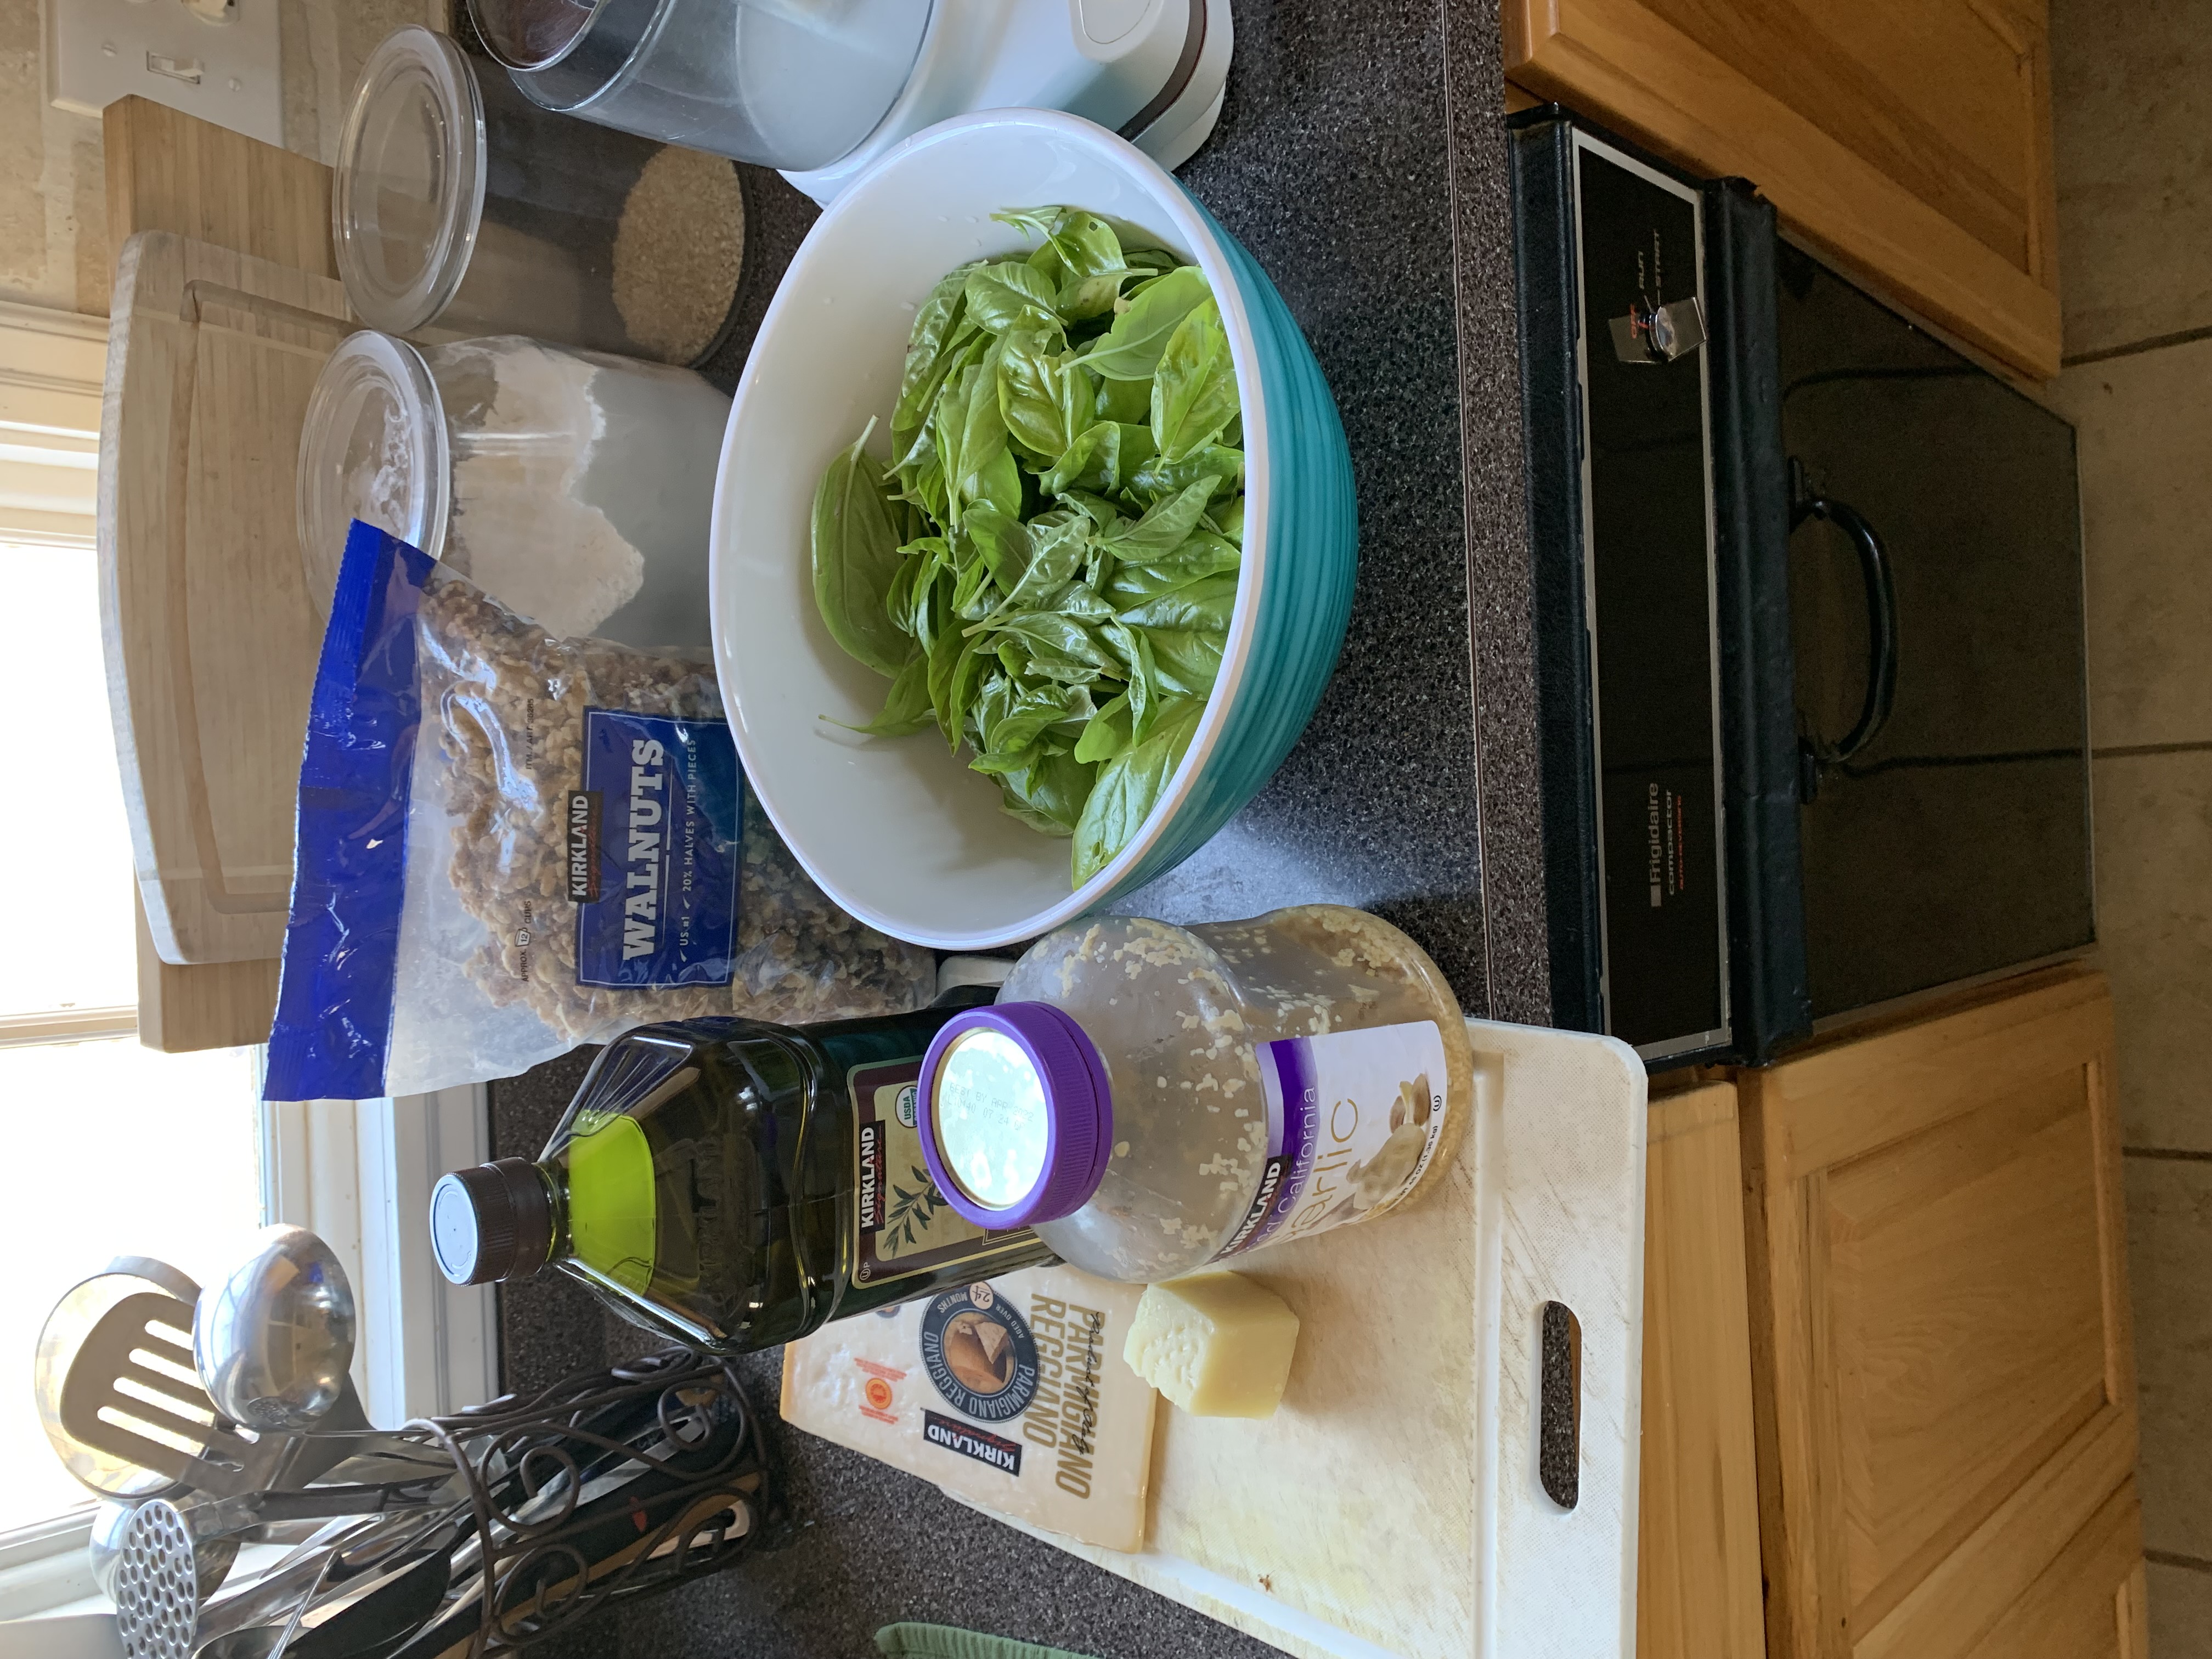
I trimmed the majority of the stems off of the plant. I do leave some in case the plant wants to grow again or I have a little basil to use for a short while before the plant gives out. Strip the leaves and rinse them off. Gather the rest of the ingredients.

  • Parmesan cheese
  • garlic
  • Pine nuts (or walnuts)
  • olive oil
  • salt

Here is a rough recipe that I use.

  • 2 cps, loosely packed basil leaves
  • 1/2 cp shredded Parmesan cheese
  • 2 tbs nuts
  • 1/4 cp olive oil (approx.)
  • 1 clove garlic
  • salt to taste

Here is the process that I used minimizing cleanup with the food processor.

  1. Determine the amount of basil leaves so that I can scale the recipe proportionately
  2. Shred the cheese
  3. Add the nuts to the cheese
  4. When the nuts have been broken down with the cheese, add the basil and process as much as possible.
  5. When the mixture stops moving, add olive oil to the active mixture and additional chopping will begin to occur.
  6. Keep processing to achieve uniform mixture
  7. Add garlic
  8. Taste for salt

If you eat pesto, then you probably have an idea about how much you use per serving. I would say that we use for about a 1/2 cup of pesto for a family of four’s pasta. I would suggest that portion is how the batch gets distributed for storage. That way, when you pull it out to use, then you have the proper amount for the meal.

End Your Programming Routine: Basil is easy to grow, it likes hot weather. I used some from the plant throughout the summer but the majority went to make this pesto. Pesto is easy to make and delicious. It’s great this time of year, but it is also great in the middle of winter for some reminder of the flavor of summer.

September 21, 2021 – Canning Pears

When I agreed to to take on this task, I knew that it was going to be tough. Now that I am done, I am happy to have this done. Let me say that I am worn out. I decided to do it all in one night rather than splitting it because of the the amount of energy it takes to get started. Meaning, it saves time to keep going rather stop and pick back up again.

Just because peaches and pears are done, doesn’t mean that I am done. I have basil that I am going to make into pesto and freeze. I have grapes that I am not sure what I want to do yet, I might make jelly or I might do nothing. I have my plum wine ready to start. Usually, I make applesauce too. I don’t think that there are enough apples this year to do so.

Today, I am going to talk about the process of canning for high acid foods, specifically pears. The two most important things are having everything gathered up and the sequencing of the steps. Meaning, this process can go much faster if things are moving in the right order.

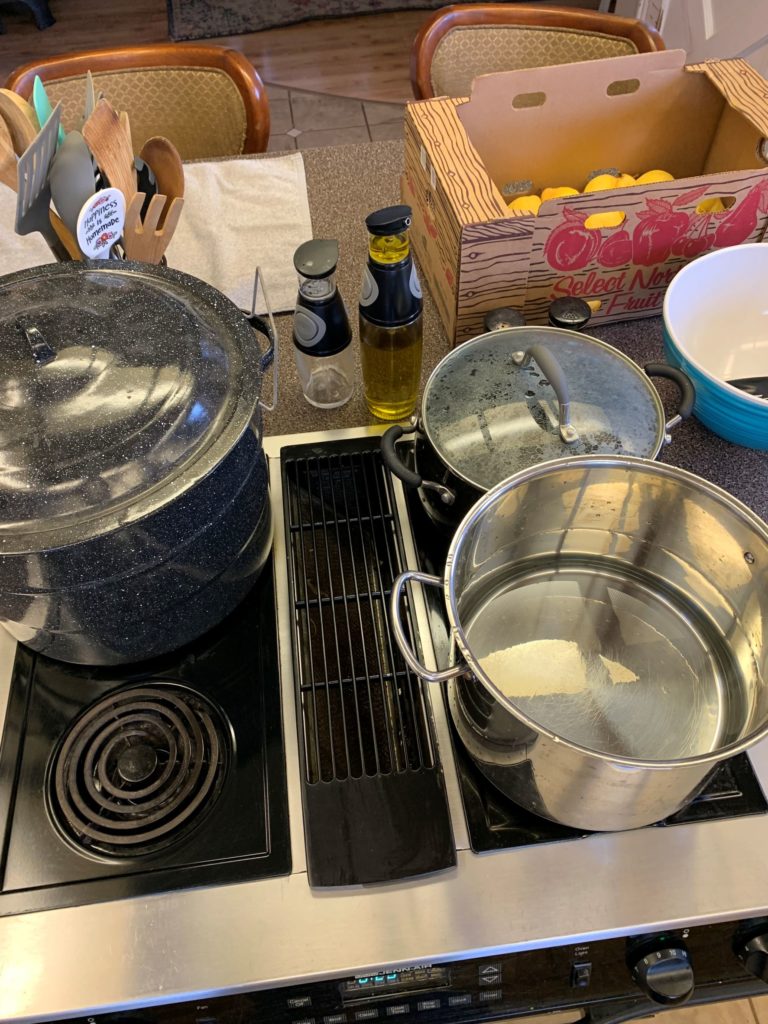
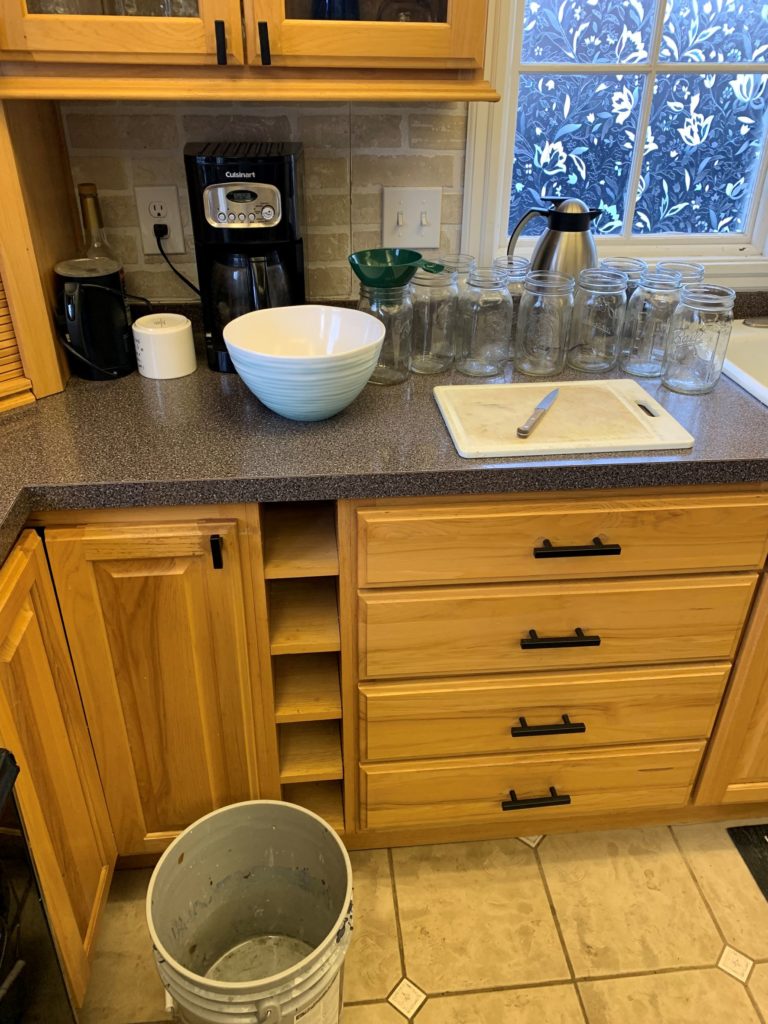
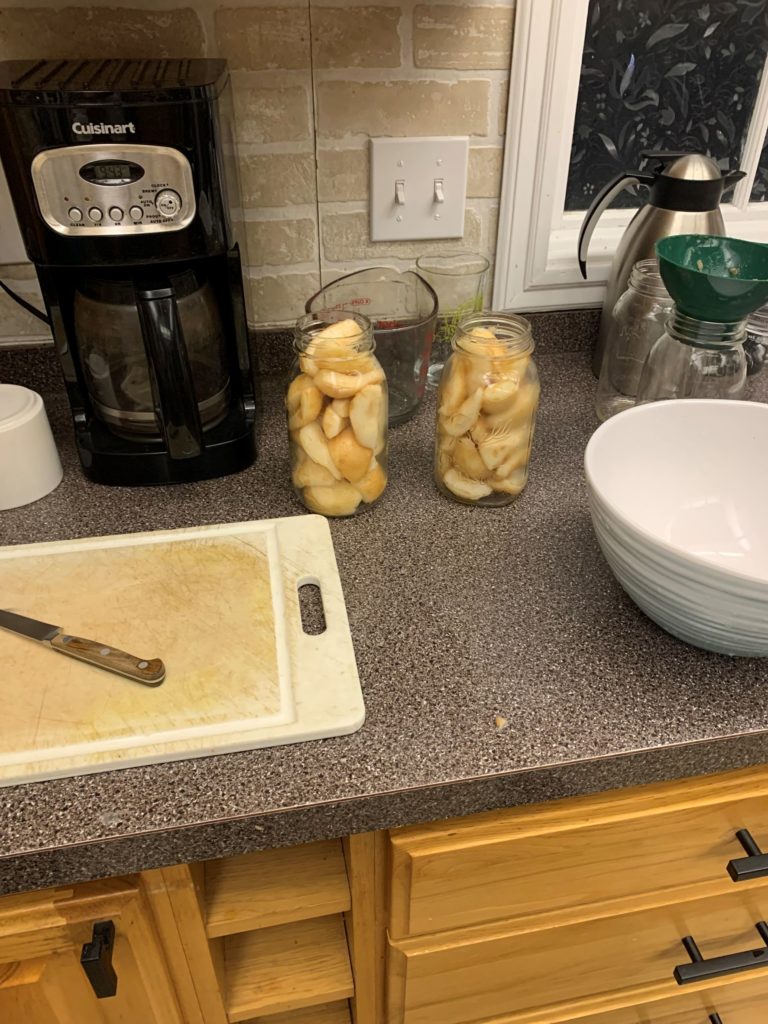
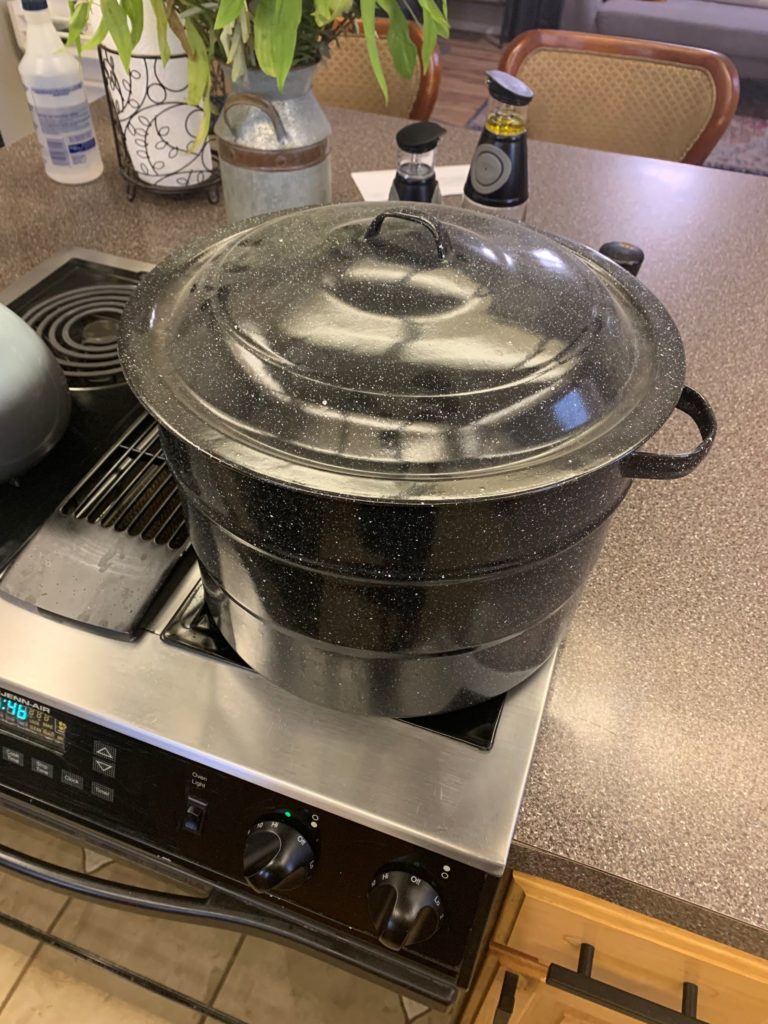
The first thing I do is start heating the water for the canner (black on the left). But as long as things are heating up, get your syrup going (right, back) and heat up the scalding water for peeling (right, front). Have your workspace laid out so there is somewhere close to put finished jars to cool. In the right picture, I have the prep station setup including someplace to dump waste. I have the lids already off and the jars lined up so that I can move the funnel from jar to jar quickly and minimizing the mess.

I tried a new way of peeling this year. It involved scalding the pear for 15 seconds, and then immersing into cool water. In theory the skin peels of. I found that no matter how you slice it, this process was messy and time consuming. After the pears are peeled, I quarter them and remove the core and other blemishes.

As you get going, be sure to keep an eye on things going on. You may need to refill syrup so that sugar has time to dissolve in time to get the jars filled so that you don’t need to wait on that step to run the canner. Time in the canner is 25 minutes at a rolling boil. I find that I need to fiddle with the power gauge up and down to keep it going. The canner holds six jars technically, I find that I can do seven by putting one jar in the middle of the basket. Once boiled, I set aside on a towel to cool. Interestingly,

Canning works by two principles. One is that the sugar water acts as a preservative. The second is that the lid ultimately creates a seal which increases pressure inside the jar. As the contents boil, there is a slightly higher pressure inside the jar which drives oxygen out of the jar. It means that the jar leaks while the process is happening. In theory, the jars being submerged under water creates a ‘one way’ drive out of the jar.

I say all that to say that the jars end up sticky because some of that syrup boils out. Before storage, it is a good idea to clean off the outside. Sometimes I don’t and the consequences are that ants may find the jars in the spring. Of course they don’t get in, but they do crawl all over the place and who needs that?

I usually have a failure or two. With my peaches it was one jar out of twenty this year and I had one pear fail to seal. Those go into the fridge for short term consumption. Also, jars can break due to a temper set of glass. I never do this because it takes extra time and I always put my jars away clean but it is recommended to run the jars through the dishwasher before use. This helps with setting the right glass temper as well as cleaning.

End Your Programming Routine: Everything that you need to know can be found in the Ball canning handbook about $10. For free you can also supplement with YouTube. Since I grew up with this, I cannot each store bought canned fruit. It does take some planning, effort and commitment but I think that knowing how to do it is valuable.

September 7, 2021 – Putting up Green Beans

My weekend wasn’t as good as it could have been but it was much better than the previous one. Friday and Saturday were spent going through my father in laws effects trying to get ready for my mother in law’s trip back to Texas next week. Sunday was the annual family day at the state fair. And Monday was doing a lot of things around the house including grilling some ribs and corn.

My parents came over on Thursday and brought me some things out of their garden. We got cabbage, corn on the cob and green beans. My mom likes to eat raw green beans, I do not. For my tastes, I want some minimal amount of cooking to get the ‘squeaky’ out of them. If you ever tried to eat green beans that were fresh, then you probably know what I am talking about.

It was probably around 10 pounds of green beans. There was definitely too much to eat, so I needed to get them processed for storage. When I was in college, I used to spend my summer working at a frozen food processing plant. One of the things that we did most of the summer was green beans. Not only growing up canning beans, but my knowledge of how they were done on a truck load scale is helpful in knowing what to do.

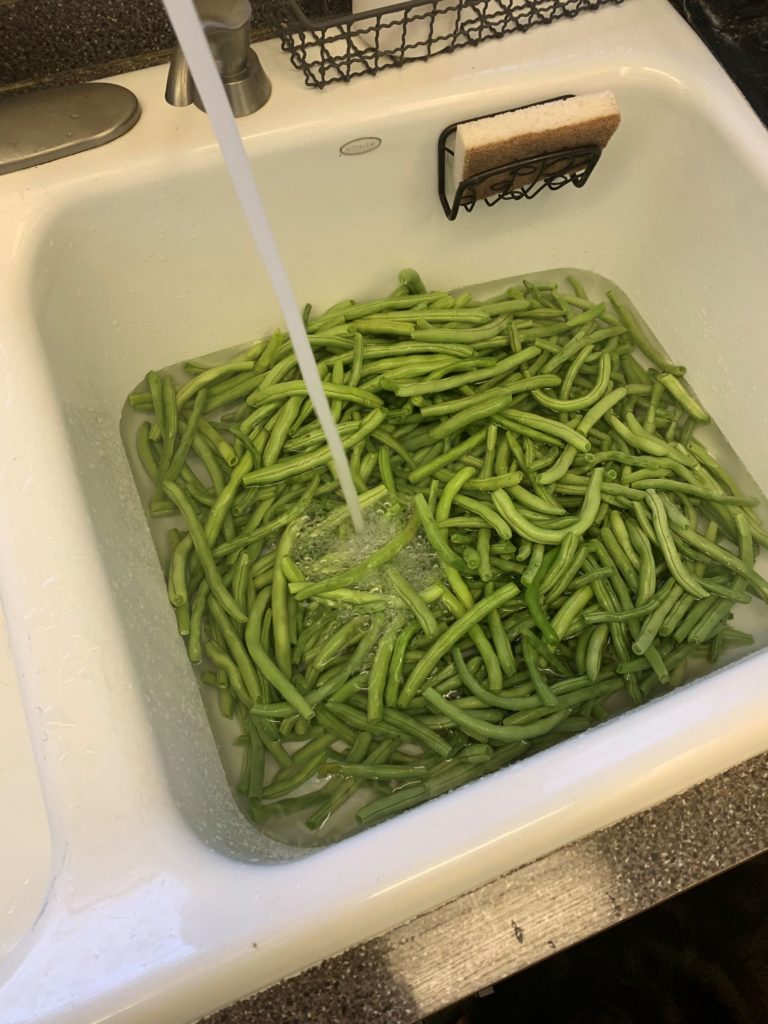
  1. Inspect the beans and remove both tips
  2. Wash the beans and heat up the water

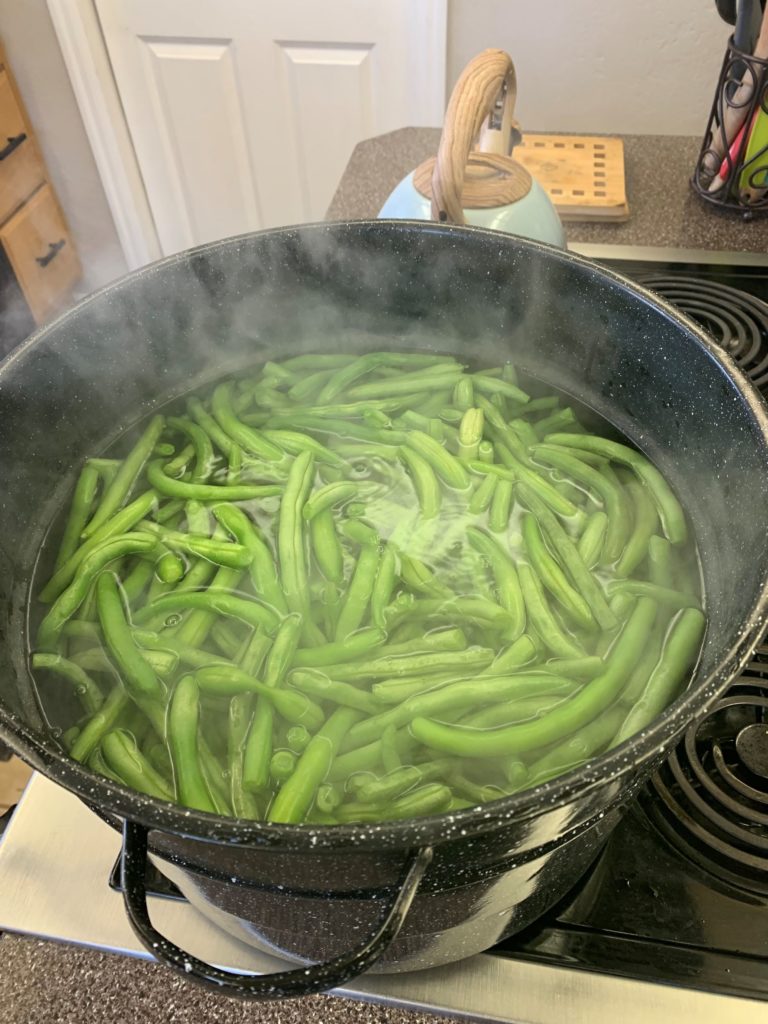
3. Blanch the beans for about five minutes.

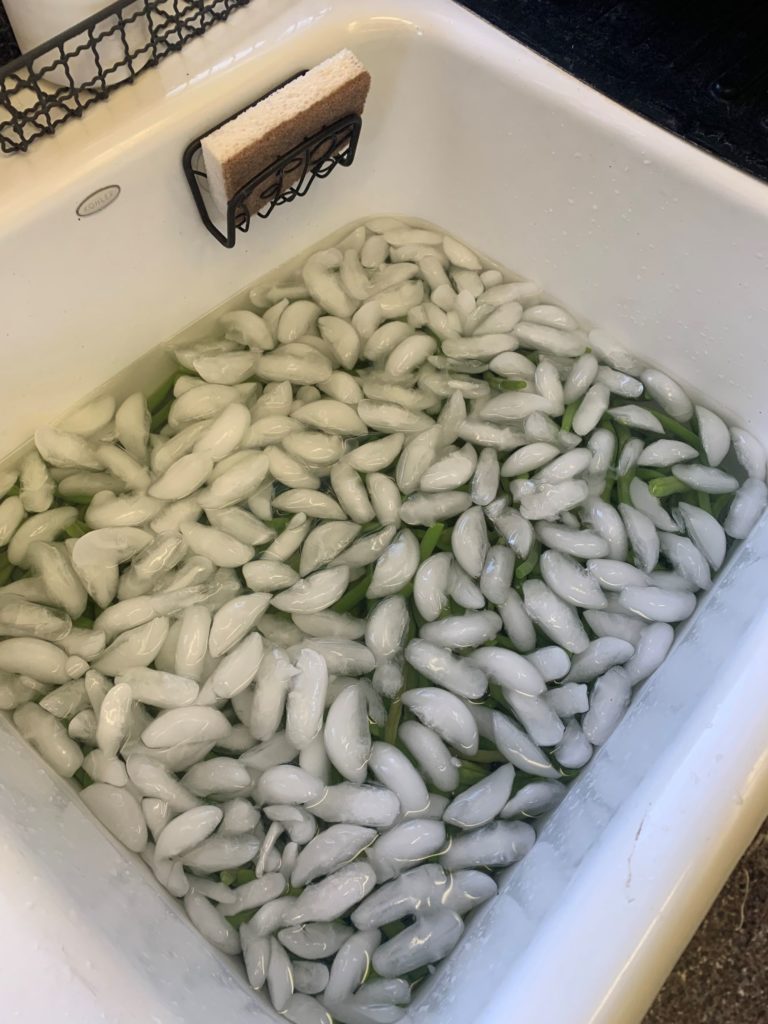
4. Drain the water and quench the blanching process using ice

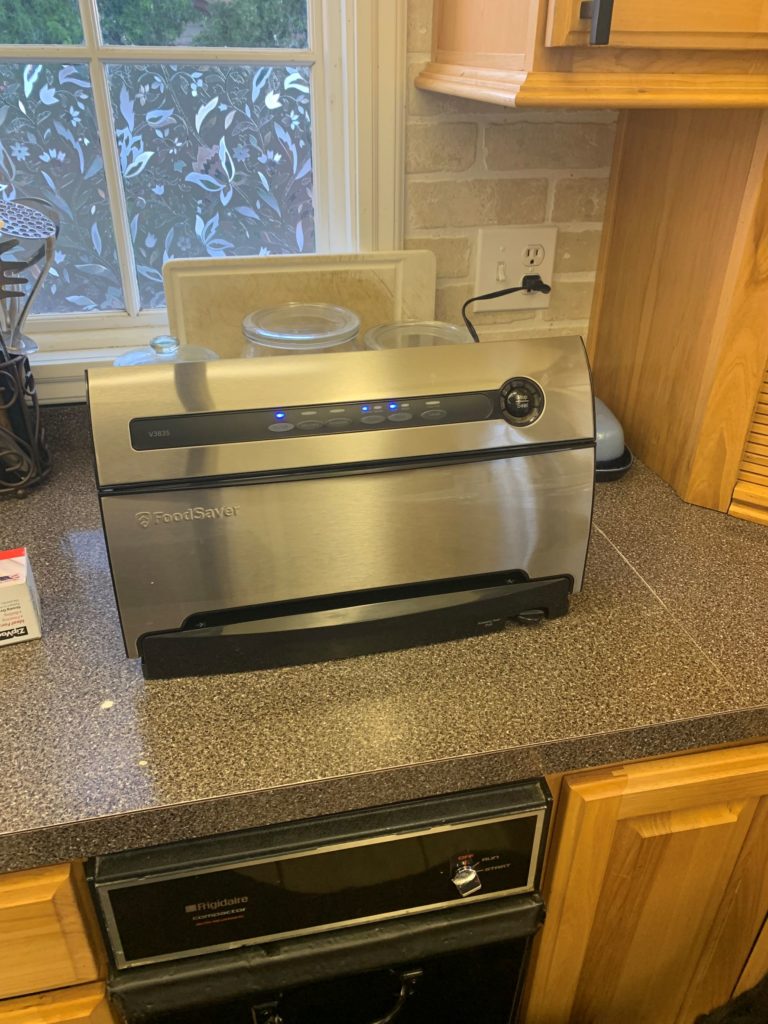
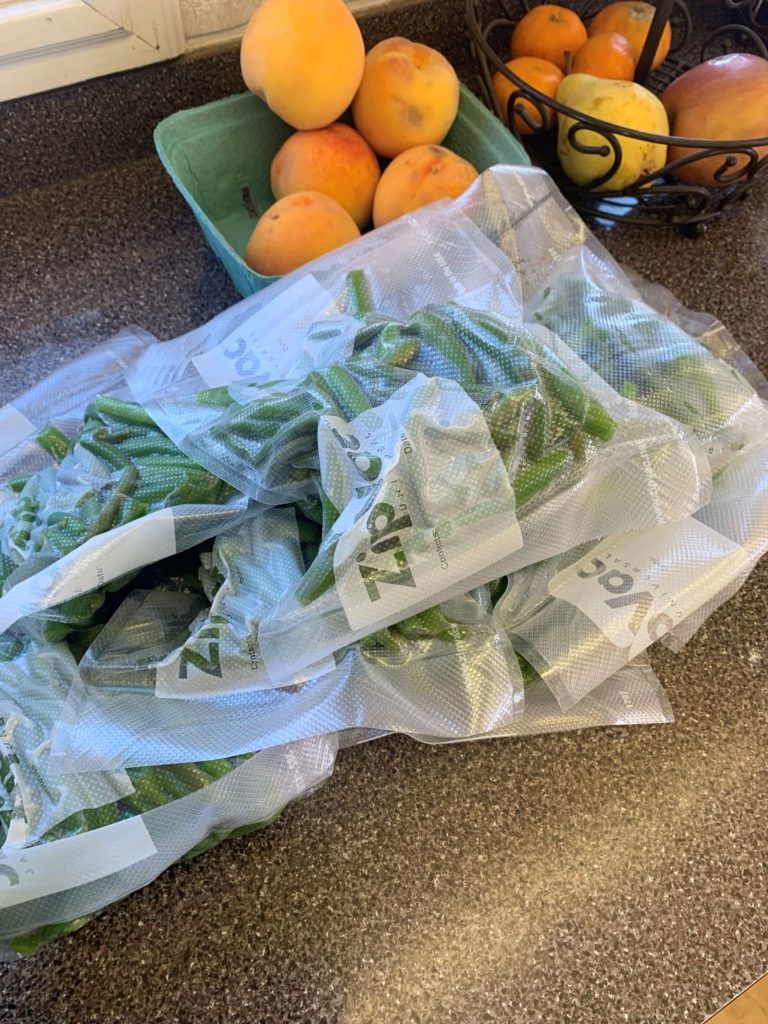
5. Fill up the freezer bags and evacuate.

That is it, that is all there is to it. I made seven packages of ready to use green beans. That means each one is about a pound and a half give or take. Probably my favorite recipe to use them is a stir fried green beans with black bean sauce. If you are more of a meat and three then you can eat them that way or however you like.

This probably took me an hour and a half to do including cleanup. If I had more than 10lbs, it wouldn’t have taken that much more time. What takes time is heating up the water for blanching. I considered breaking out the propane burner to do this faster, but I only needed one batch. Another thing to consider is I used all of our ice, so you might need to have some additional ice ready if you were doing more.

End Your Programming Routine: This is the harvest season, I have some plans for plum wine, we need to put up peaches and pears and I am wanting to make some sauerkraut. I really don’t know if I will be able to do all that while my wife is gone, but we will see. I am going to do what I can to take advantage of the season.

June 2, 2021 – Recipes and Lies

In my recent stint of ethnic cooking and looking at recipes I have noticed a theme about times and how they are portrayed. They always seem to be way too short.

For a long time, I have subscribed to and enjoyed the podcast ‘Harvest Eating‘. Way early on, probably within the first 20 episodes, Keith talks a little about the process of testing recipes. This was in the context of producing the cookbook and how recipes had to be tested multiple times to validate everything was correct. He never went in depth about the process and I always wondered what the process was about.

My technique for making something new includes trying to find three or four recipes and look for the similarities. If most ingredients and proportions seem to agree, then I generally consider the premise reliable. Sometimes I am looking to add the outlier ingredients and sometimes I am looking to skip them, it depends on what I am trying to use up or not have something that has very little future use.

I suppose that it goes back to simple/easy conversation a few weeks ago. For the most part, recipes are a collection of steps that build on each other. Those steps can be both simple and easy or one or the other but rarely neither. One of my problems is that often I am looking at a blog on my phone and ultimately goes blank and then I have to scroll through all of the pictures to get back down to the recipe.

But also, I question the twenty minutes of prep that seems to be ubiquitous. Rarely do I see something that is less or more than that. Last week, I made a vegan Bahn Mi that contained tofu, yam. taro root and egg plant. That recipe’s prep time was also 20 minutes and I don’t think I had everything on the counter and peeled in that time. Additionally, cook time was twenty minutes which included frying all of those roots, then braising them with the softer and more fragrant items like eggplant and lemon grass. Needless to say, it took more like an hour and a half to get everything done.

It seems like when chef’s test recipes, it may be coming from someone that has done it a dozen times or more. In addition to that, they likely have a vast experience base of culinary skills and tools. It also might be that they don’t care how many dishes are used to make the dish (I try to minimize the number of bowls, utensils and tools that have to be washed at the end, I think that might slow me down some too). This was my first time using taro root, I wasn’t quite sure how to approach it.

We are having Indian tomorrow, and the Aloo Gabi is on the menu because it is vegan (so my son will eat it) and sounds good. I will give it a test and see. I have to peel potatoes and break down cauliflower as well as get all the spices gathered up. I can be kind of a risk taker when it comes to food and cooking Indian never having done it is one of those things. I will start right after work and we will see if I get it done in time for dinner.

One more quick tip I use is you can reduce cooking time by getting everything out of the refrigerator and allowing it to come up to room temperature (while prepping). It also tends to cook better and more consistently. There is nothing worse than trying to cook something that is almost ice cold with a stir fry technique.

End Your Programming Routine: For making something new, exotic or unknown, I would plan on at least doubling the total time of a stated recipe. Using the concept of Mise en Place you can always delay cooking until everything is staged, but you cant get time back if you start too late.

May 24, 2021 – Family Meal Night

It has been a long time since I have talked about cooking. It is one of those things that I do most nights but don’t plan well enough to take pictures during the stages. Consequently the meal comes and goes and I don’t end up talking about it.

My son came up with idea that we would pick a theme and he would do part of the meal and I would do the other. We picked Thursday because it is one of the few nights of the week that we didn’t have an evening commitment (at the time). One of the reasons I really like the idea is that this is something we can bond over. I don’t have a lot of interest in video games or silly YouTube videos but we talk, plan, shop and cook together.

The first time we did this, we chose German. I made sauerbraten and fried cabbage and mashed potatoes and Aaron made strudel. I think that it was a big hit so we decided to do it again.

Aaron is vegan/vegetarian, depending on the month and so he tends to focus on the dessert. I work on the main courses. We choose Greek for some reason. This was supposed to happen two weeks ago, but when we came down with Covid, it got sidelined until we could dedicate the appropriate attention.

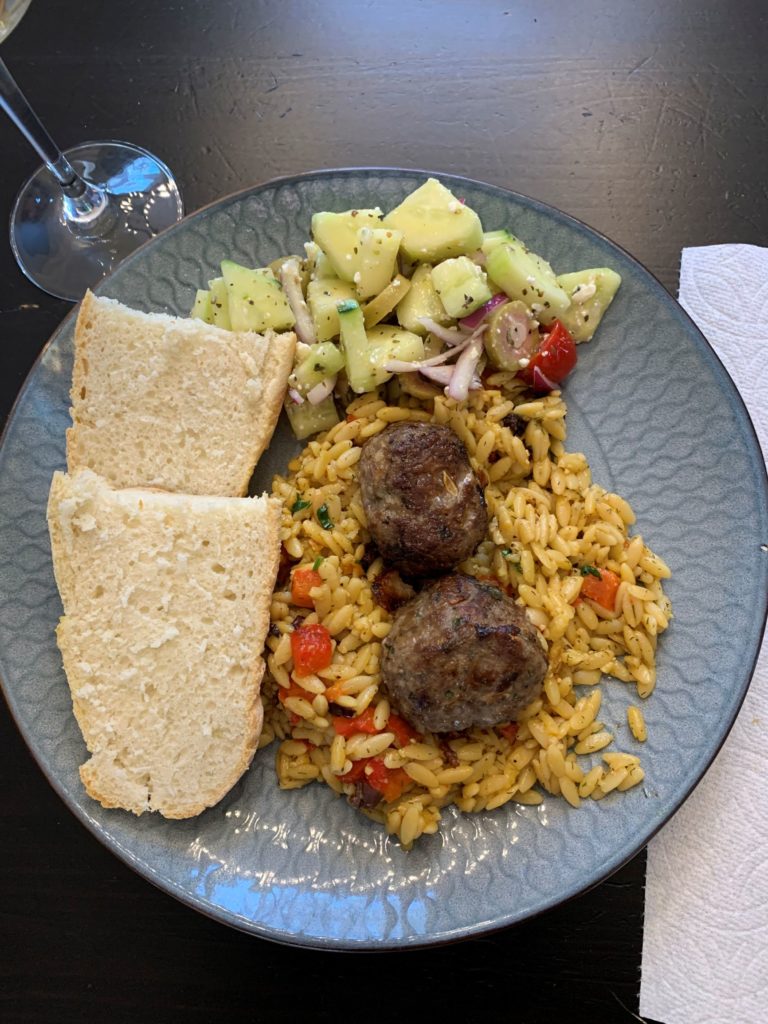
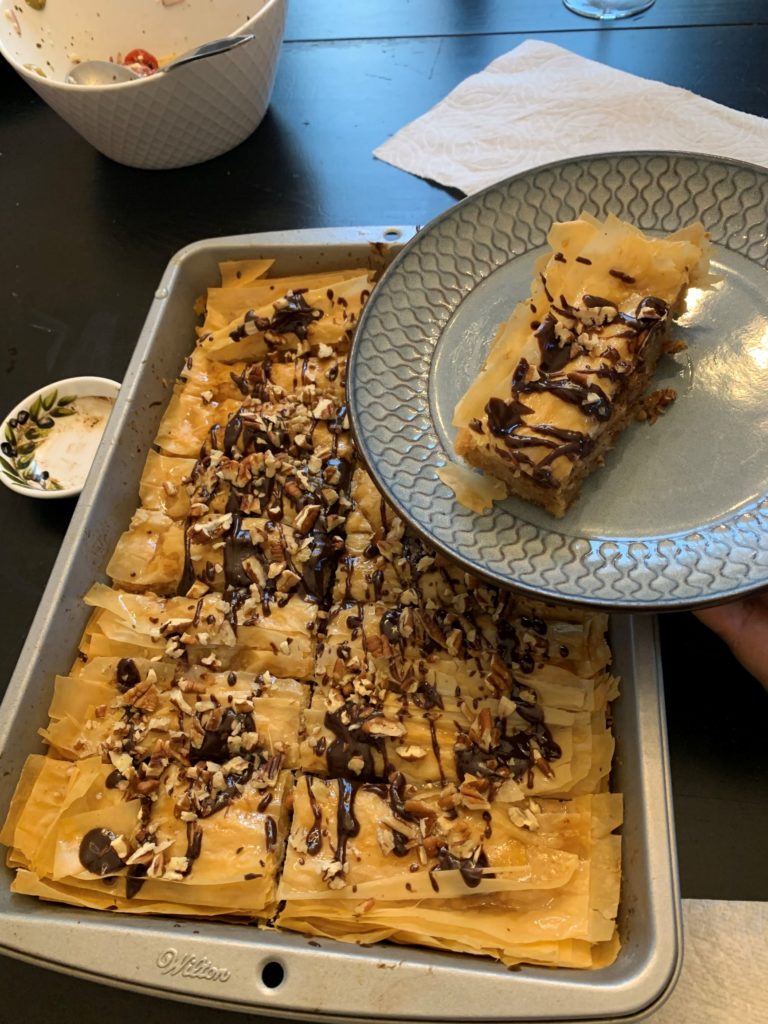
Here, I made the lamb meatballs, the orzo and the cucumber salad. He made the bread. He also made the Baklava.

Next week we have chosen Vietnamese likely followed by Indian. I haven’t decided on the my part of the menu yet. I like a good challenge so I am up for picking a direction and heading there. Maybe I will incorporate this into a weekly segment as well, it is something more than pictures of 2x4s and survival kits. Certainly food needs to have a higher profile than what it has gotten in the last year.

End Your Programming Routine: I struggle a little bit with both relating to my kids and supporting Aaron’s interest in baking because of the mess and the risks he takes without the skills. But, I think back to how bad of a cook that I was when I was his age and I need to let them try so that they will be able to have the skills when they get older. This seems like a low risk high, reward way to build our relationship and we have to do it anyway.