If you have ever lived in the south, then this very well may be a nothing burger. The first time we celebrated New Years Day in South Carolina, I found out that it was some kind of tradition. Imagine me, a doe eyed west coaster talking with our strongly southern accented friends asking if we have black eyed peas for New Years.
First of all, I don’t know if I had ever eaten black eyed peas. Secondly, we certainly didn’t have any sort of tradition like eating them on New Years. And more so than that, who puts a dime in the bean pot?

That’s right, the person that gets the dime in their serving gets and extra helping of luck throughout the year. At least that is the superstition. Doing some quick research, it seems like this tradition is very strong in the Carolinas because so much of the low land was strongly Gullah/Geechee west African descendants. As such, black eyed peas, field peas and rice hold a common culinary base for cultural cooking.
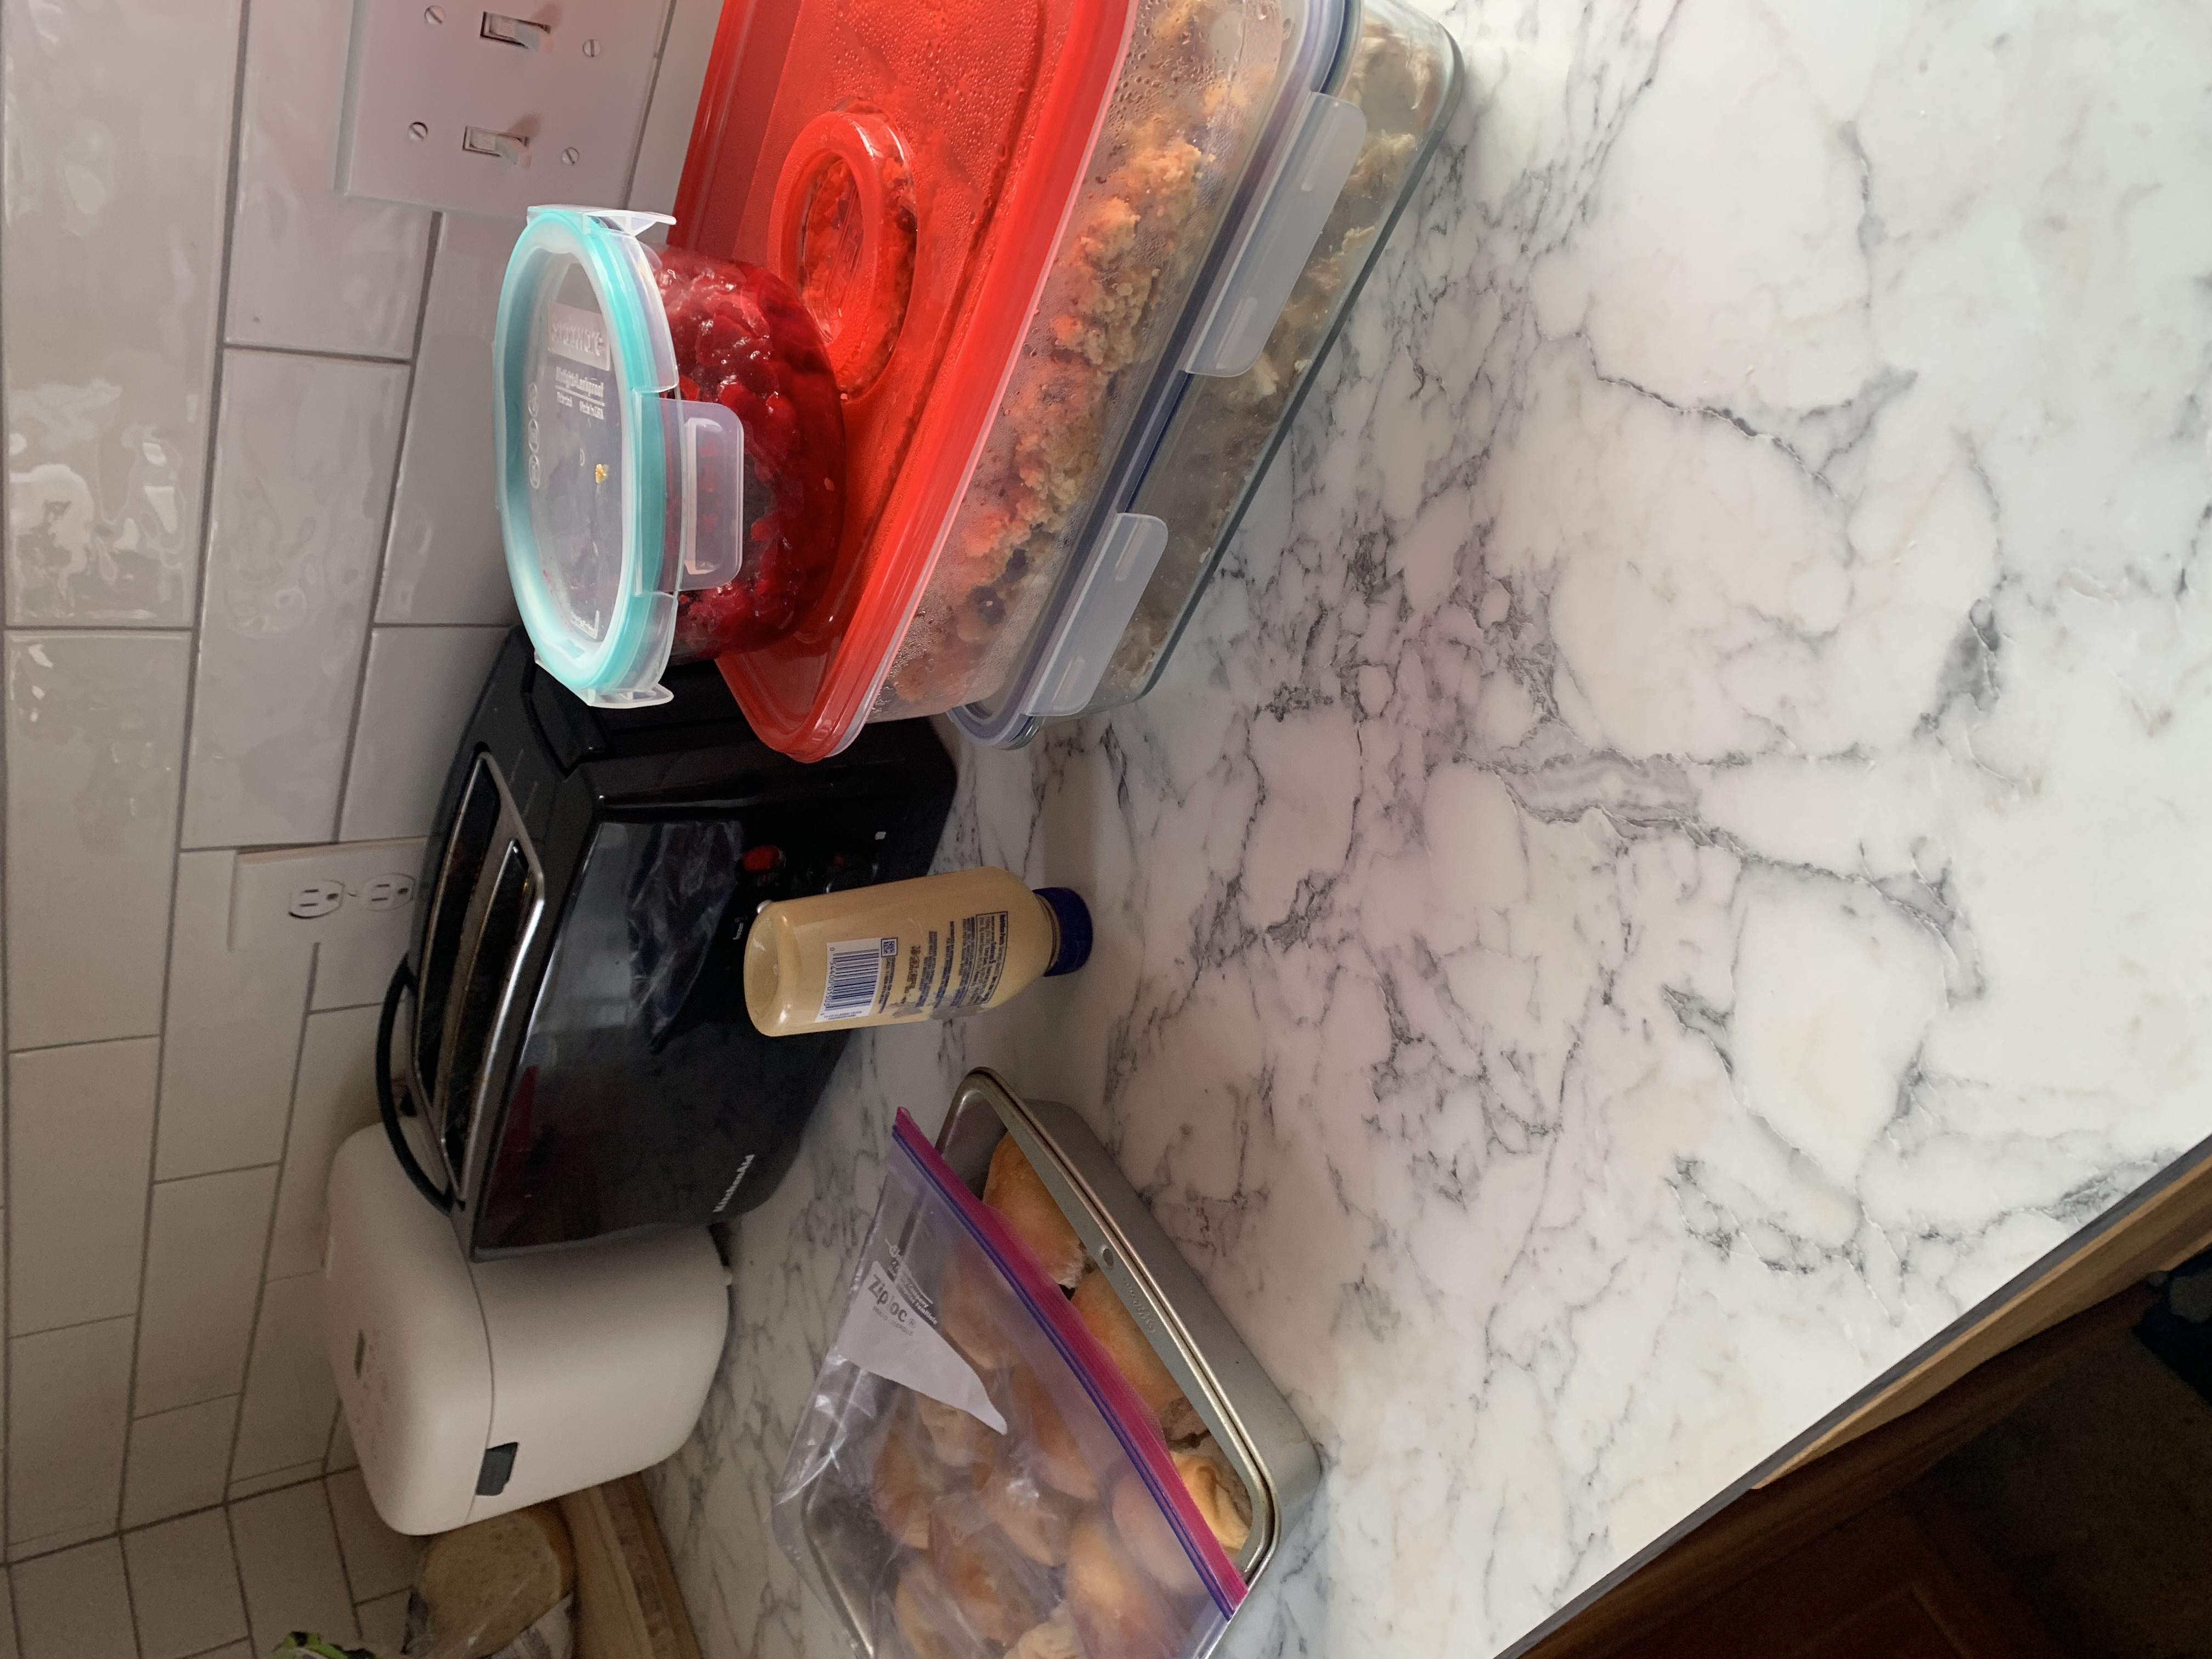
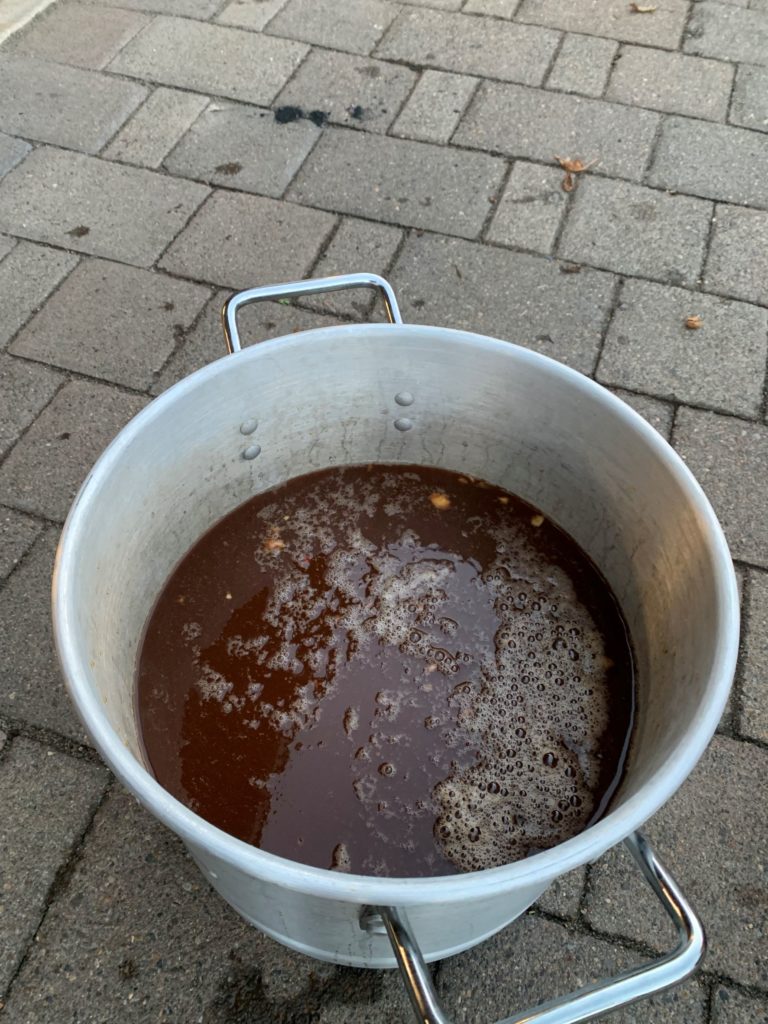
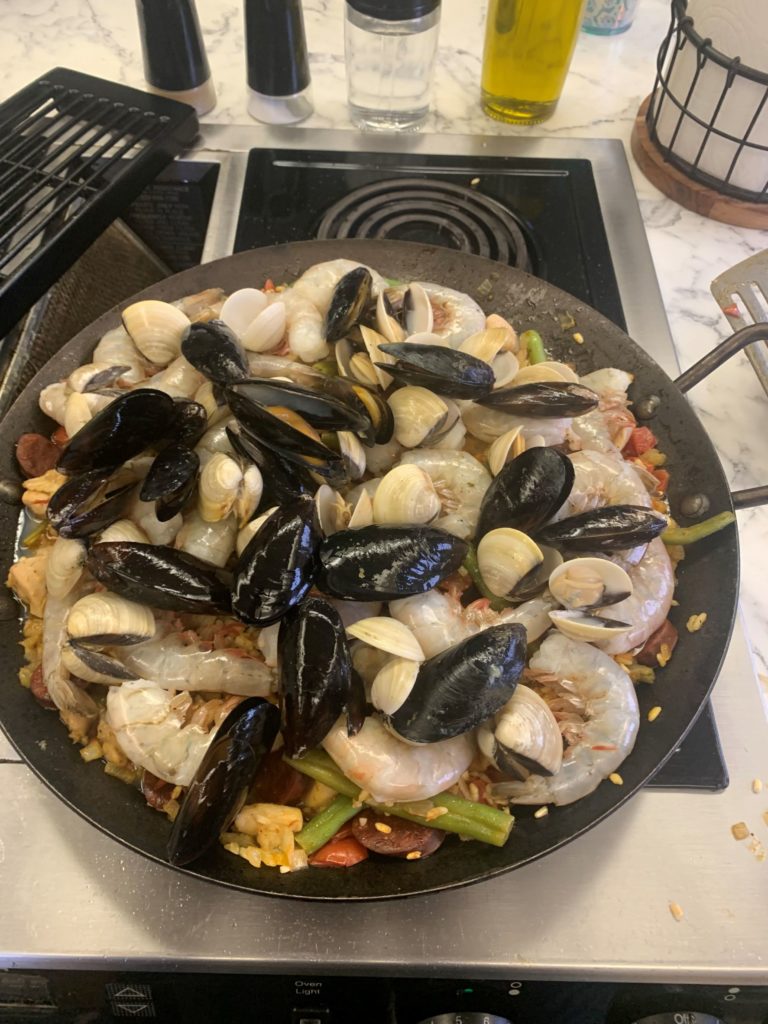
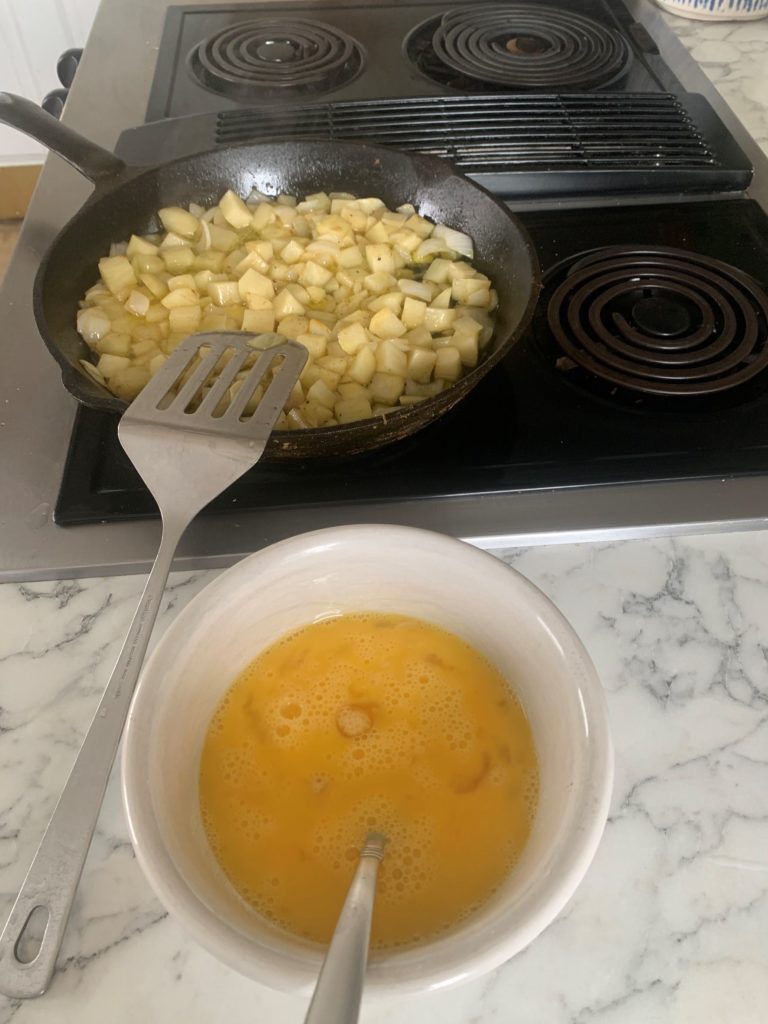
These beans can be served bland like any dry and boiled bean or they can be a full meal. Soak the beans overnight, drain the liquid in the morning and go crazy. I like a mirepoix, bacon/fatback, broth and a lot of collard greens, particularly the stems seasoned with some cajun or creole seasoning. You can serve that with some cornbread. It is easy peasy, just have your planning in place.
Today’s nanny state says not to put a dime in the beans. You are going to choke on it and die. Then your estate will sue the host and we will have another blood feud. So much for extra luck. I’ve never done it because I don’t believe in extra luck, but would say just warn people to be on the lookout for something non-edible.
I went down a total rabbit hole when I was looking at traditions for New Years day. What I learned is that there is no real standardization on when a new years should be. Ancient Rome was March 1, India is Diwali (October), China and Islam use a lunar calendar (late winter). A different topic for a different day so, I guess we will stick to the USA. Fireworks at midnight, the Rose parade or black eyed peas. It used to be college football bowl games until the playoff system screwed it all up.
End Your Programming Routine: New Year Day is one of those rare holidays that doesn’t seem to hold much in terms of expectations. At only one week from Christmas, it is so close that I feel like it doesn’t get much attention, traditions aside. I always feel like it is here and gone. So, why not fire up a pot of beans and serve a hearty and hot meal as a new tradition.


Recent Comments