Bathroom fans are a dubious proposition. We want industrial hood suction with a consumer level price and engineering. I for one am somewhat skeptical on their effectiveness as it seems like fan off/on seem to have the same results. This particular fixture has always had weak lighting and now the fan has stopped working. It may be worth trying to diagnose but an upgrade in lighting is certainly in order.
I am amazed at the number of options today. When I was last looking at fans a couple of years ago there were a handful of choices. I didn’t buy one because the volume I wanted was on backorder. Those choices were largely based on fan volume. Today, there is a whole isle of bathroom fans. Later I learned that there was nothing wrong with the fan at all and what I thought was a bearing was a loose cover connection.
I have replaced this fan once before, so I am confident that this job is easier than it could be. If your fan is original to the house, your job is going to be much tougher as it is likely attached to the structure in a way that is not accessible from the finished space. This means that you will have to come up with a way to cut and chop your way through the fan body to get it removed.
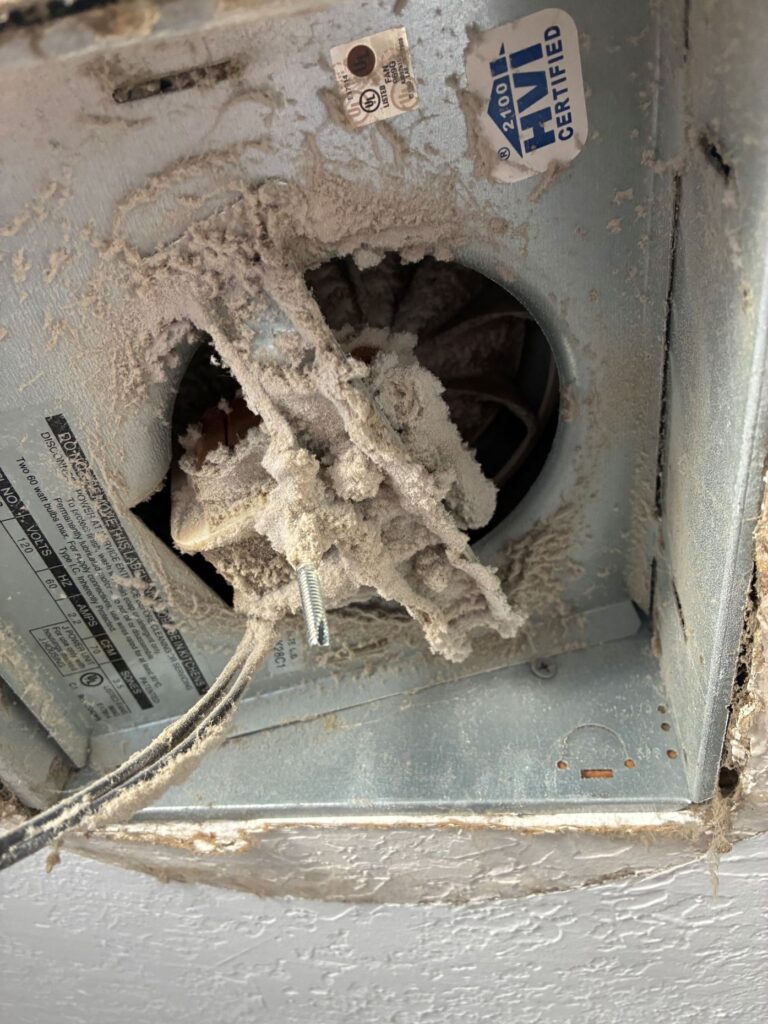
I suspect that this fan overheated due to dust (or see below). The easiest fix would be to simply replace the fan motor. In our case, the light is so poor that we are going to upgrade the fixture. Replacing the motor is about an hour job, replacing the whole fan, box and all is probably an eight hour job including multiple days of finish work.
I did find out when I took the box out that a squirrel had made it’s way down the vent pipe and stashed a walnut in-between the flapper vent. For all I know, maybe that is what caused the fan to burn out. At the very least, this should help with heat loss and better ventilation for that matter.
Make sure the power is off. If you are confident that your wiring is conventional, then you should be able to leave it off at the switch. But, if you are not, then you will need to find the breaker. Next, remove the electrical connections. In this fan they are made underneath the plate that you see. That means that you will have to figure out how to disconnect the fan from the box. Detach the box from the framing so that it is only connected to the duct work. Finally, disconnect the duct and install in the reverse order.
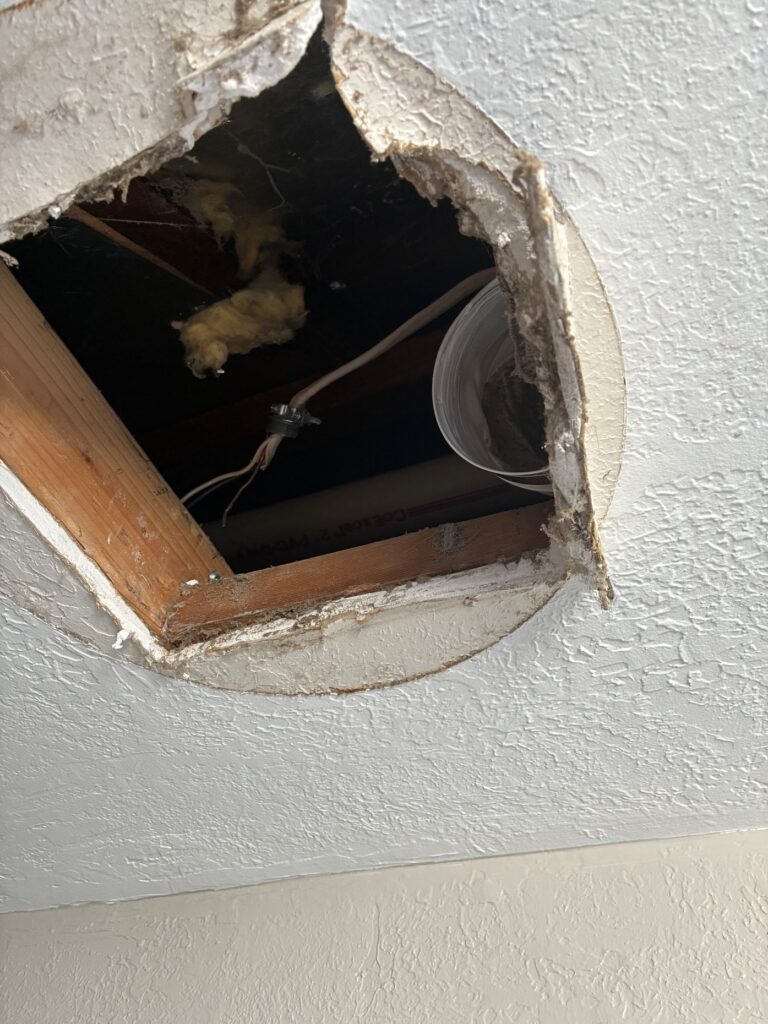
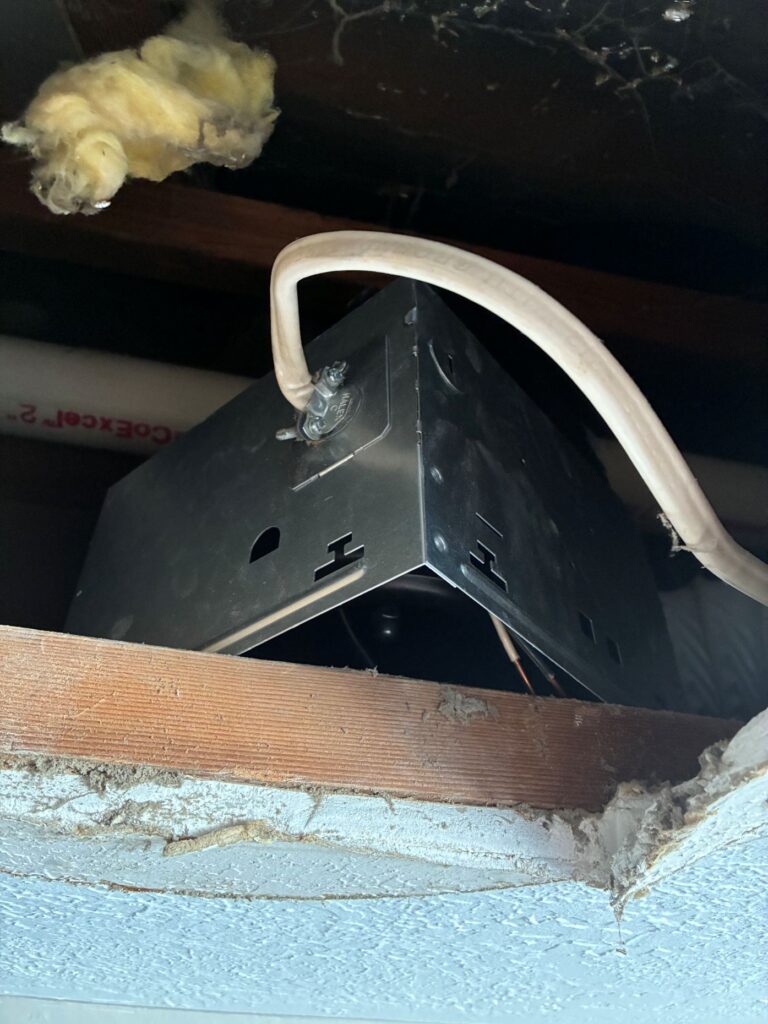
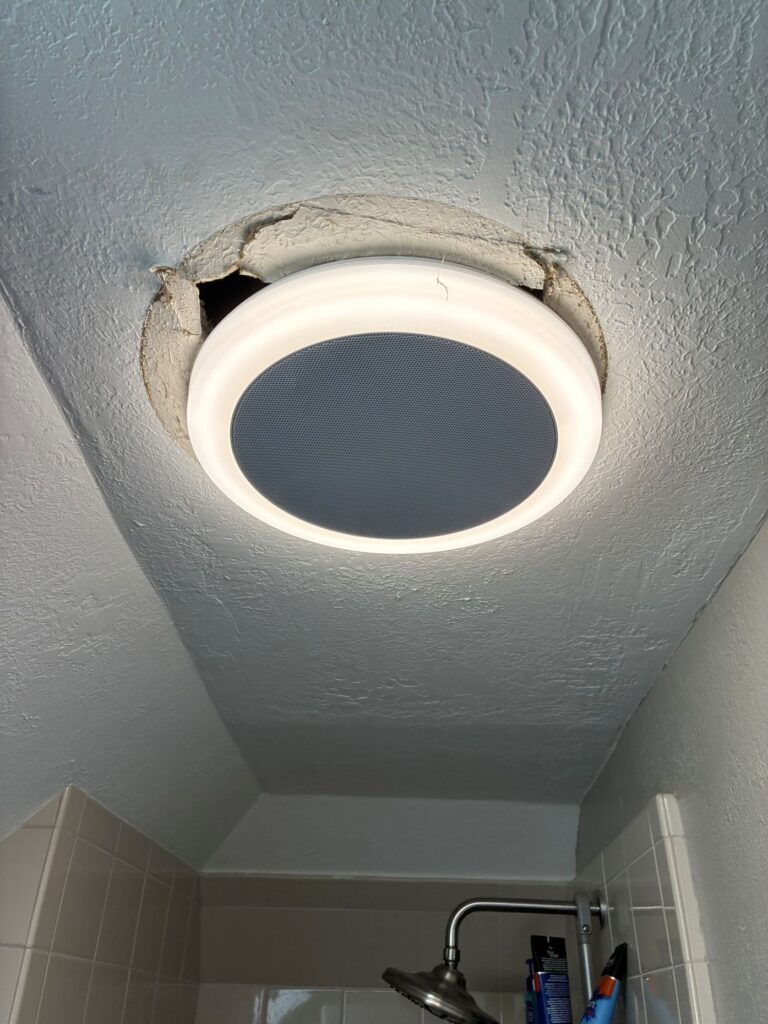
Now is time for the pro tips. I did have to cut out my old fan box to remove it. I was not expecting that but it had to do with the wiring clamped outside the box. Second, I did have to modify the new fan. The first modification was that I cut the new work tabs off of the box so it would fit in the hole. The second modification I had to make was I had to disassemble the entire fan to make the electrical connections. There is no way to use a wire clamp (middle picture) when the box is in place. None of that is in the instructions. Finally, the new fan box is quite a bit smaller than the one that it replaced. That means that there is drywall repair to be done. I am still working on that as I type this.
End Your Programming Routine: I have to be honest, this job requires a lot of different skills such as electrical, HVAC and drywall finishing. If you could find someone to do the work at a fixed rate, you would probably time ahead unless you are pretty darn good. Since I had done this a number of times, I thought it would go quicker than it did. And even though I can handle it I found myself frustrated at points and sweating a lot.
Recent Comments